Stringing You Along Is My Forte
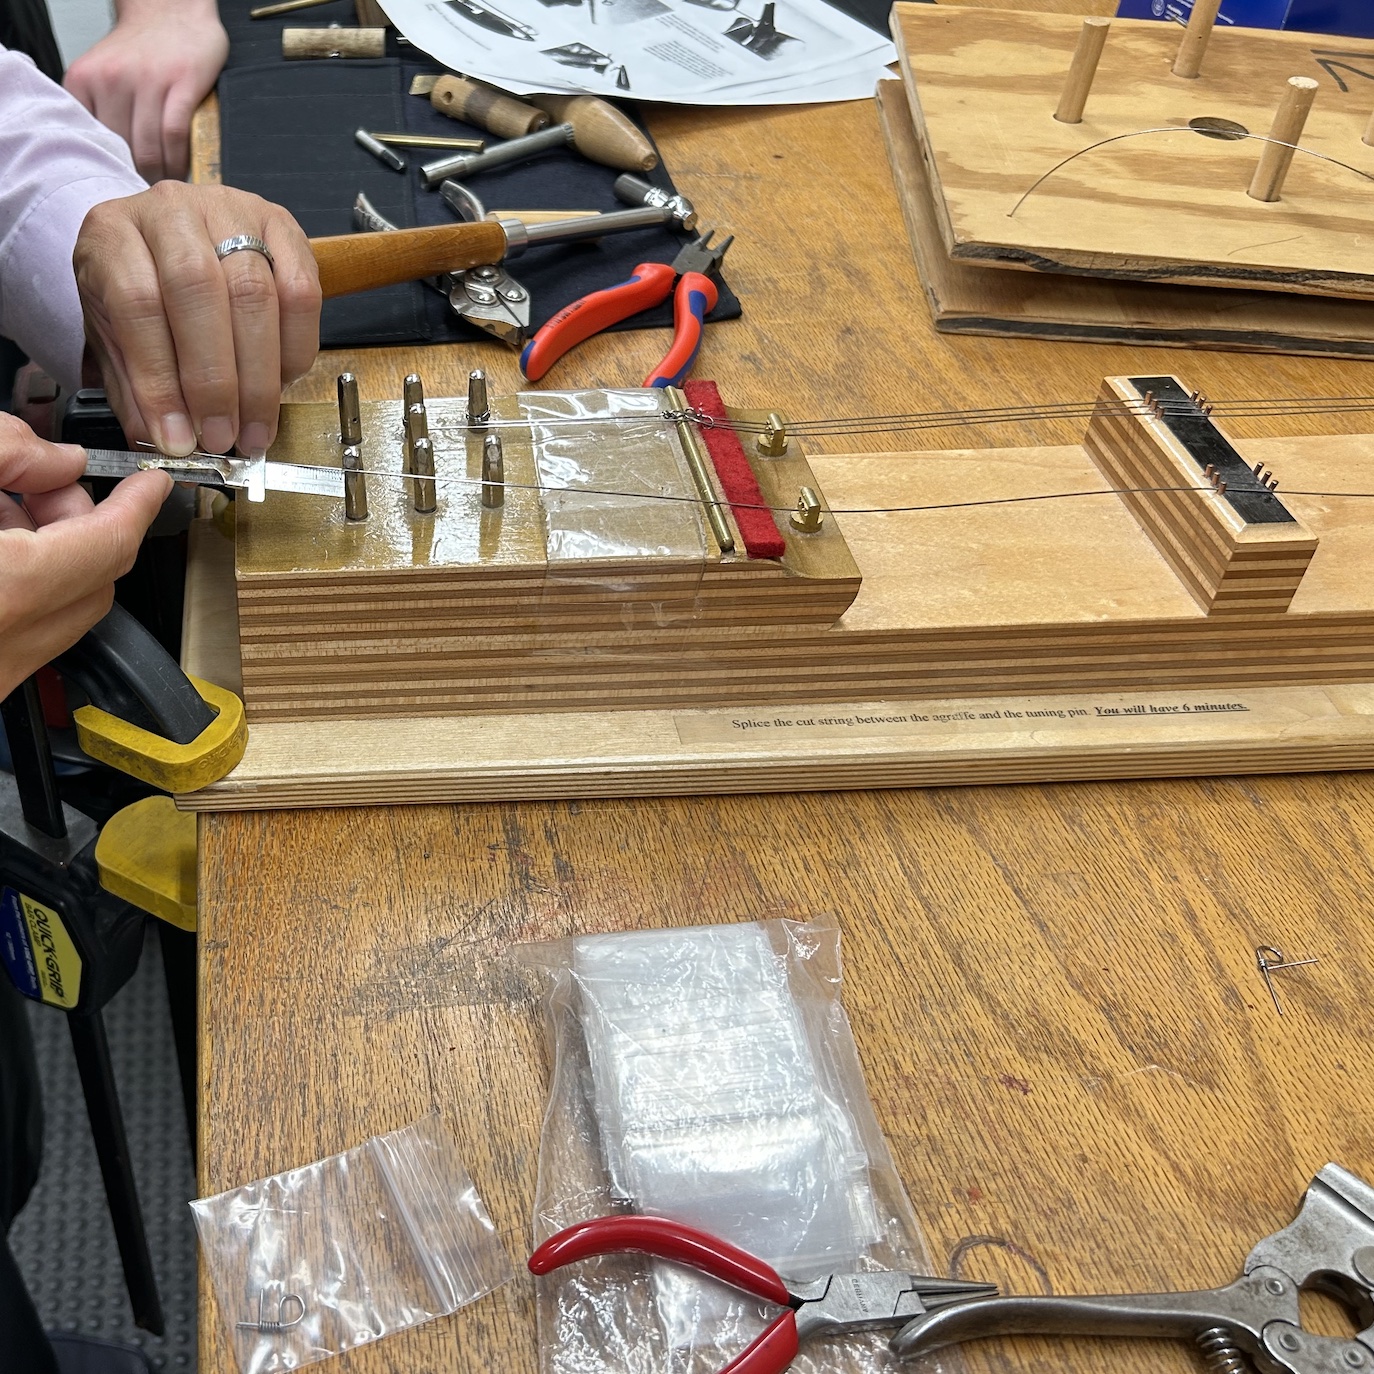
Today was the first hands-on day in the workshop. I received a quick tutorial on creating string loops that are attached to a piano’s hitch pins, and sent on my way to practice and create my own workflow. This task represents a portion of the Piano Technicians Guild exam that all PTG technicians are required to pass in order to be members.
Don’t Get Strung Out!
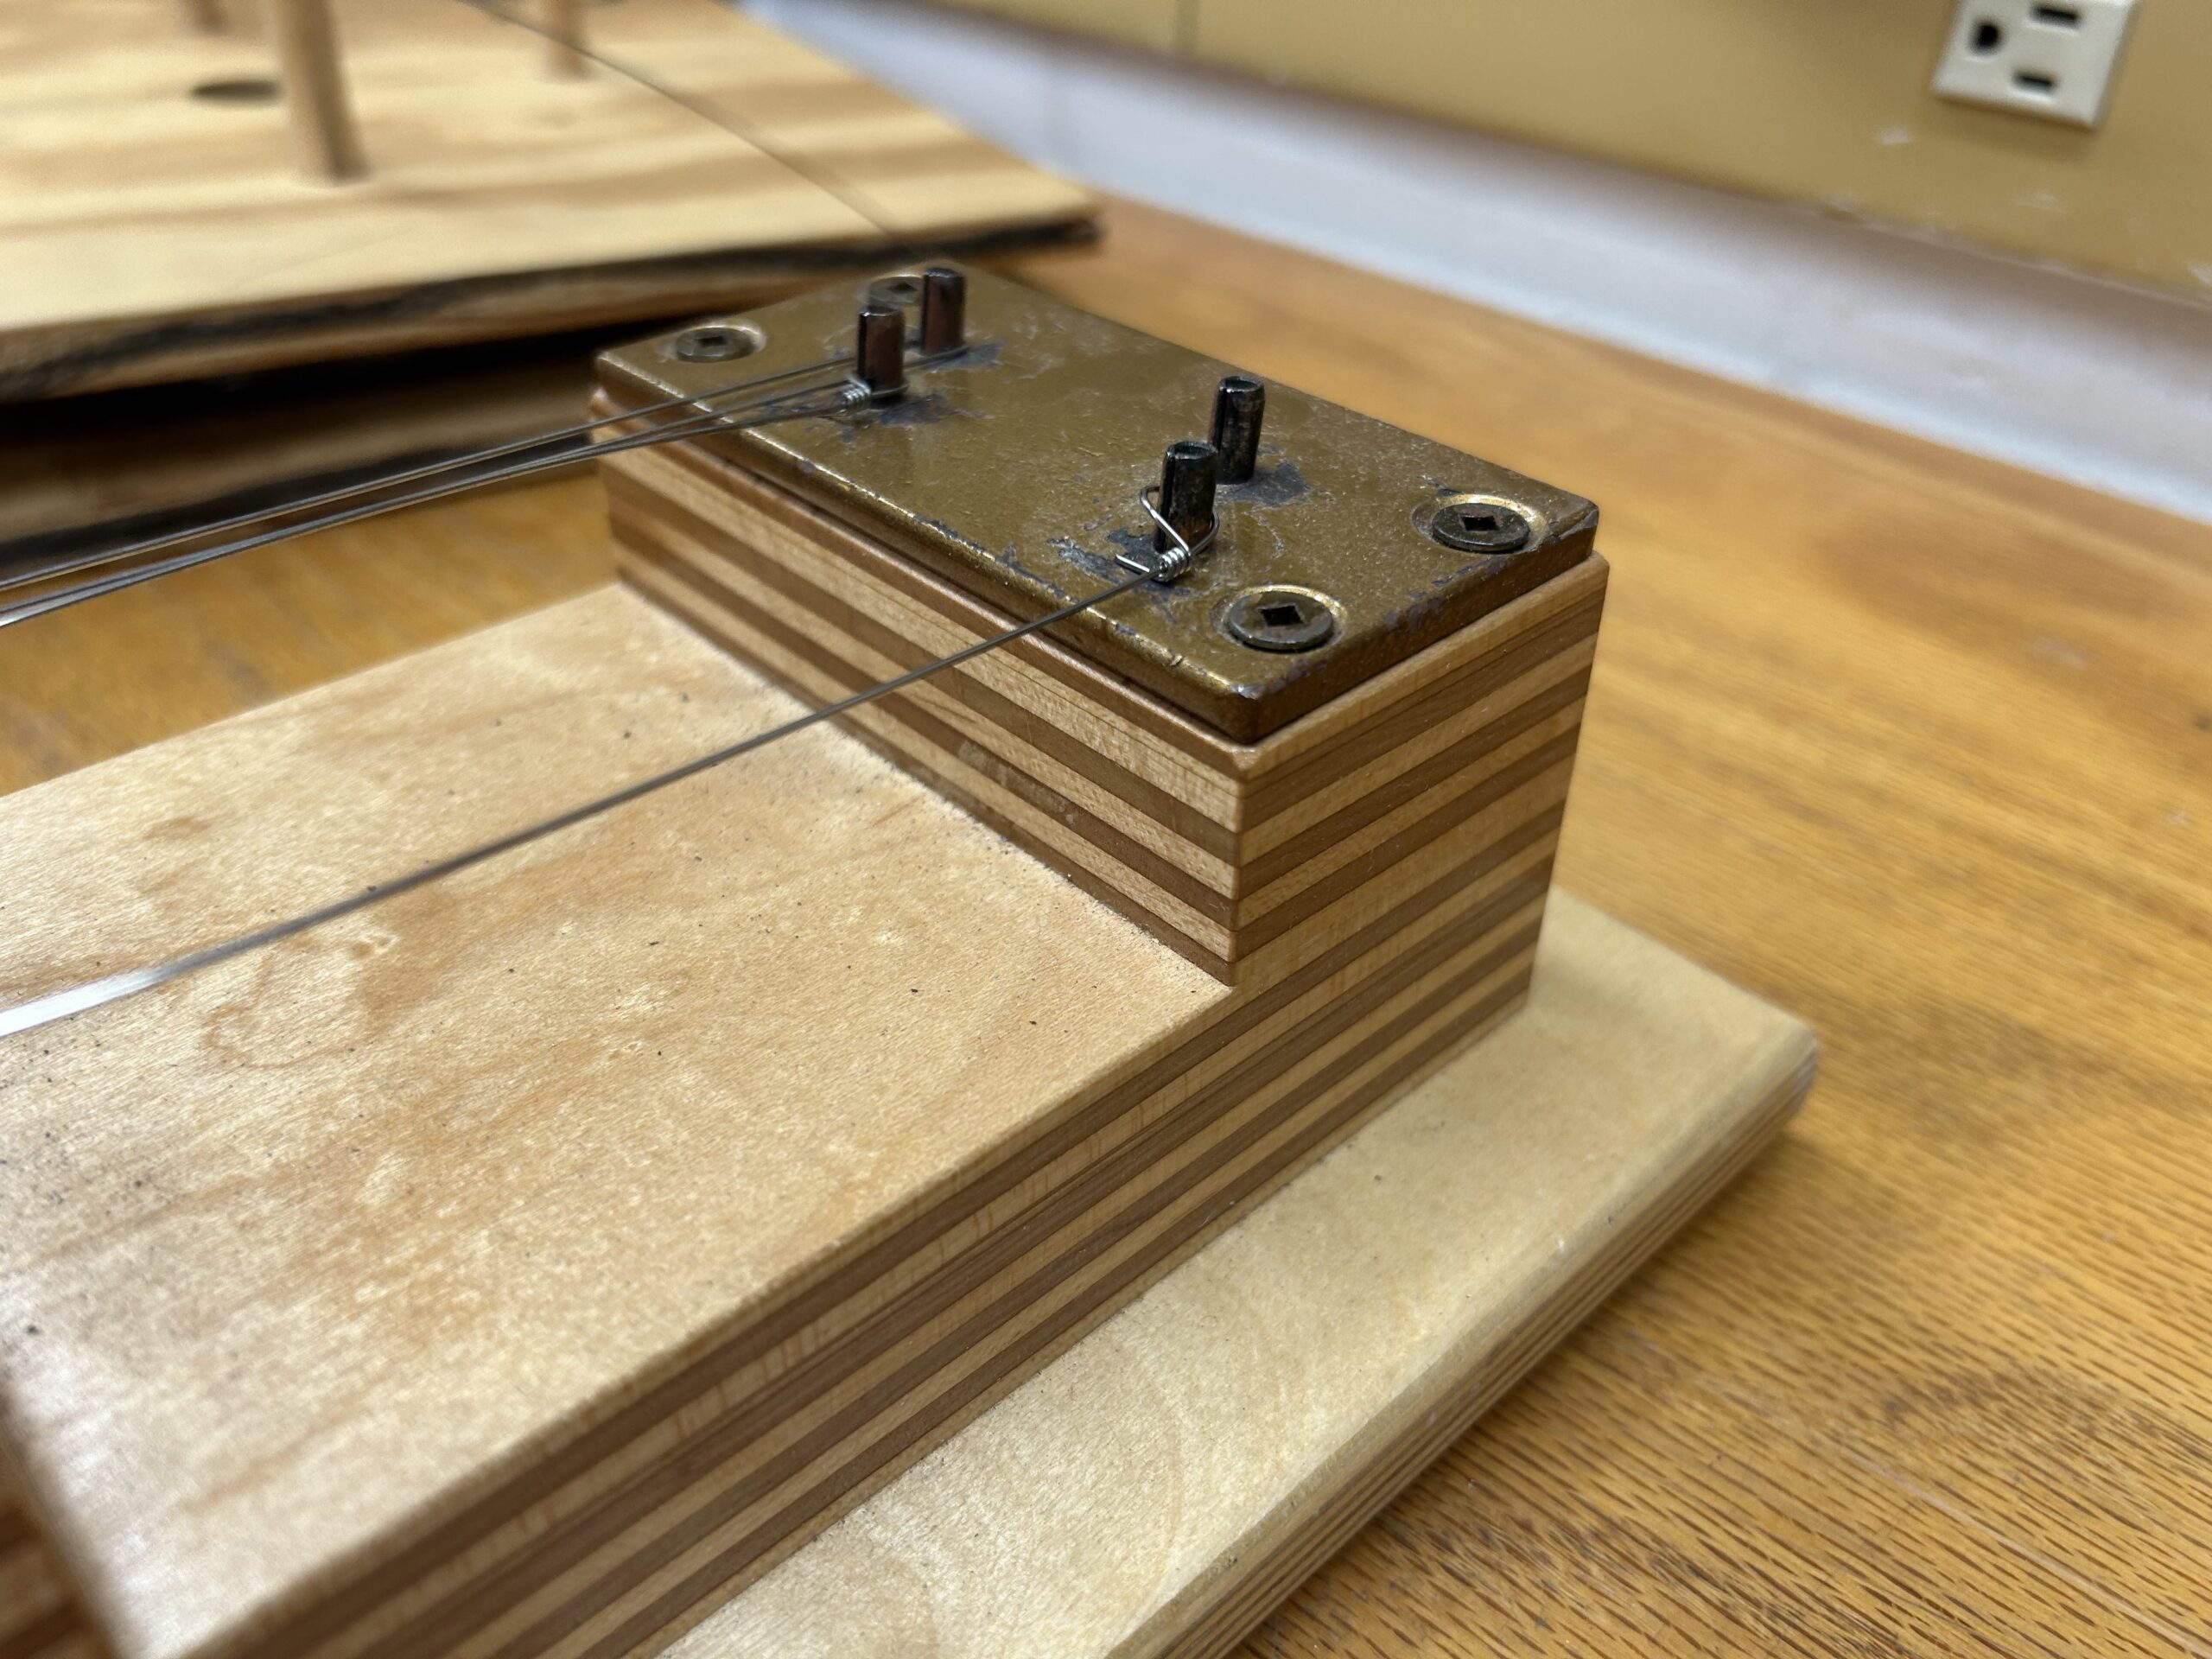
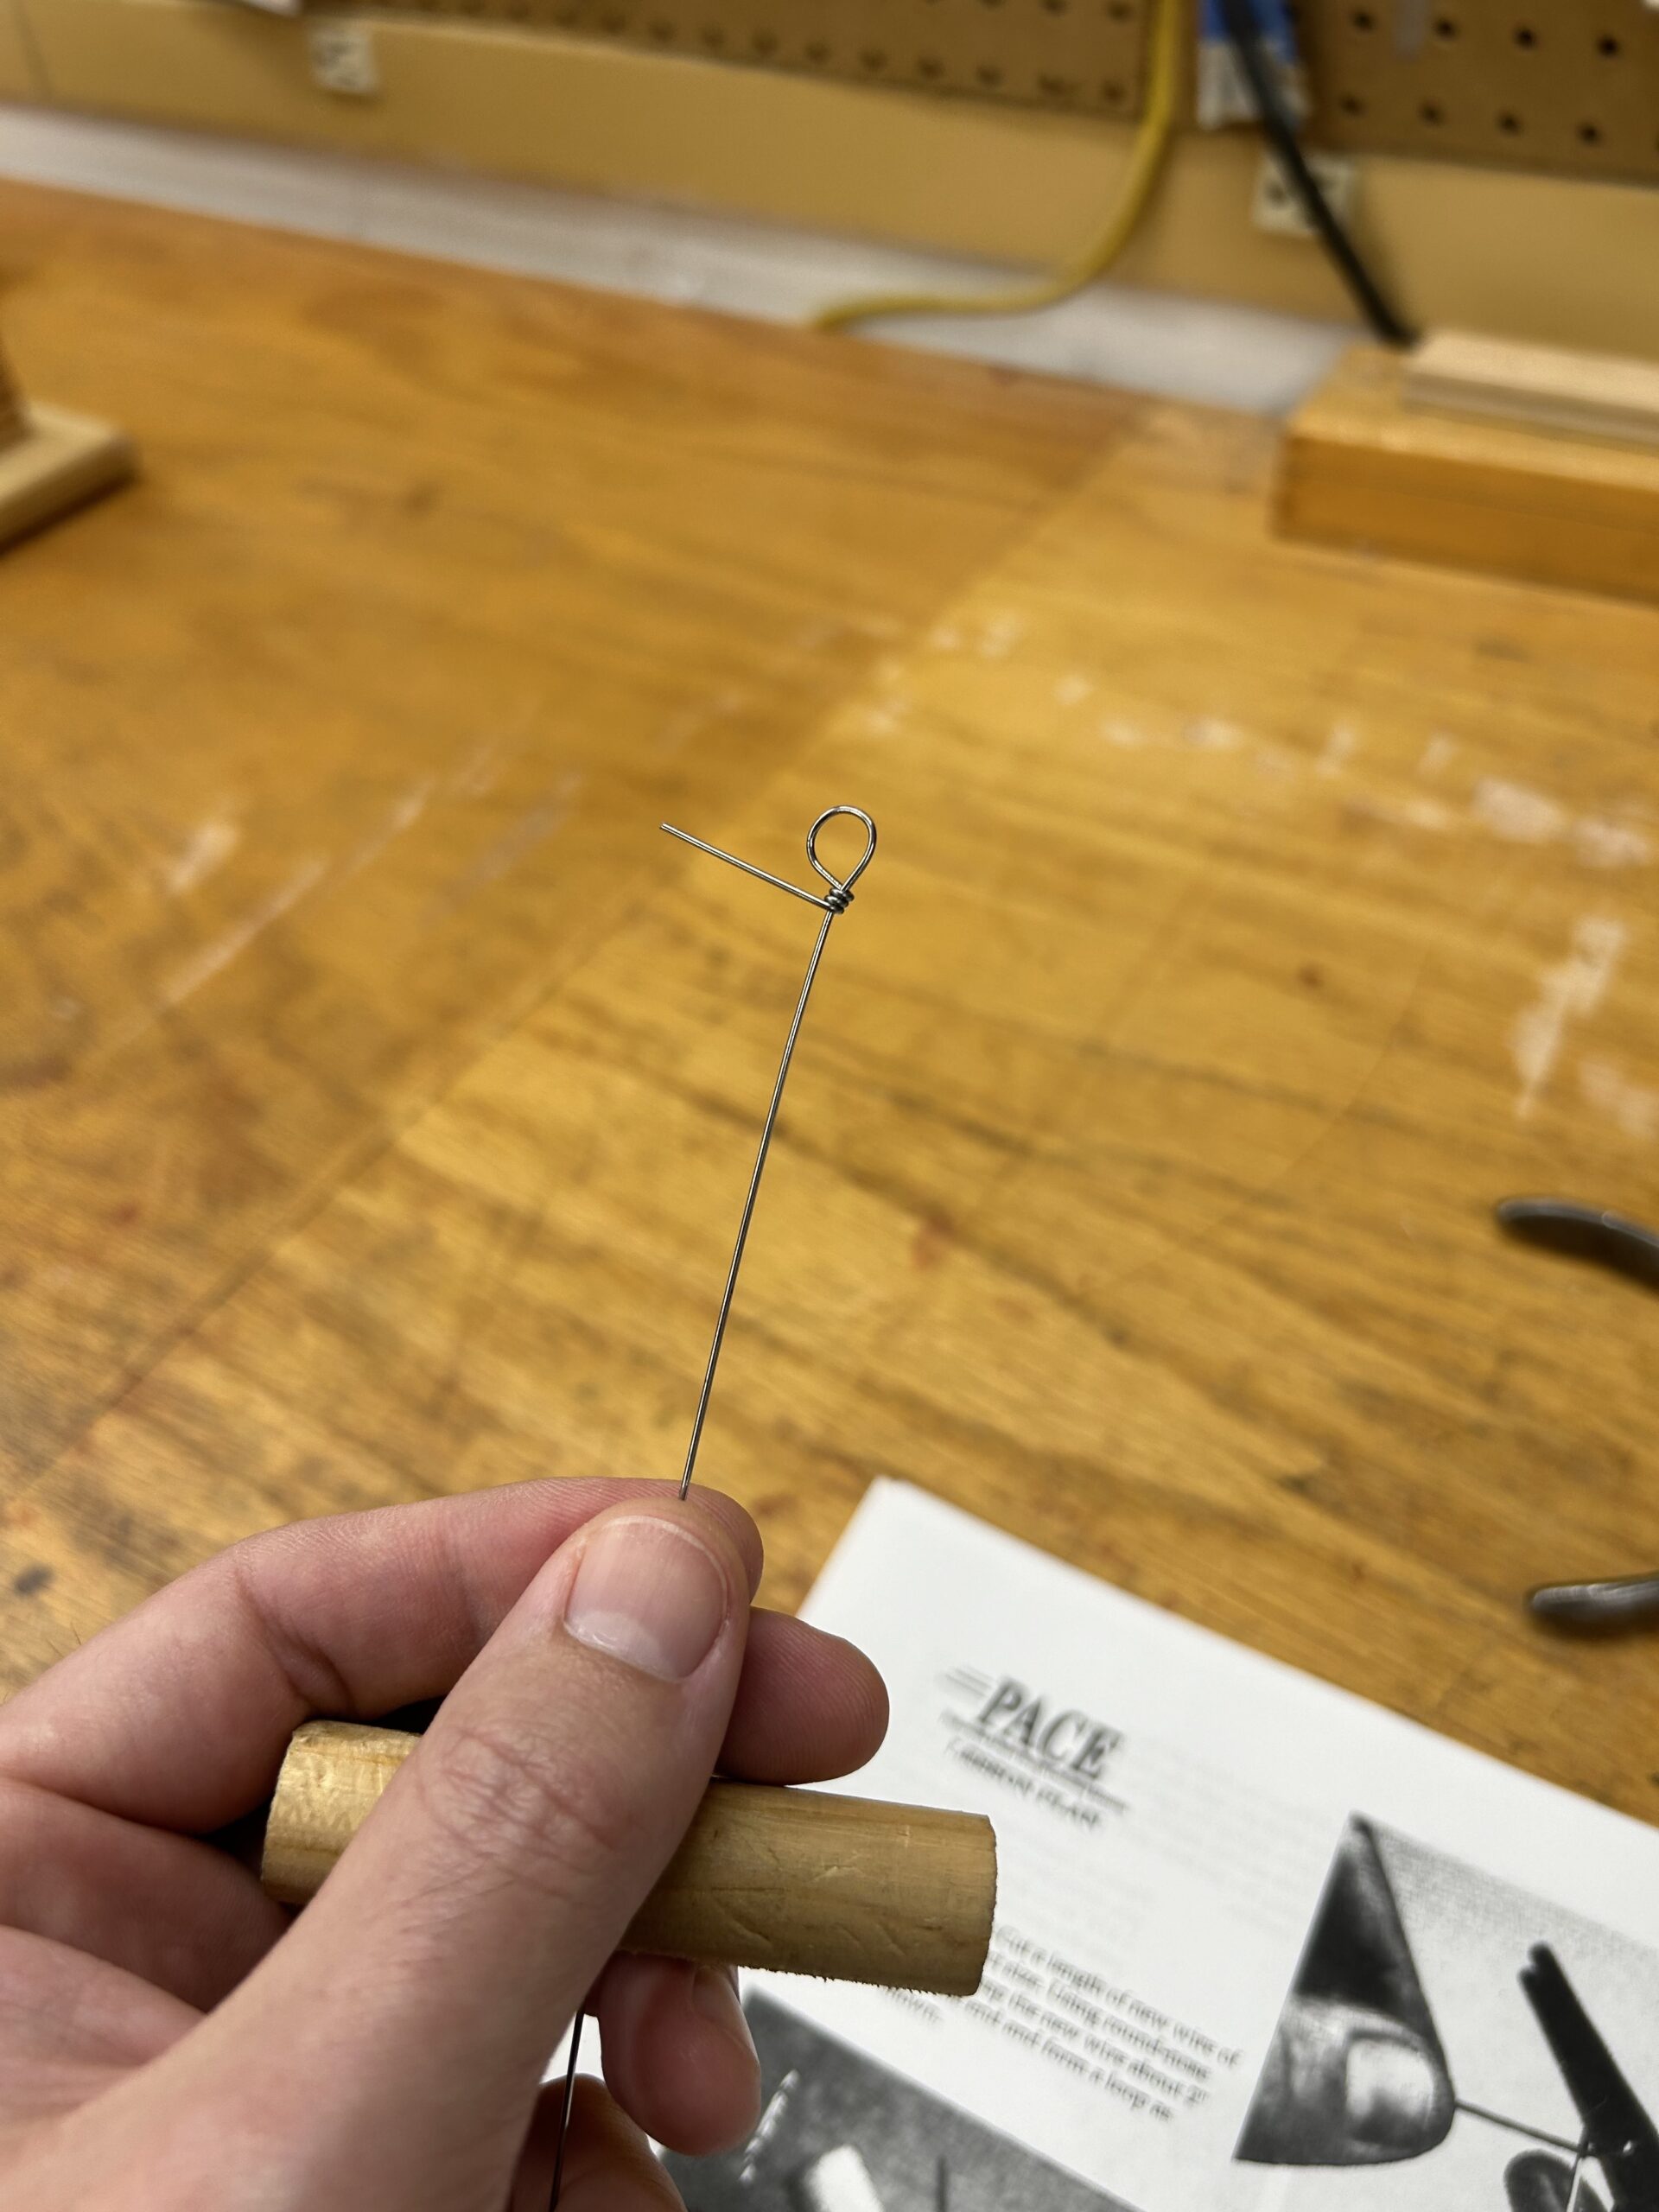
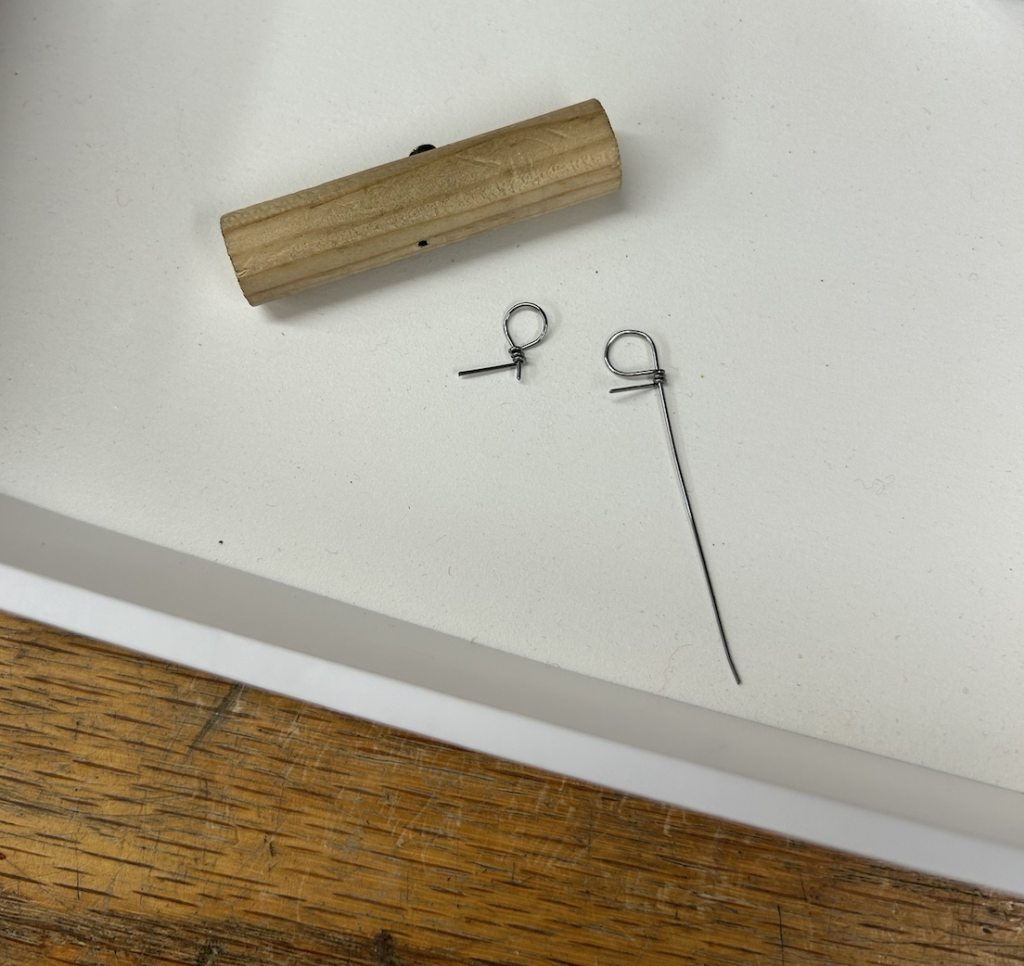
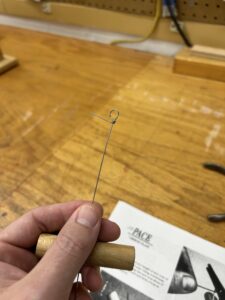
12 gauge steel piano string is the wire of choice for this task. A measure is cut for teaching purposes and fed through a small hole on a custom jig (pictured above) for creating hitch pin loops. The first 180º bend is created roughly one inch from the wire’s end using wire-bending pliers. That same bend is then extended to around 240º and locked in place by a small screw in the jig. While holding the loop with the wire-bending pliers, one rotates the jig around the steel wire. This rotation creates a coil, and three coils are required to lock the loop in its final form.
A Real String of Luck
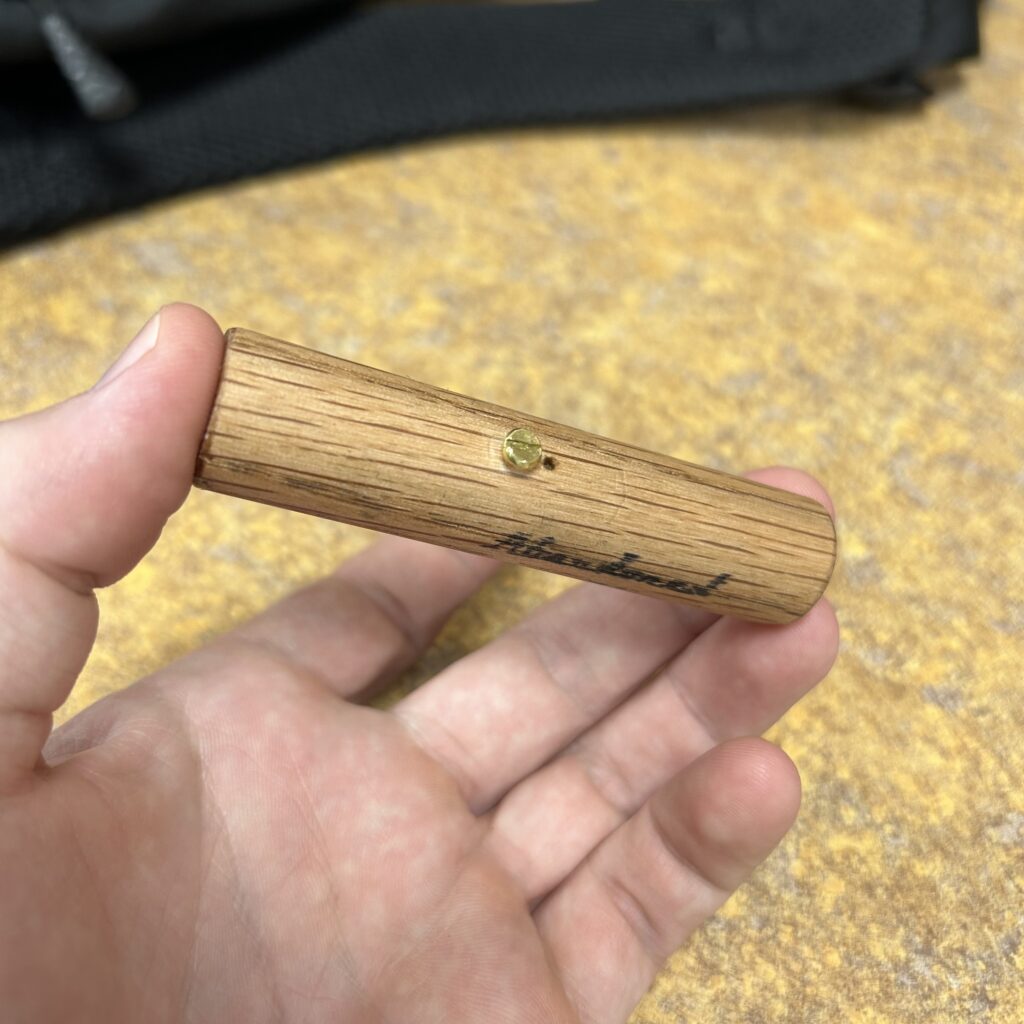
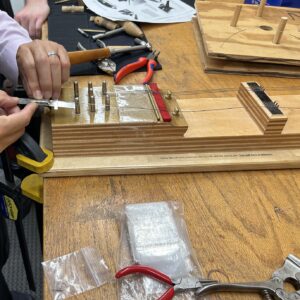
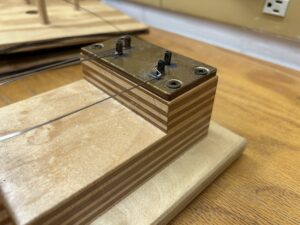
Since many of the tools of the piano technician’s trade are hand-made, I took a crack at creating my own loop-making jig. I started with a one-inch oak dowel and cut it to approximately three and a half inches. A 1/16″ hole is drilled for the string to pass through and countersunk on the ‘bottom side’ for ease of feeding the string through the hole. On the ‘top side’ a brass cap head screw is placed a few millimeters away from the string hole. This will hold the 240º bend and lock the excess in place. For finishing touches, the cap head was ground down flat, and a coat of beeswax was applied to give the tool an olde-tyme feel. Of course, a stencil with the Abandoned Steinway logo was inked on for the final touch!
