Cleanliness is Next To Godliness
Cleaning pianos is a skill reserved for technicians, and thus, we must learn practically and not just theoretically. My previous post focused on our instructor teaching us how to clean the classroom piano. Post-lesson we were sent out to clean practice room pianos. This task perfectly suits me since my Abandoned Steinway was a practice room piano for much of its life.
Dust you wait, it’s going to sparkle!
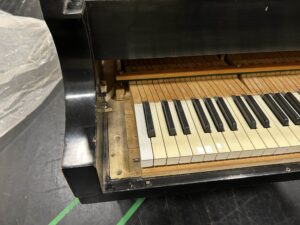
The piano above was the first subject assigned for cleaning. Skipping through the steps, you can see that once the keys were off, this piano hadn’t been cleaned for quite a long time. Once all 88 keys were cleaned and the keybed (and other parts) were vacuumed and dusted, we moved on to the challenge event: cleaning a grand piano.
A Grand Ol’ Time
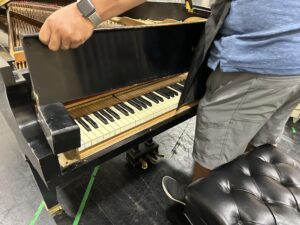
The main event this week was cleaning a Baldwin grand piano. We began by removing the music desk and unscrewing the four flathead screws that hold the key slip and cheek blocks. The fallboard and cheek blocks are then removed by lifting straight up which exposes the keybed and action. The keybed slides out, careful not to depress any keys as this will raise a hammer and potentially damage or break it clean off of its shank. Large metal springs wedge the keybed in place and prevent side-to-side movement since each hammer is precisely aligned to its strings.
Wipe away the blues
Cleaning this piano is similar to the others, wiping down and vacuuming. The keyframe is vacuumed and brushed in order to remove the stuck-on dirt and dust. The keys are wiped down to remove oils and other contaminants. Specialized tools are employed to go between the strings to wipe down the soundboard. Finally, the action is dusted and vacuumed before it is reseated in the keyframe and the piano put back together in reverse order.
