Clean Jokes Only
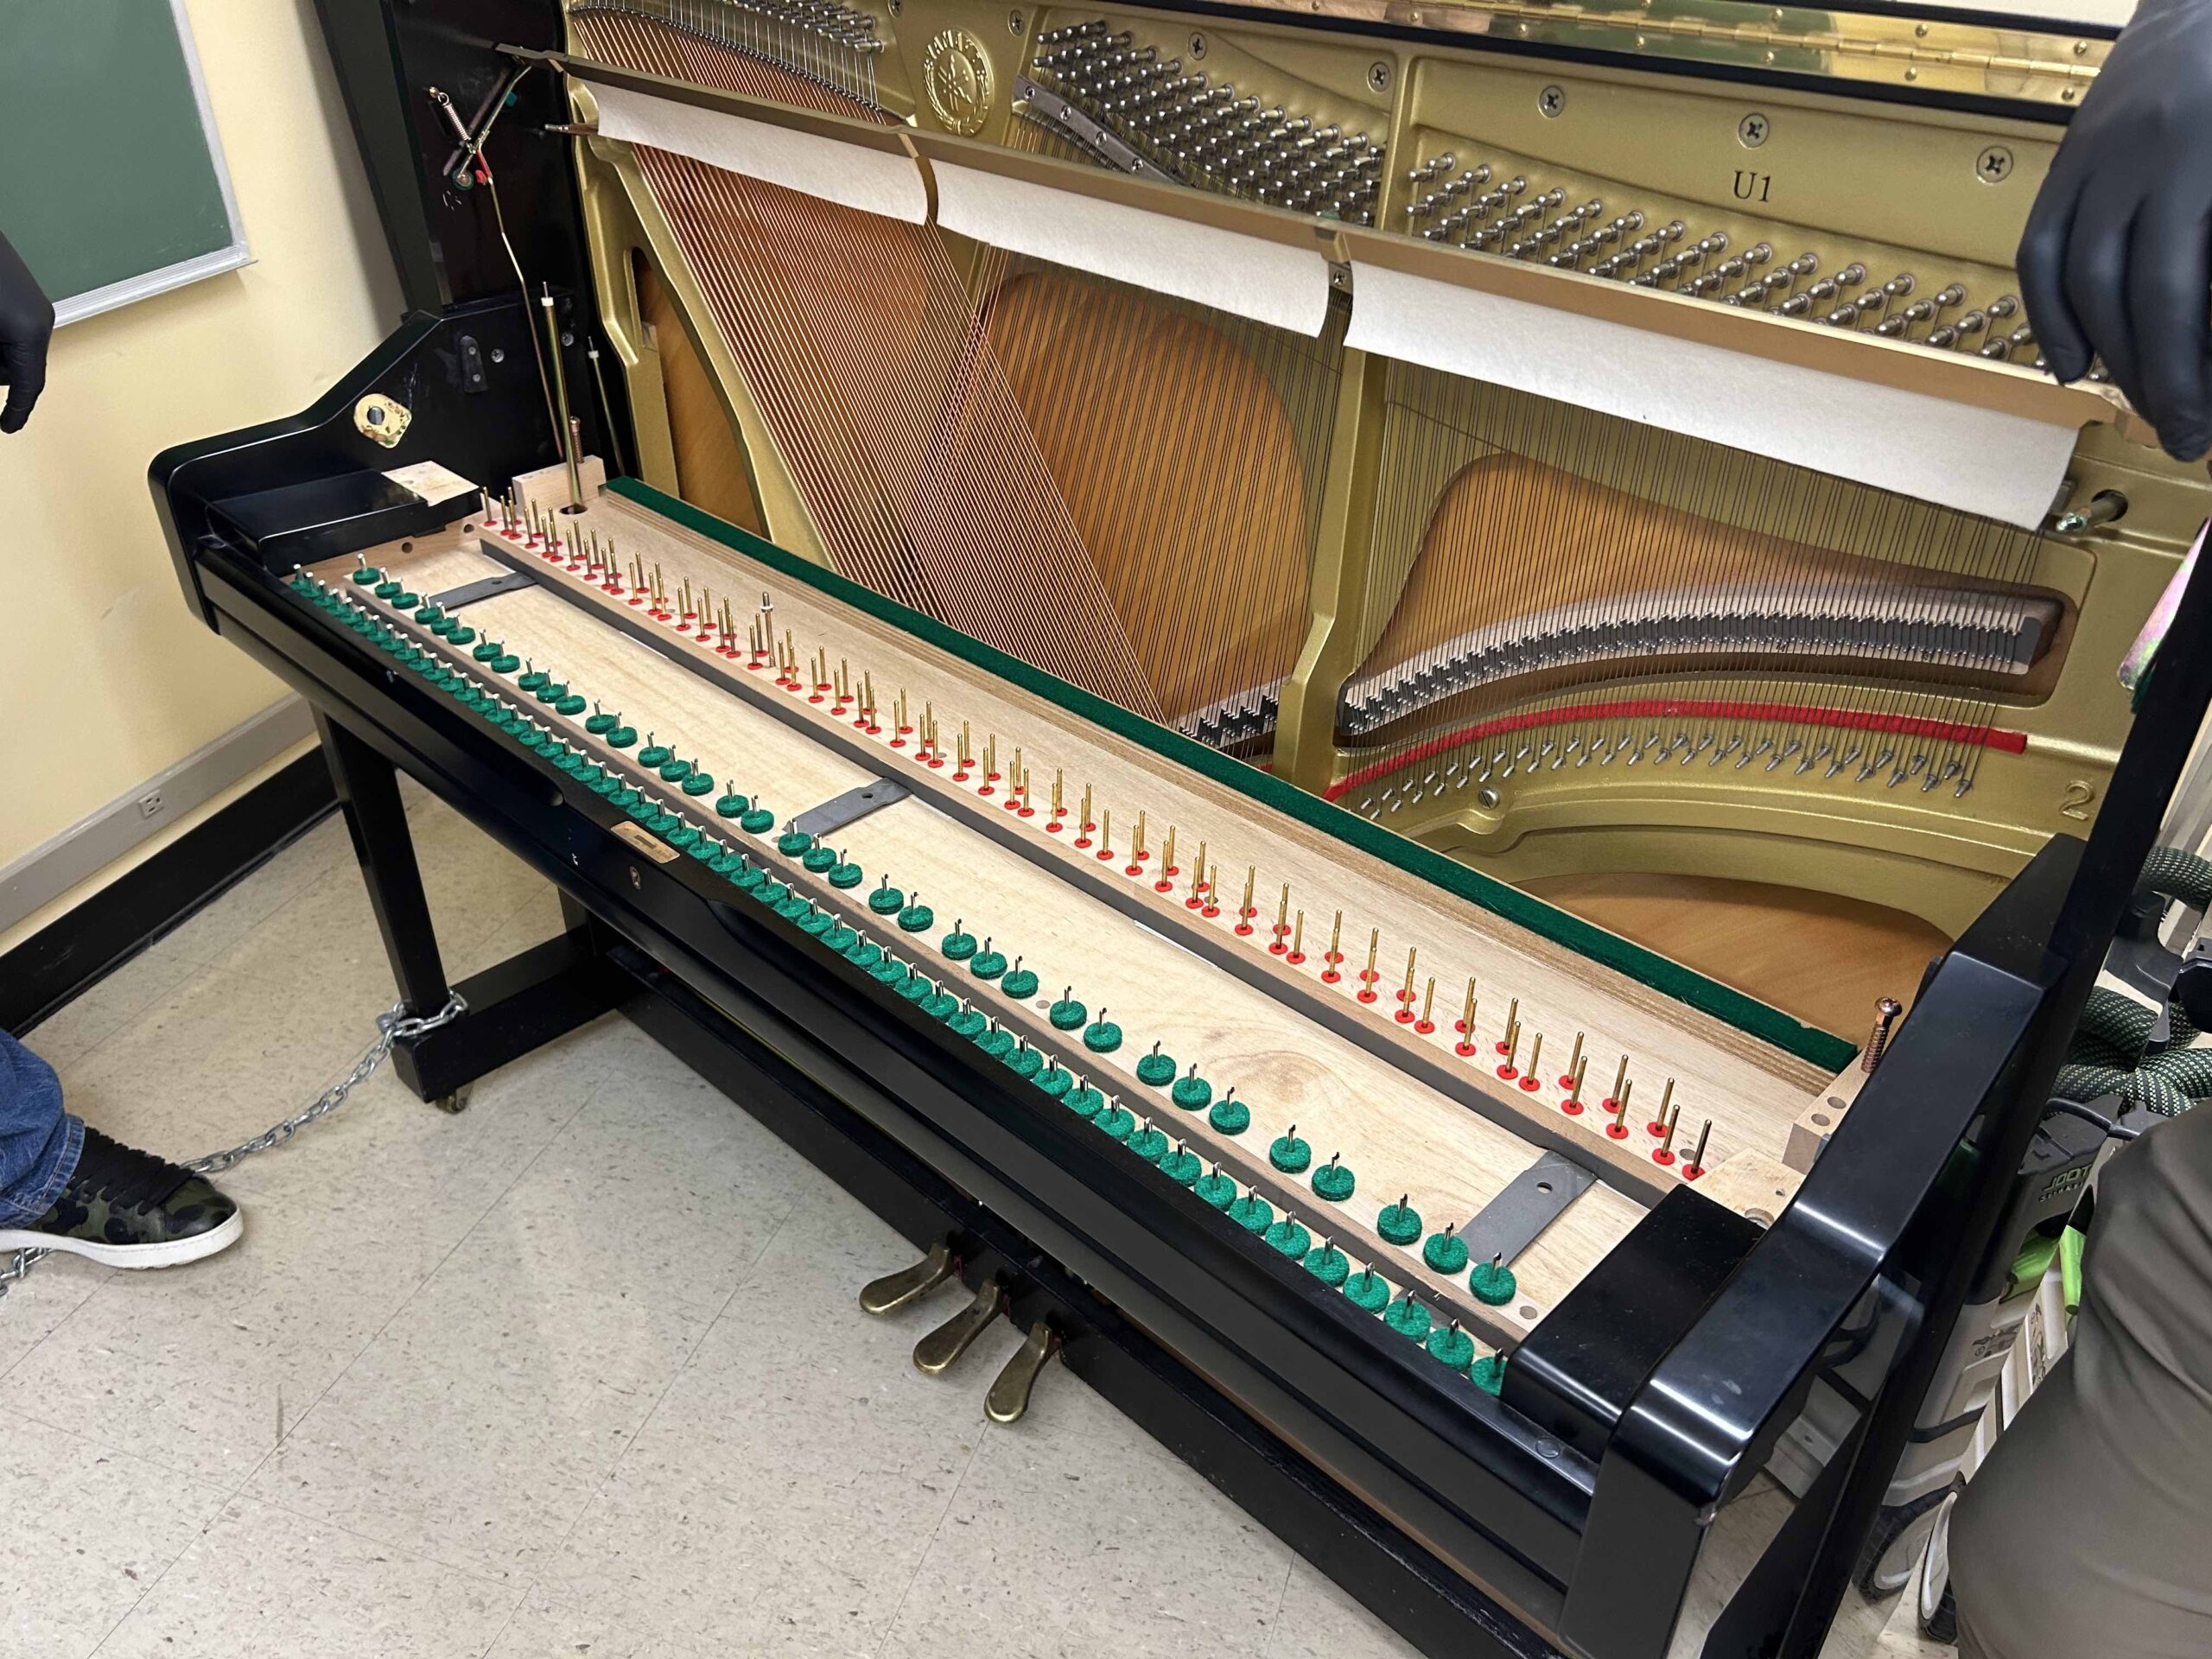
It makes sense that to properly restore and regulate a piano, it must be clean. With thousands of parts that all work together, dirt and dust have plenty of places to call home. Today’s task was to render those unwanted additions evicted. We began much like the previous lesson by exposing the inner parts of the classroom piano and removing the action as seen below.

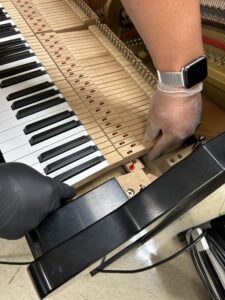
Cleaning Can Be A Dirty Job
Once the board holding the keys is removed by unscrewing two philips head screws, the keys can be taken out one at a time and set aside. Each key will need to be examined for wear and cleaned before it is reassembled. Keys are lifted out by supporting the front and back and lifting straight up, being careful to not force any parts.


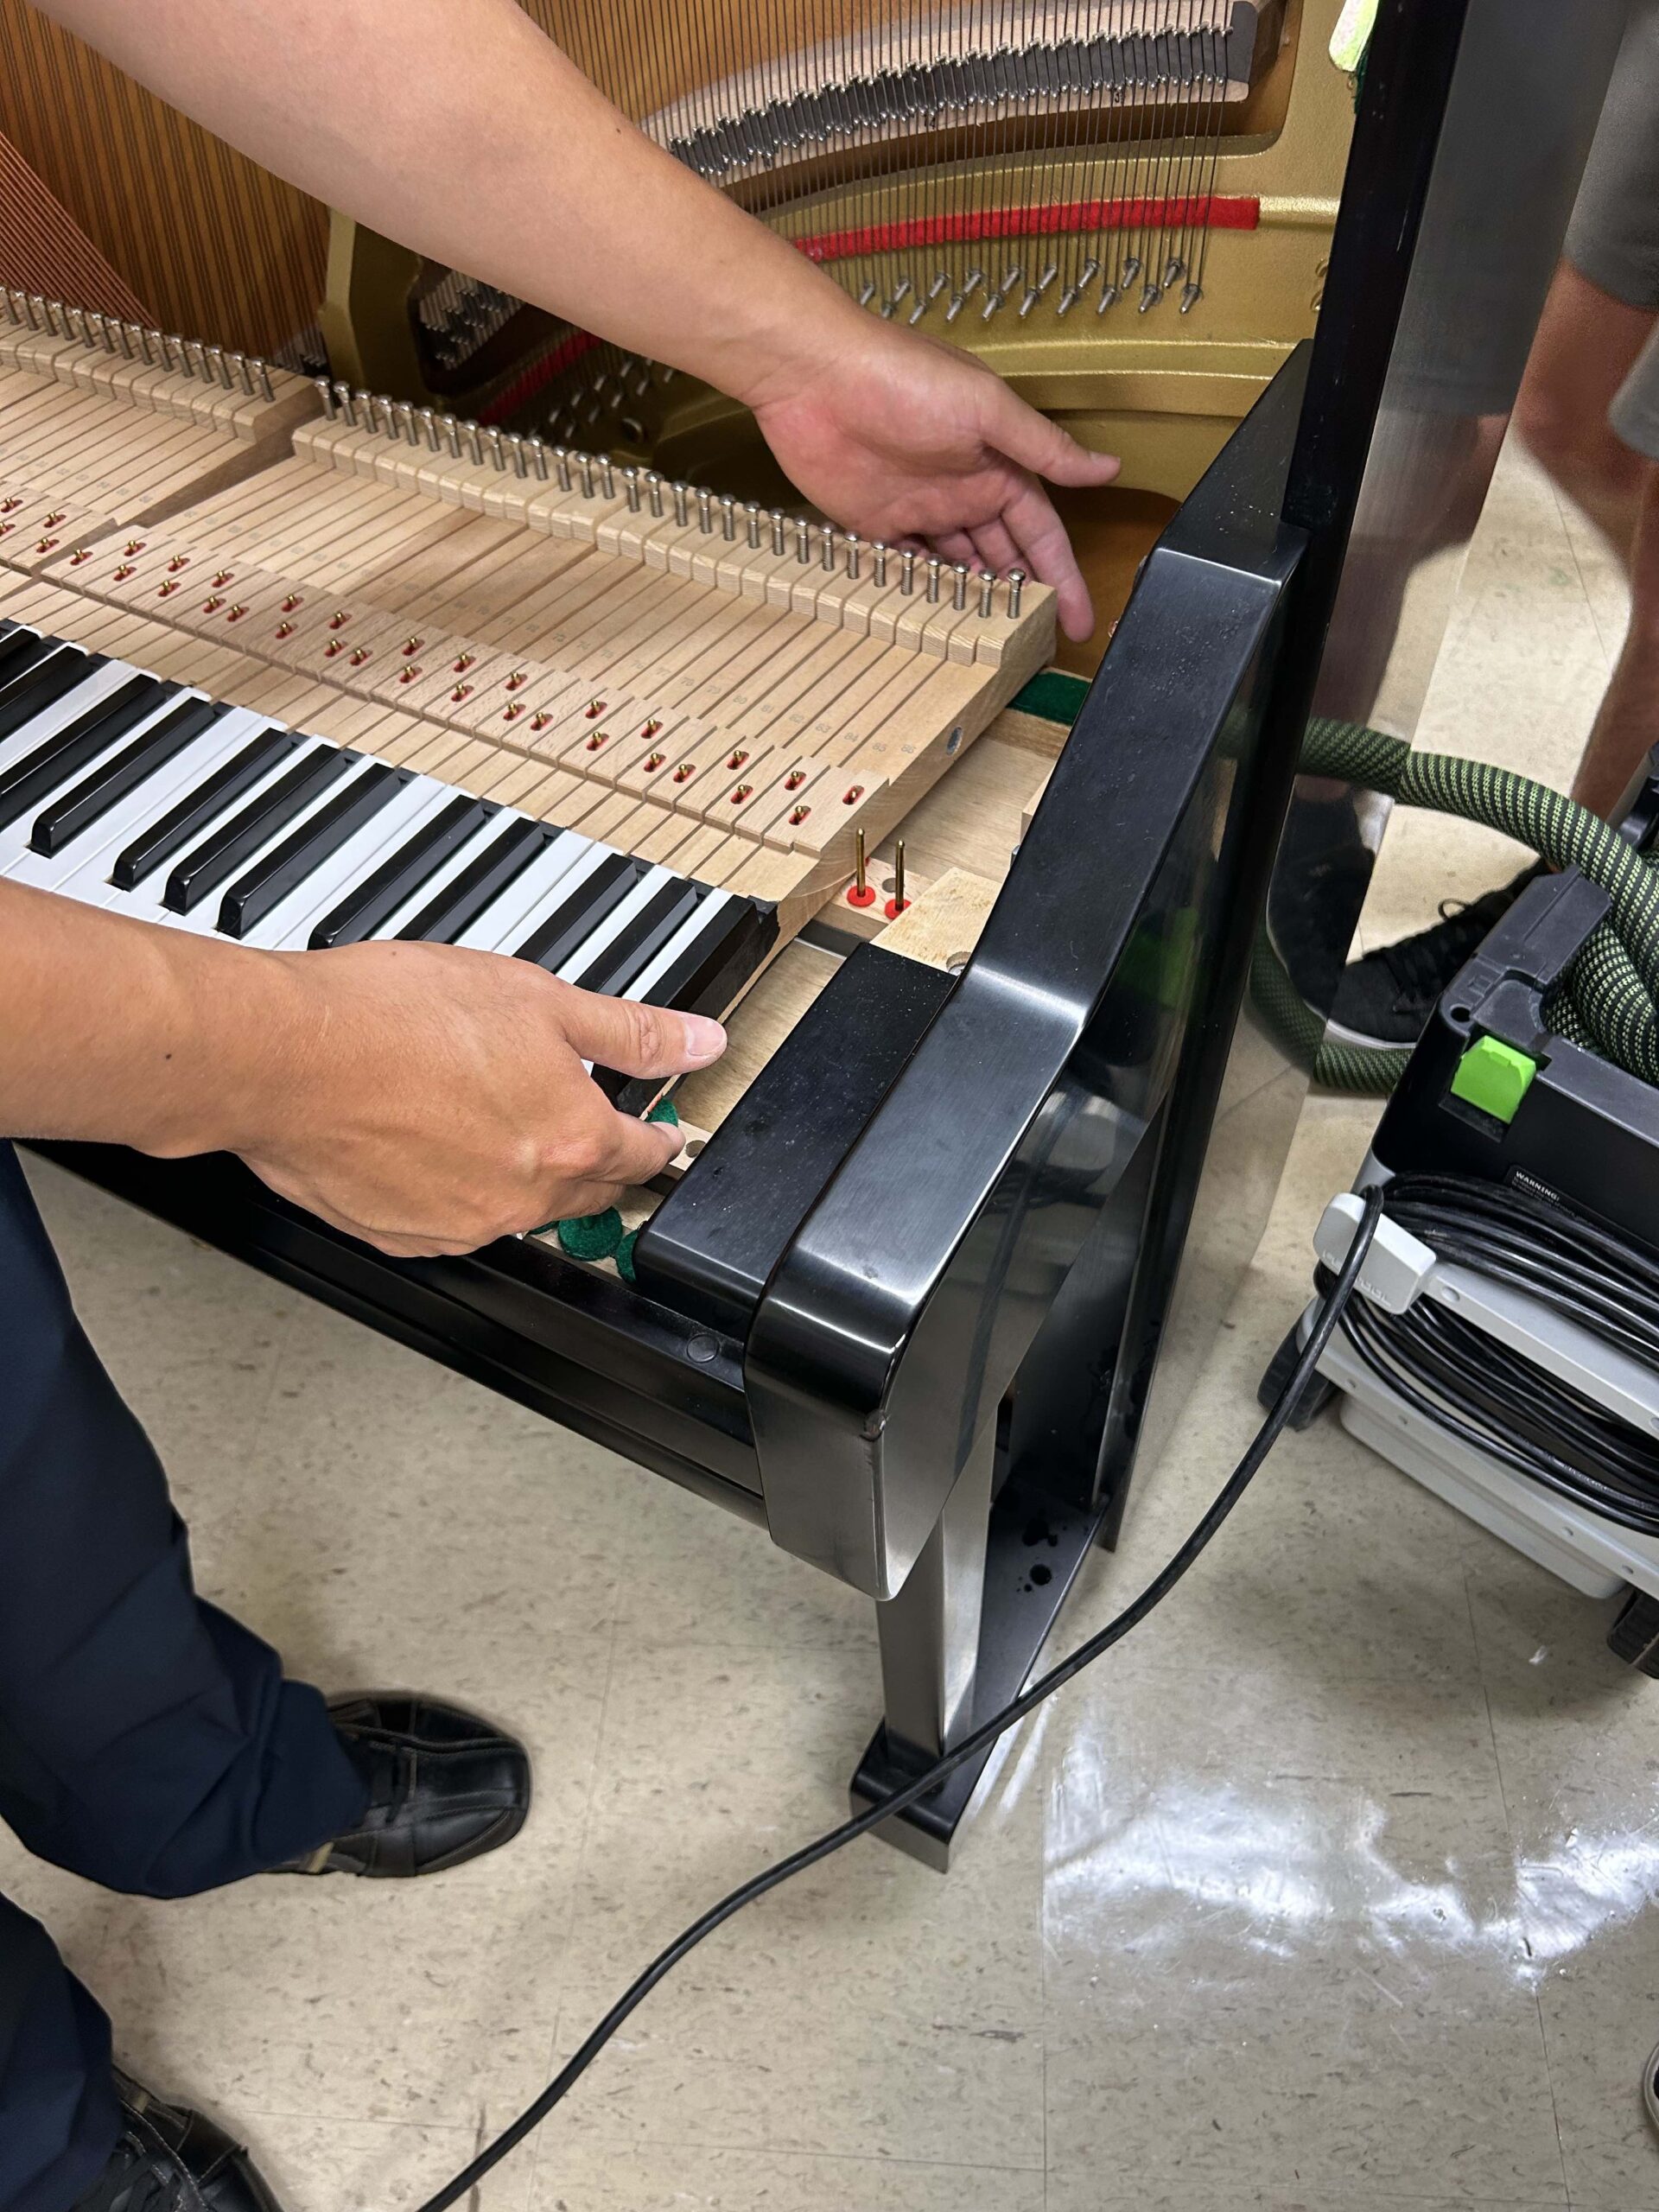


She Queens… and Vacuums
Now that nearly every part of the piano is accessible, it’s time to clean the surface dust and grime away. A vacuum and brush agitator are best for this task, along with a dust mask to prevent inhalation of dust. Gently working around the back of the piano, disturbing every nook and cranny, the backside becomes clean. We then moved to the front of the piano with the same technique, this time being careful to not hold the vacuum too near to the felts and punchings. These small parts can easily be sucked into the vacuum and will need to be retrieved or replaced. Once the keybed is clean, the keys are put back in the same way they were removed, and the action is reseated. All the other components are put back in their place, being careful to not force any pieces. Call your local technician to perform this service regularly!