Johnny 5 Says “No Disassemble”
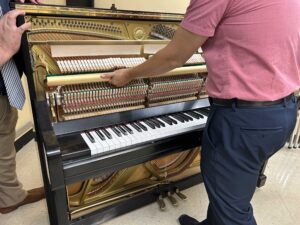
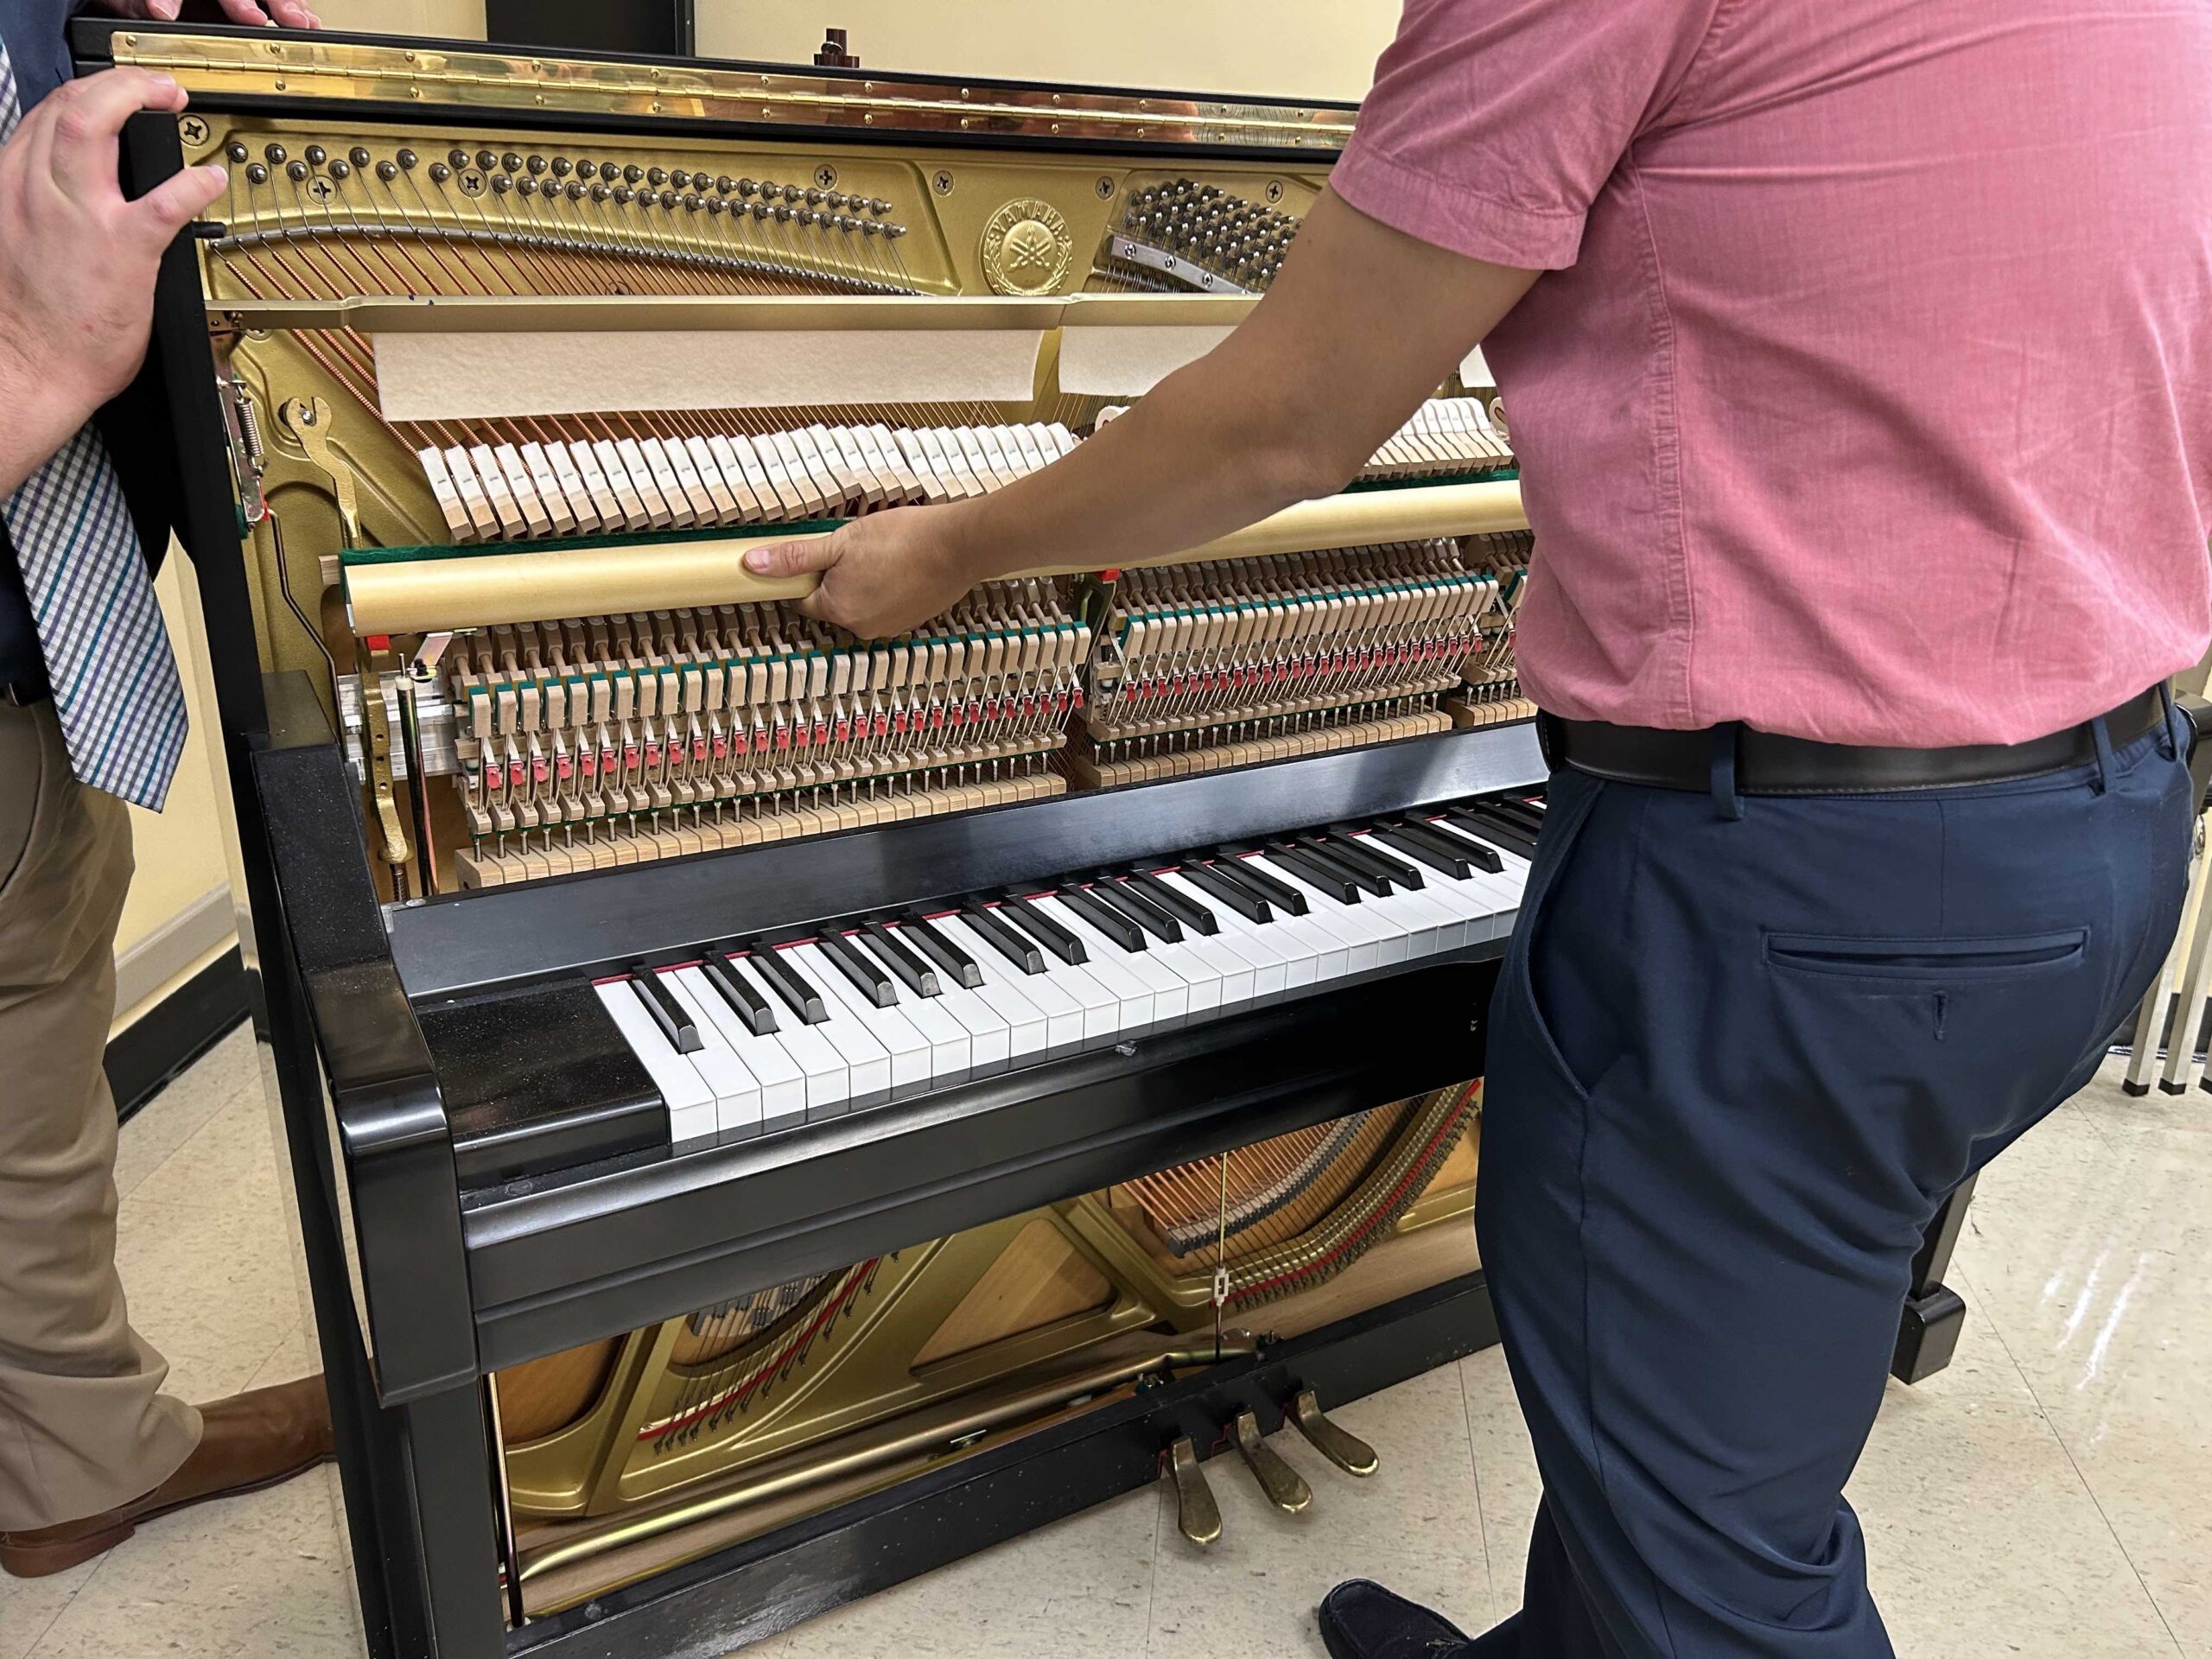
This week’s focus is on cleaning pianos, both upright and grand. Because of proximity and simplicity, we started with the upright. Our classroom has a new Yamaha U1 positioned in the corner, and this piano was used for the demonstration. We began by removing the upper and lower panels and safely setting them aside. This displays the action, harp, soundboard, etc. – the insides of the piano.
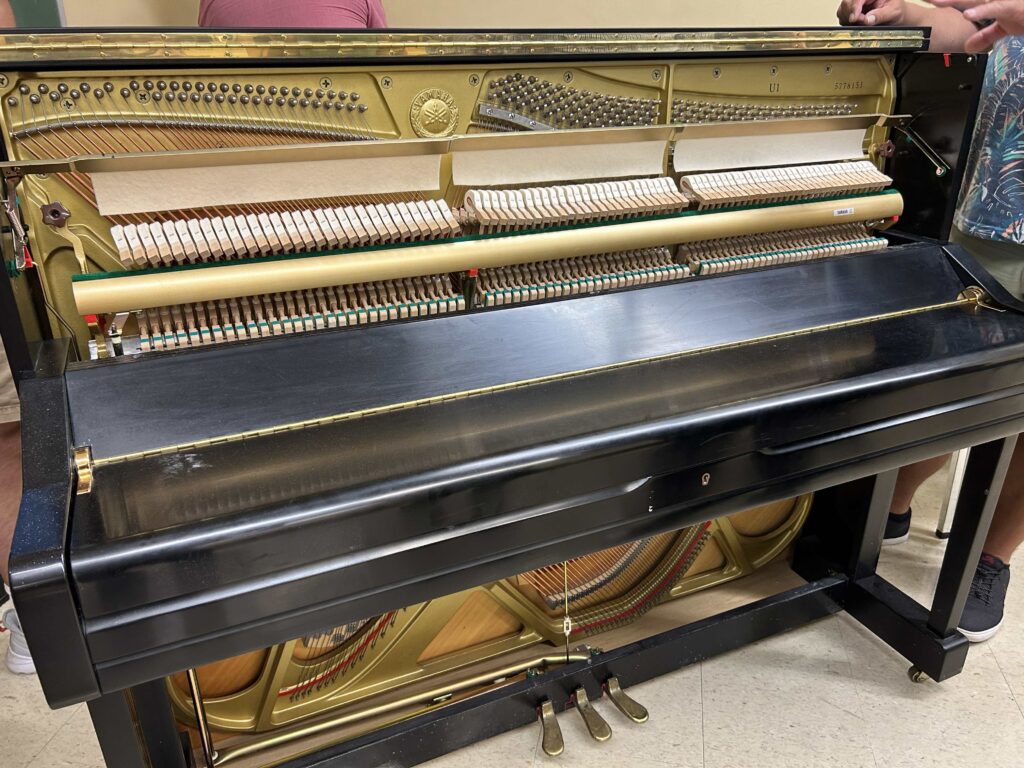
Get In The Action!
Next, the fallboard is removed, exposing the back side of the keys and lower portion of the action. Two nuts hold the piano action to the cast iron plate and must be unscrewed before the action can be removed. Lastly, the foot pedal connections (pictured below) to the action can now be seen and uncoupled since these will be the last physical connection to the piano.
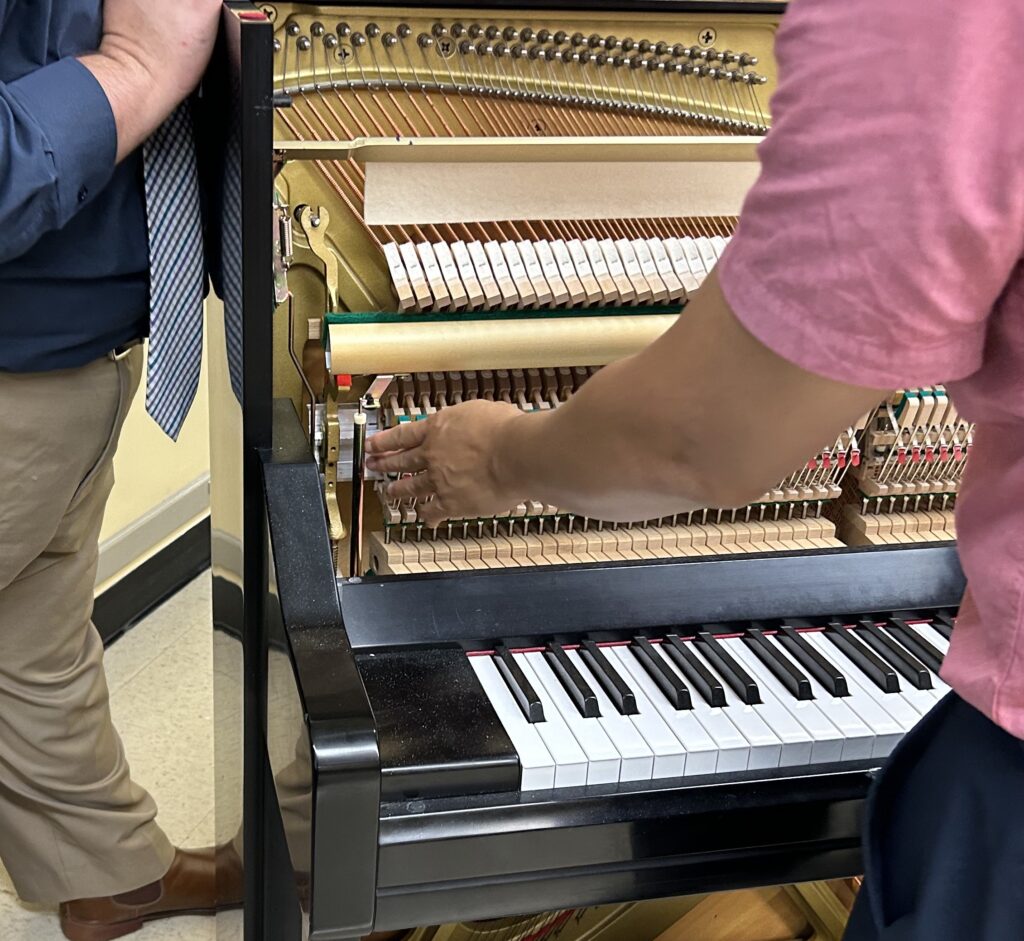
Move Over Action Jackson
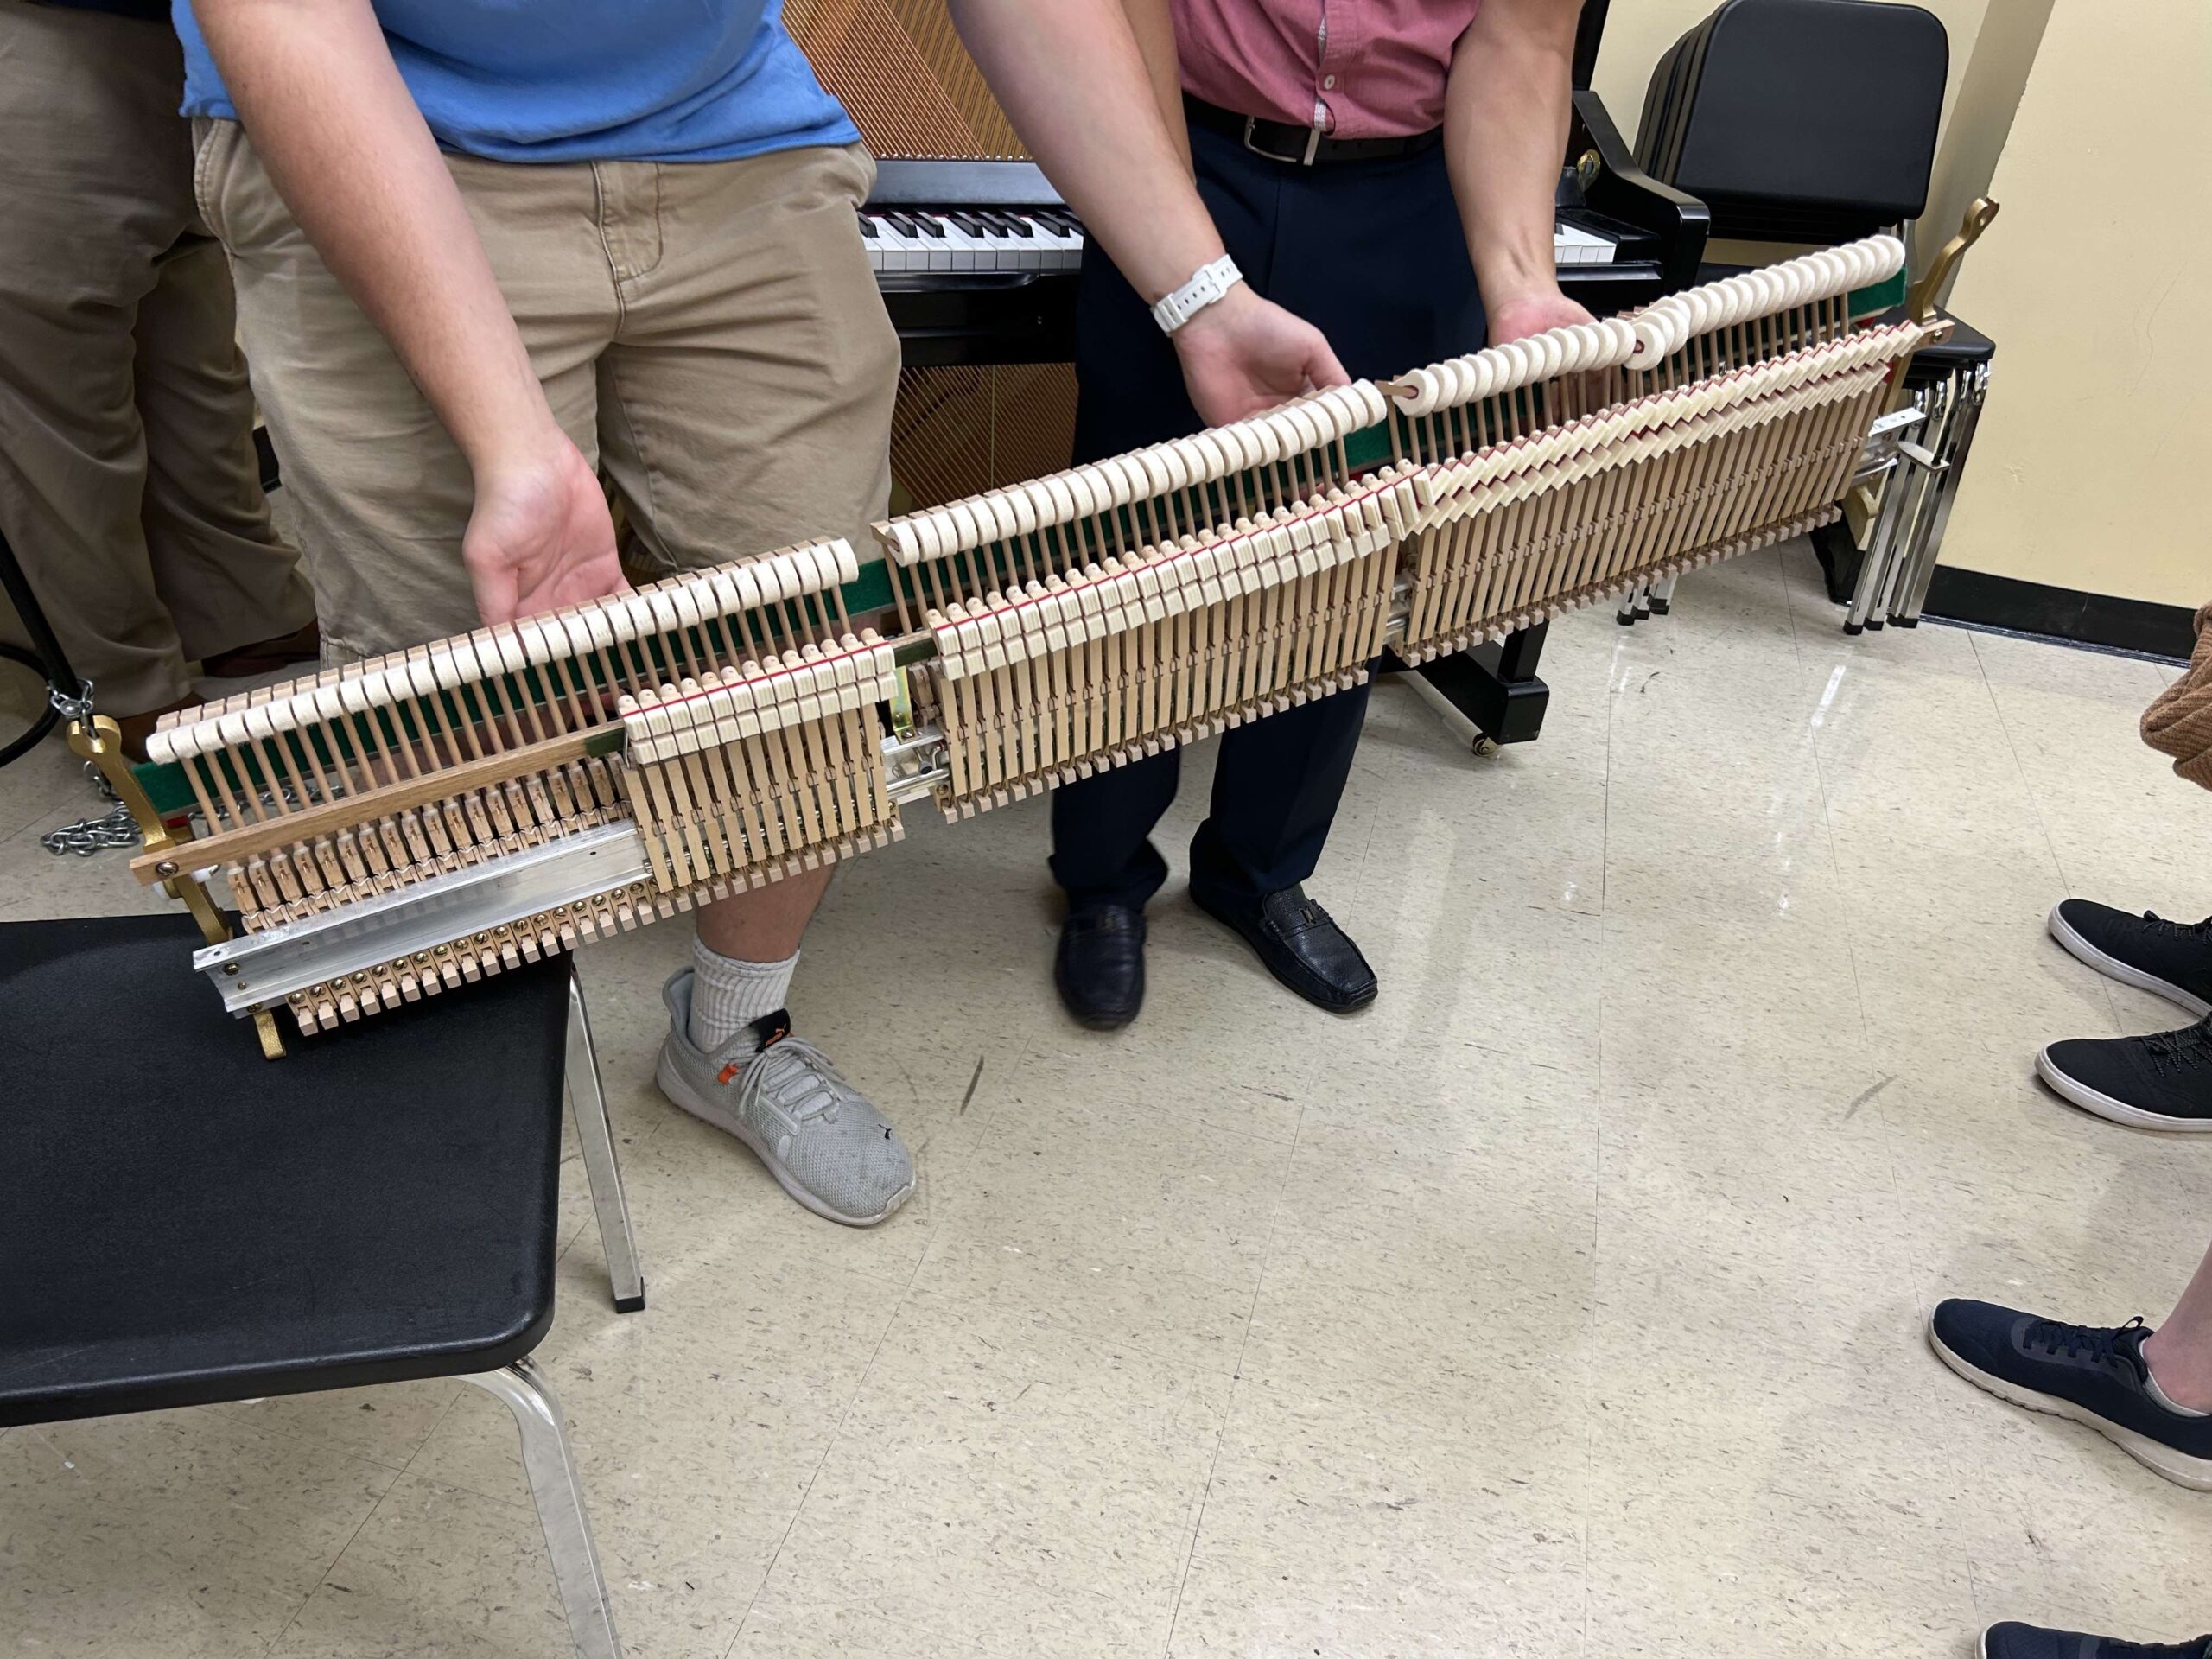
Now that the upright action is no longer tethered to the main body of the piano, it can be lifted gently away by the hammer rail. I was surprised by how rigid the structure is overall. It’s rewarding to see all of the different parts and pieces from every angle and note how there are no dampers for the upper register – something prior to starting this course I had no idea was the case. This explains the random singing that my Steinway can do from time to time after loud noises vibrate those upper strings. You can see the cross-section of the action and get familiar with the vocabulary of the parts from my first post linked here. Next, we will get into cleaning, but removing the action is an integral part of the operation.
