Repetition Lever On Life
While I still wrap my head around the many challenging tuning exercises that I struggle to put to words, some interesting things are happening around the piano shop. I’m also in the thick of practicing and refining the processes I’ve discussed in previous posts, so there isn’t exactly much to discuss in terms of new activities – the midseason slump. Sometimes repetition is necessary for practice, but it isn’t the most riveting content upon which to build a blog. I’ve had to get creative and look around for projects my new friends are working on, and that’s what I’ll discuss below.
Top or Bottom… You Decide
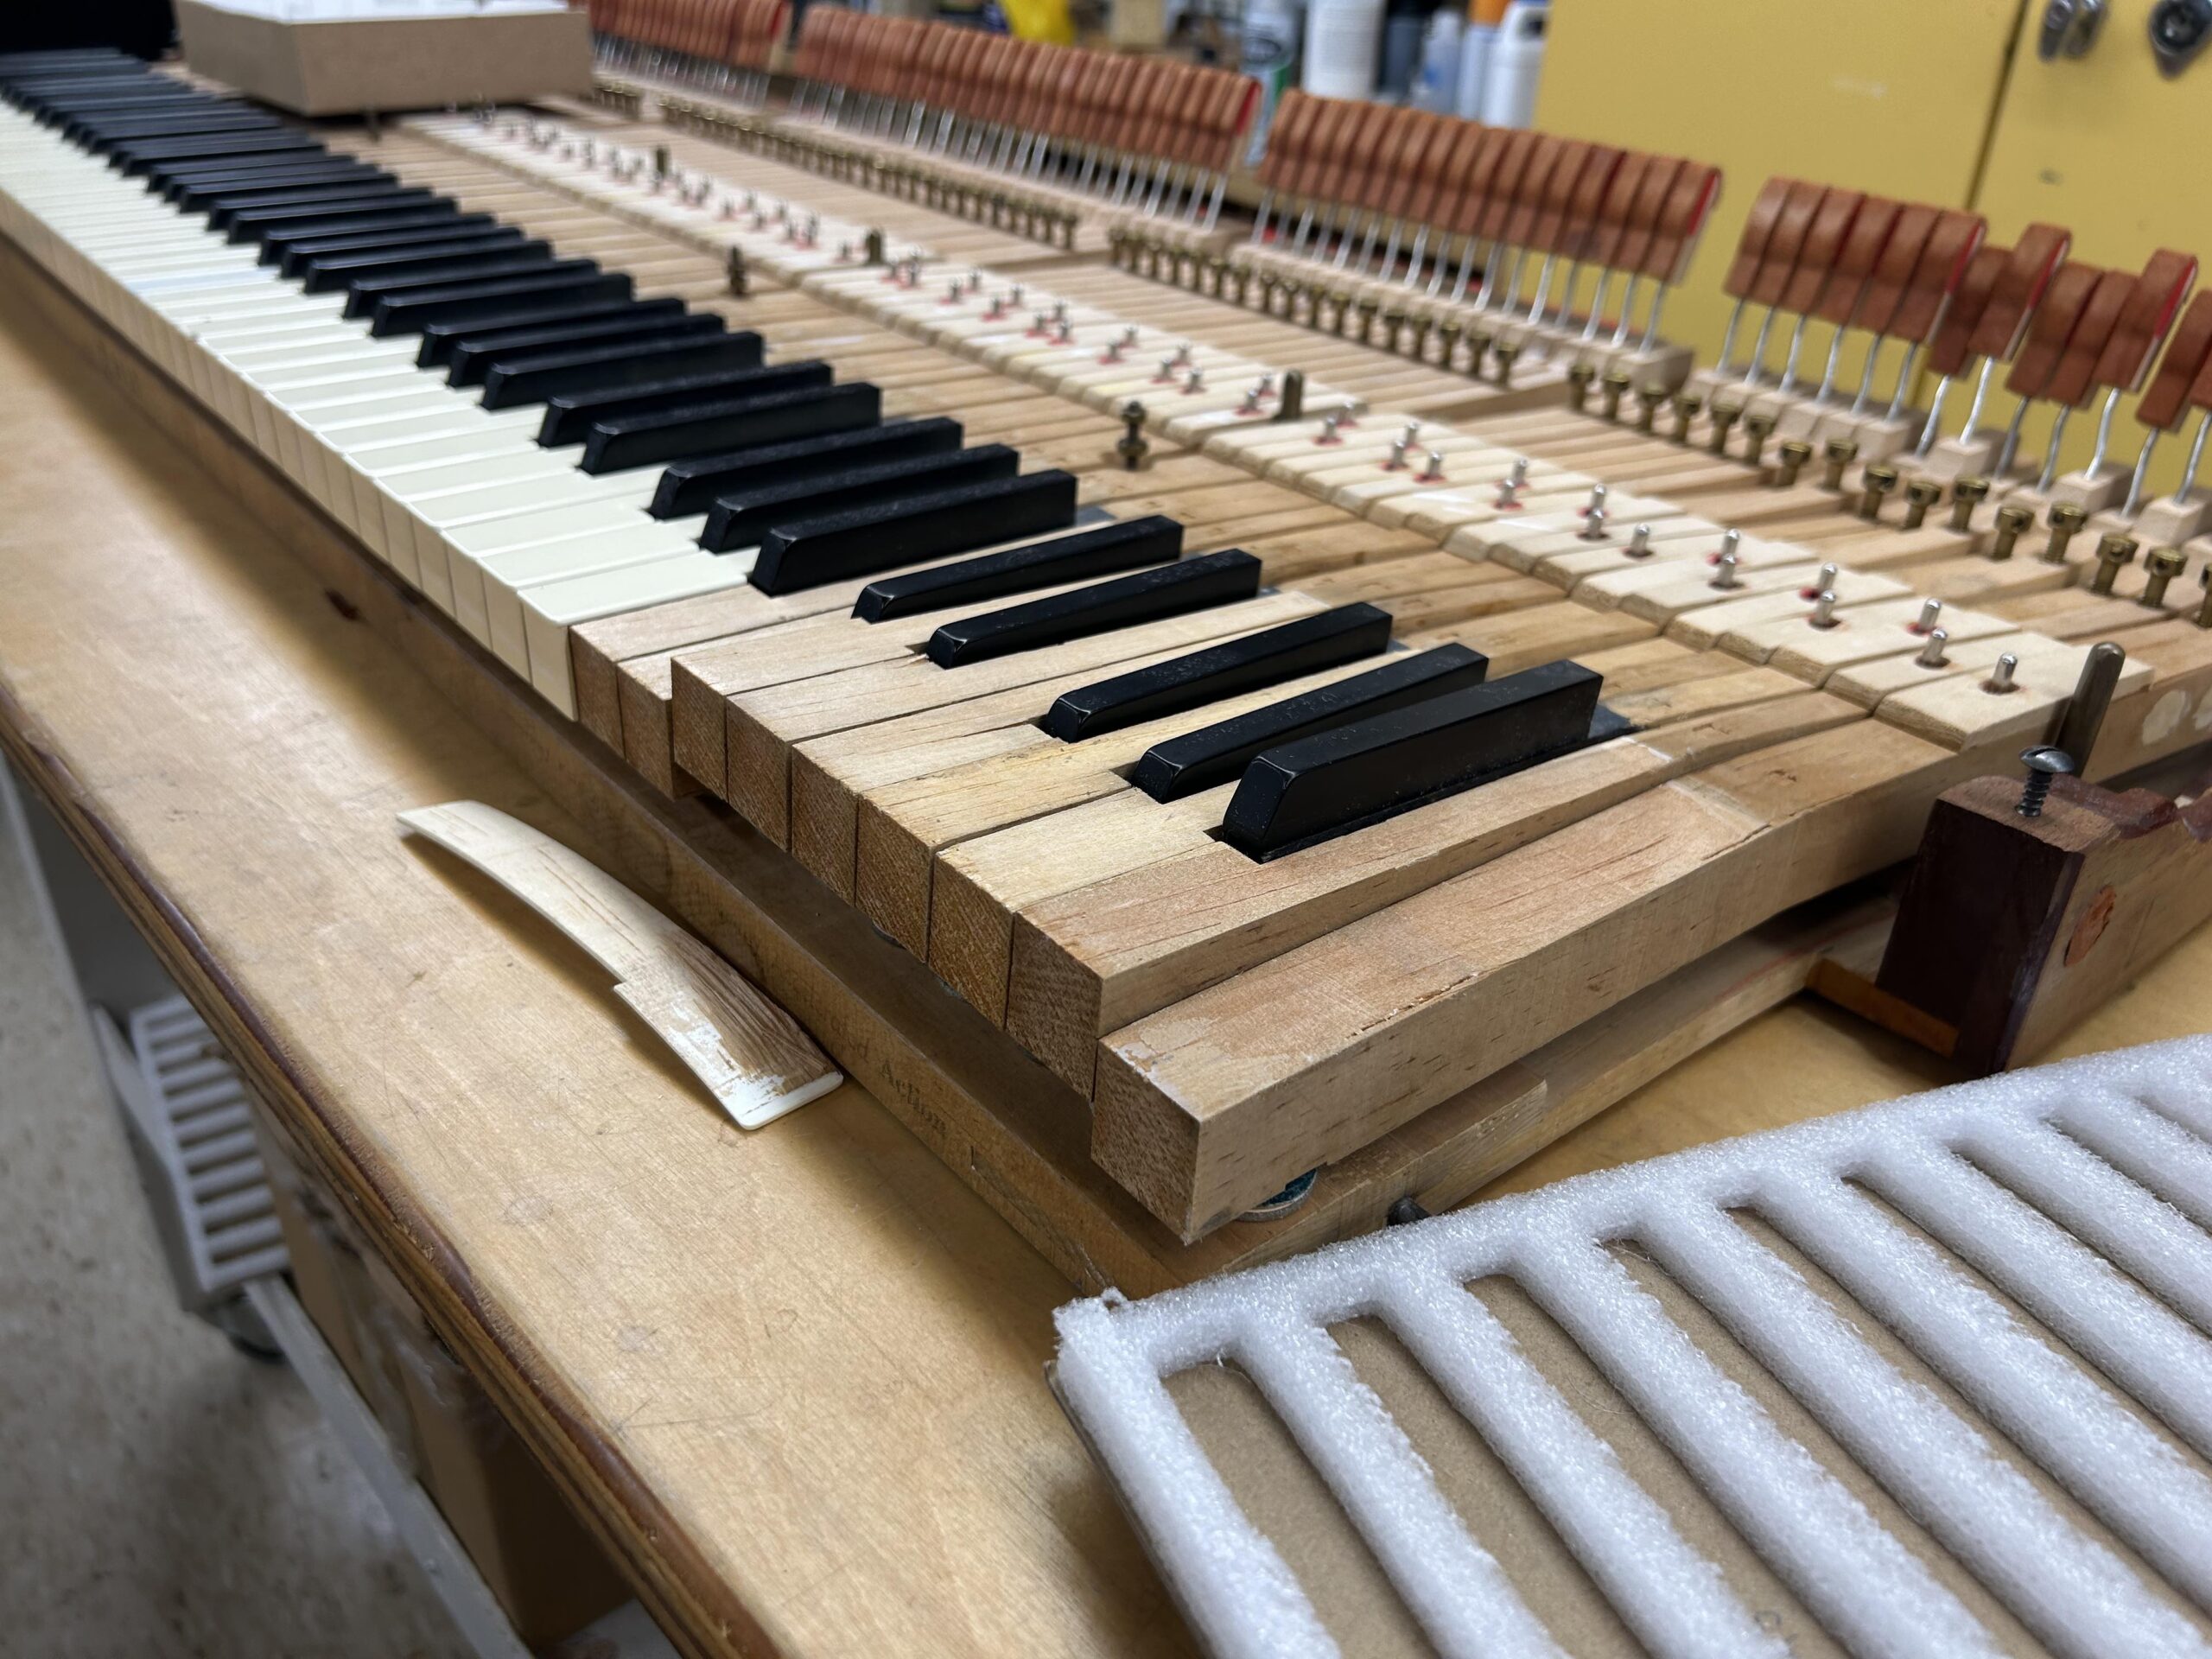
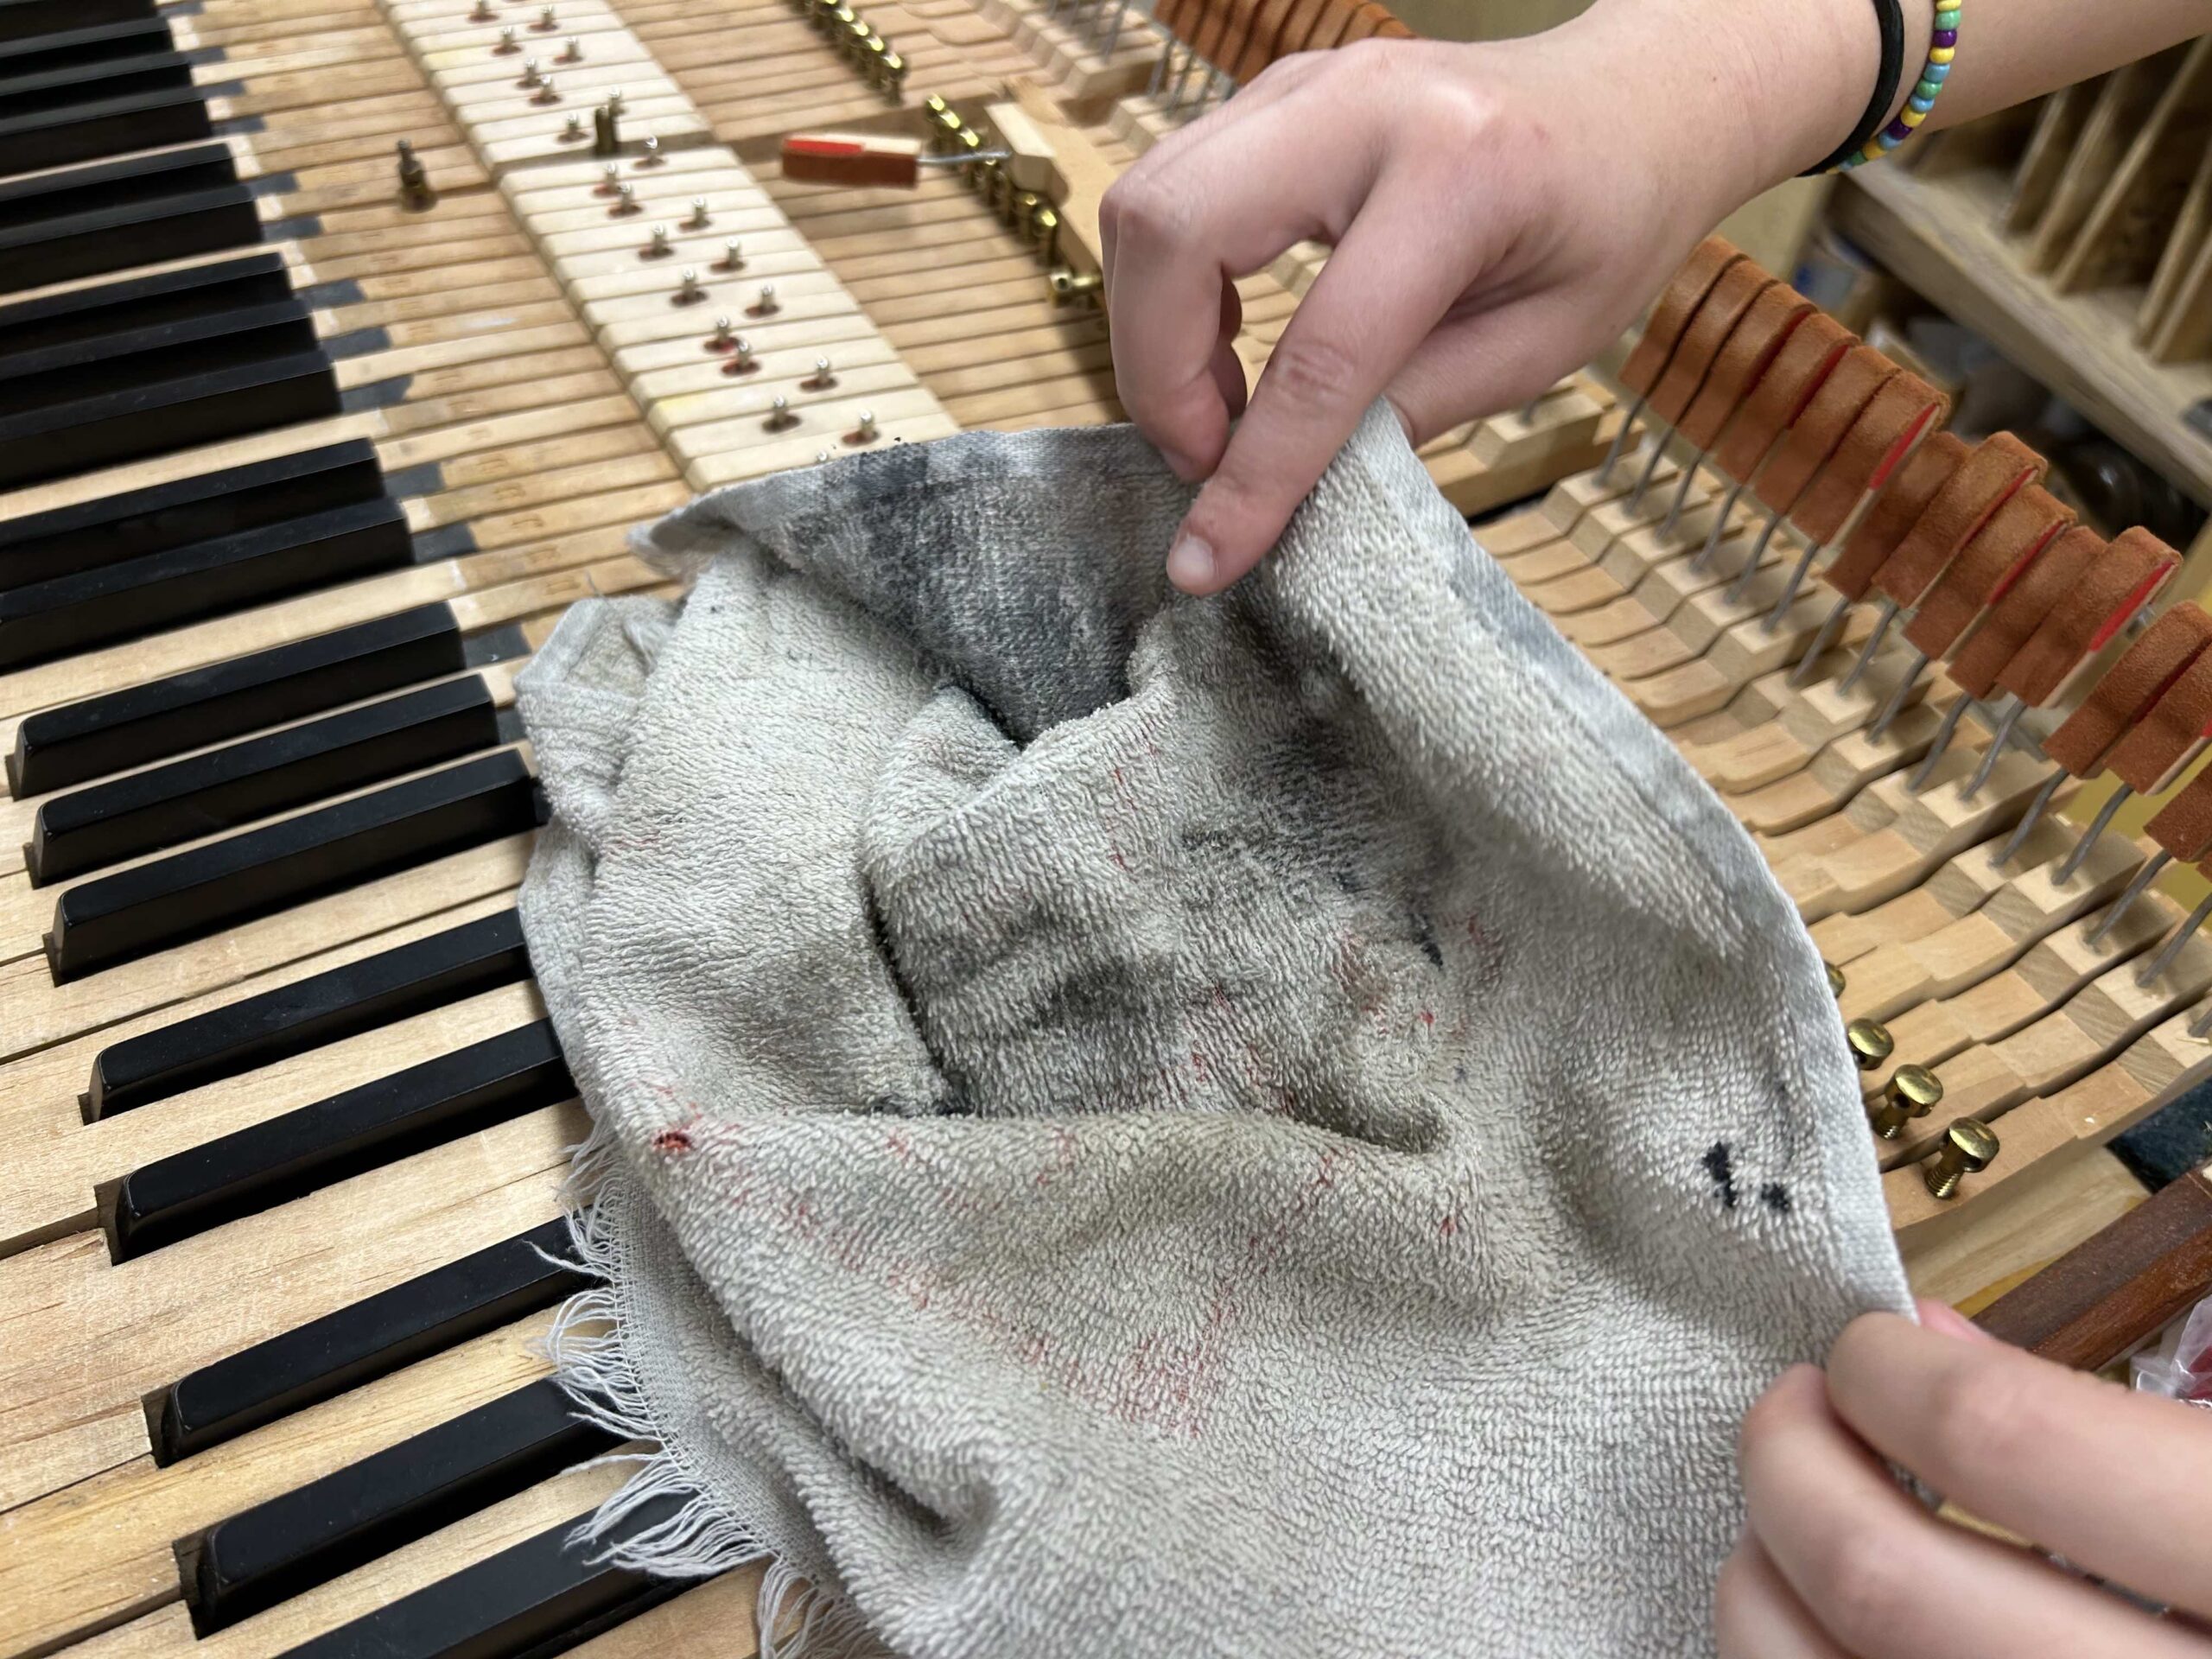
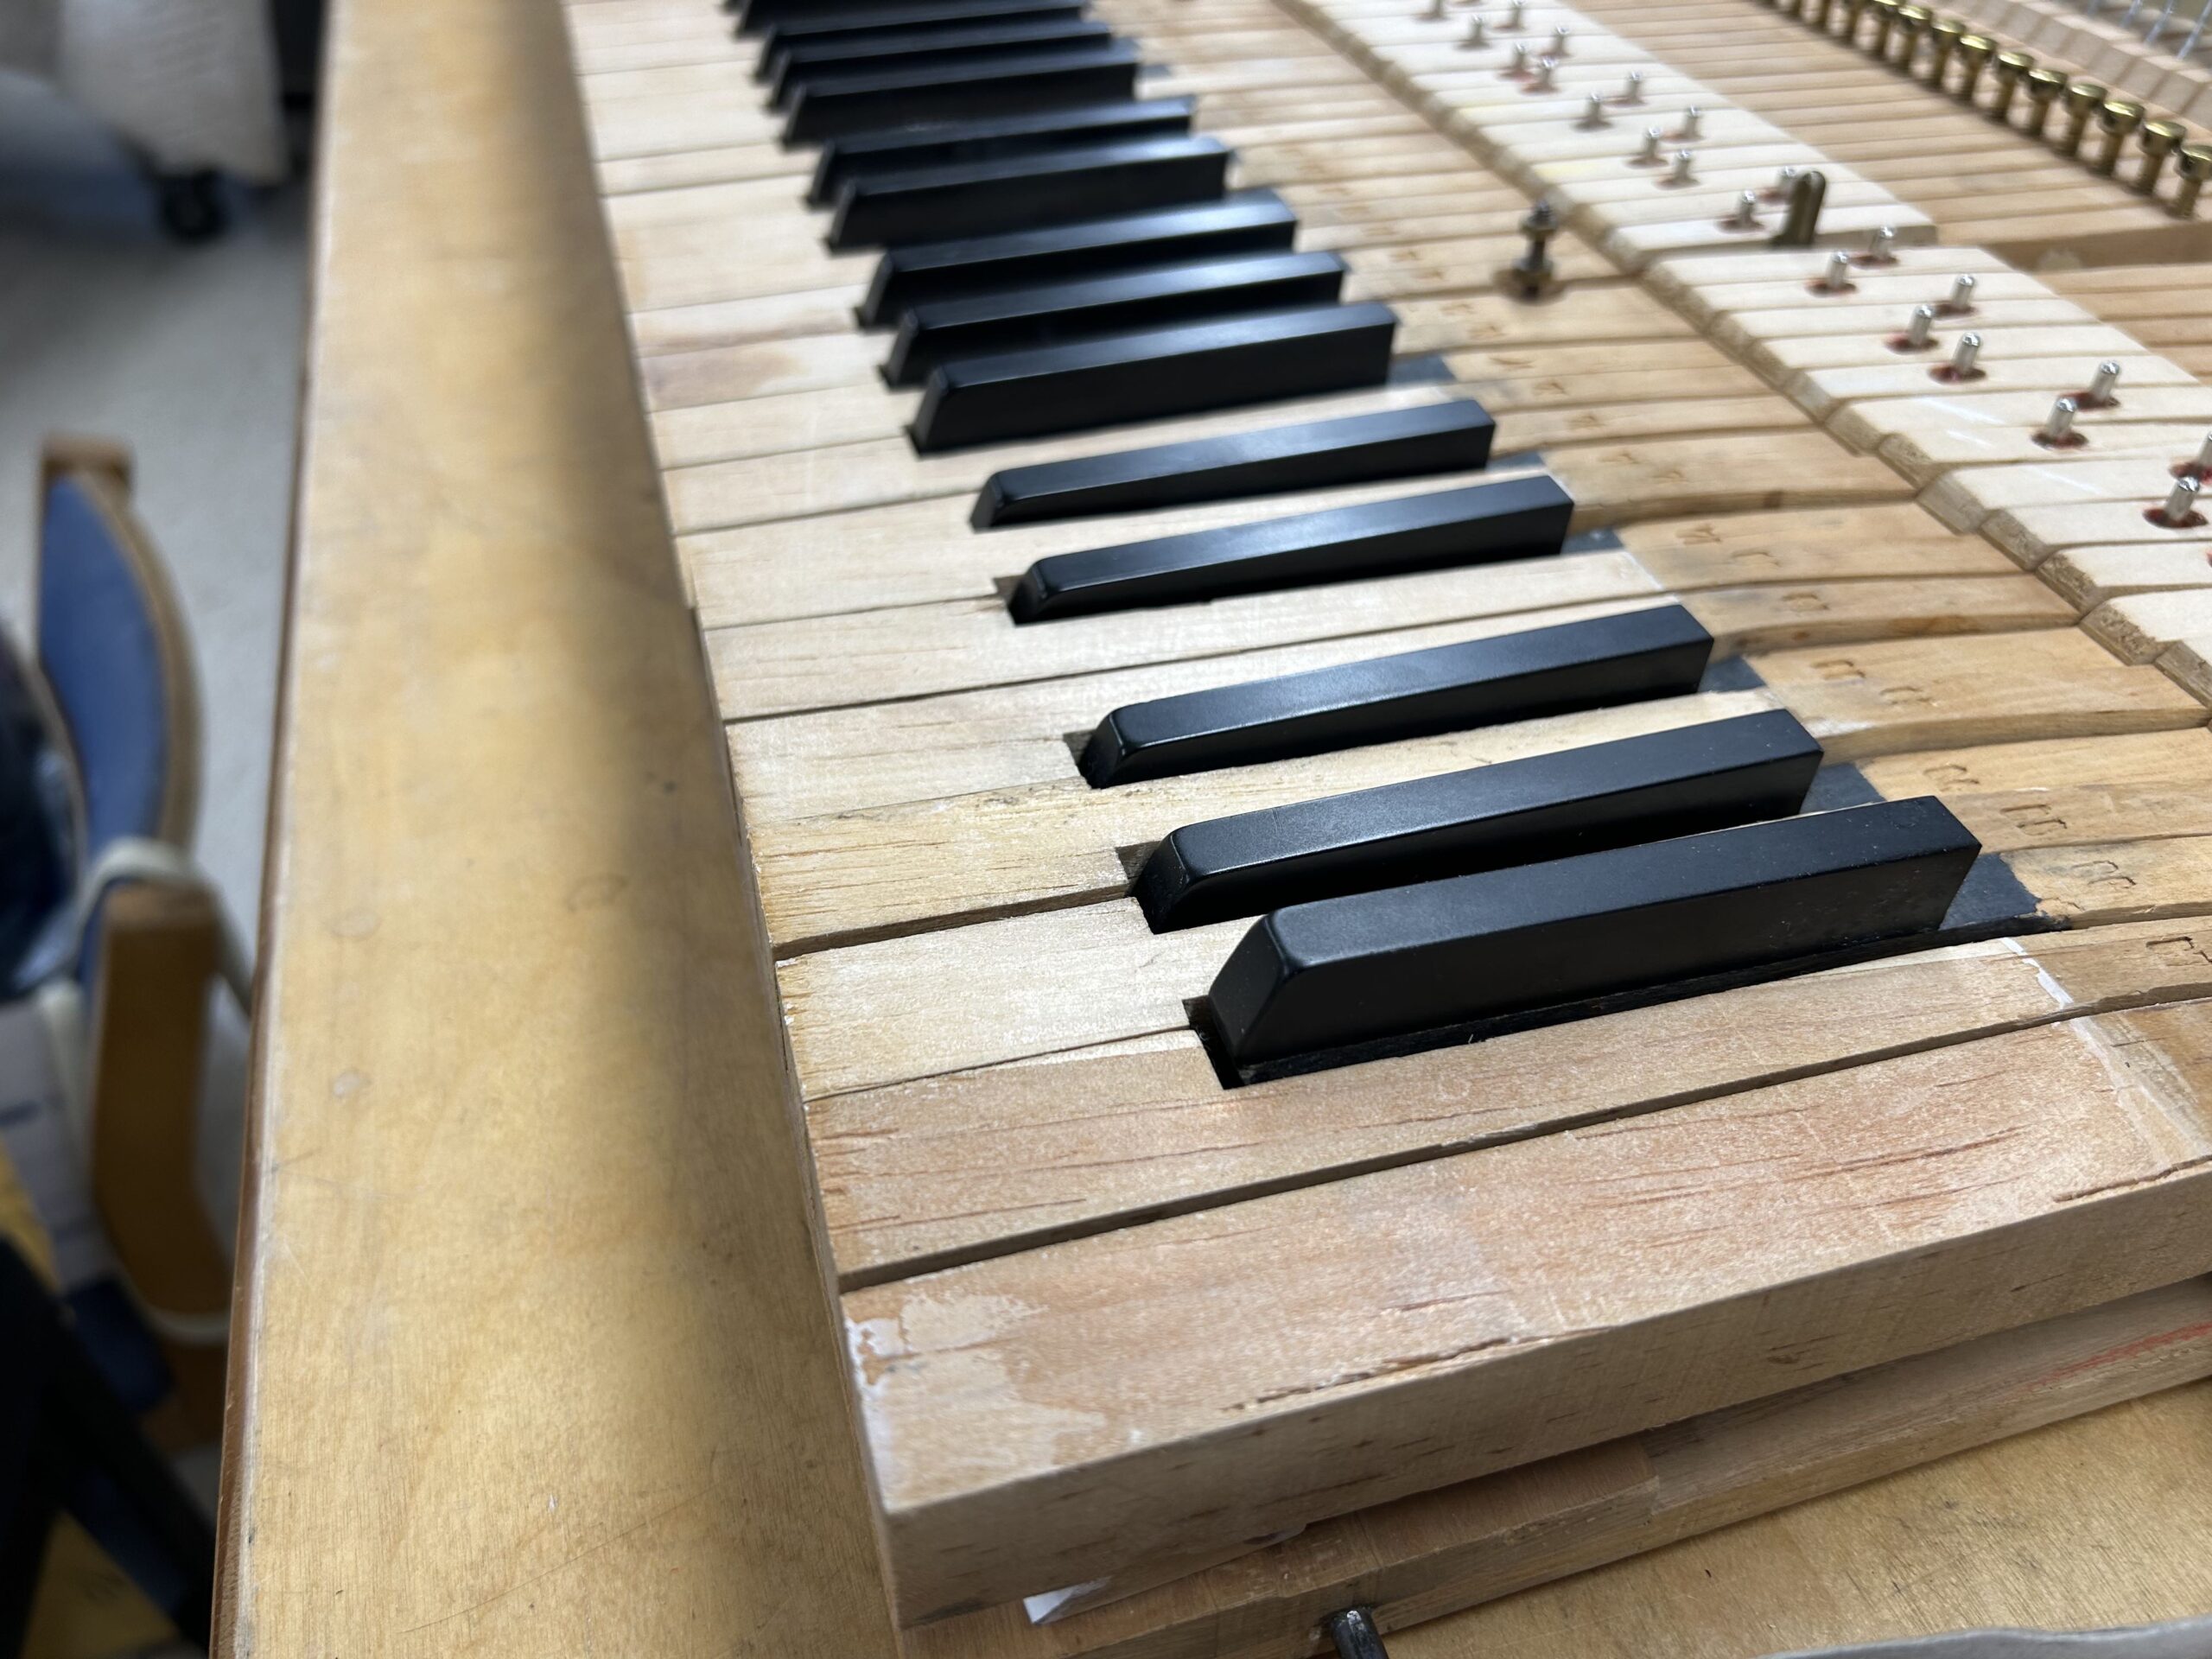
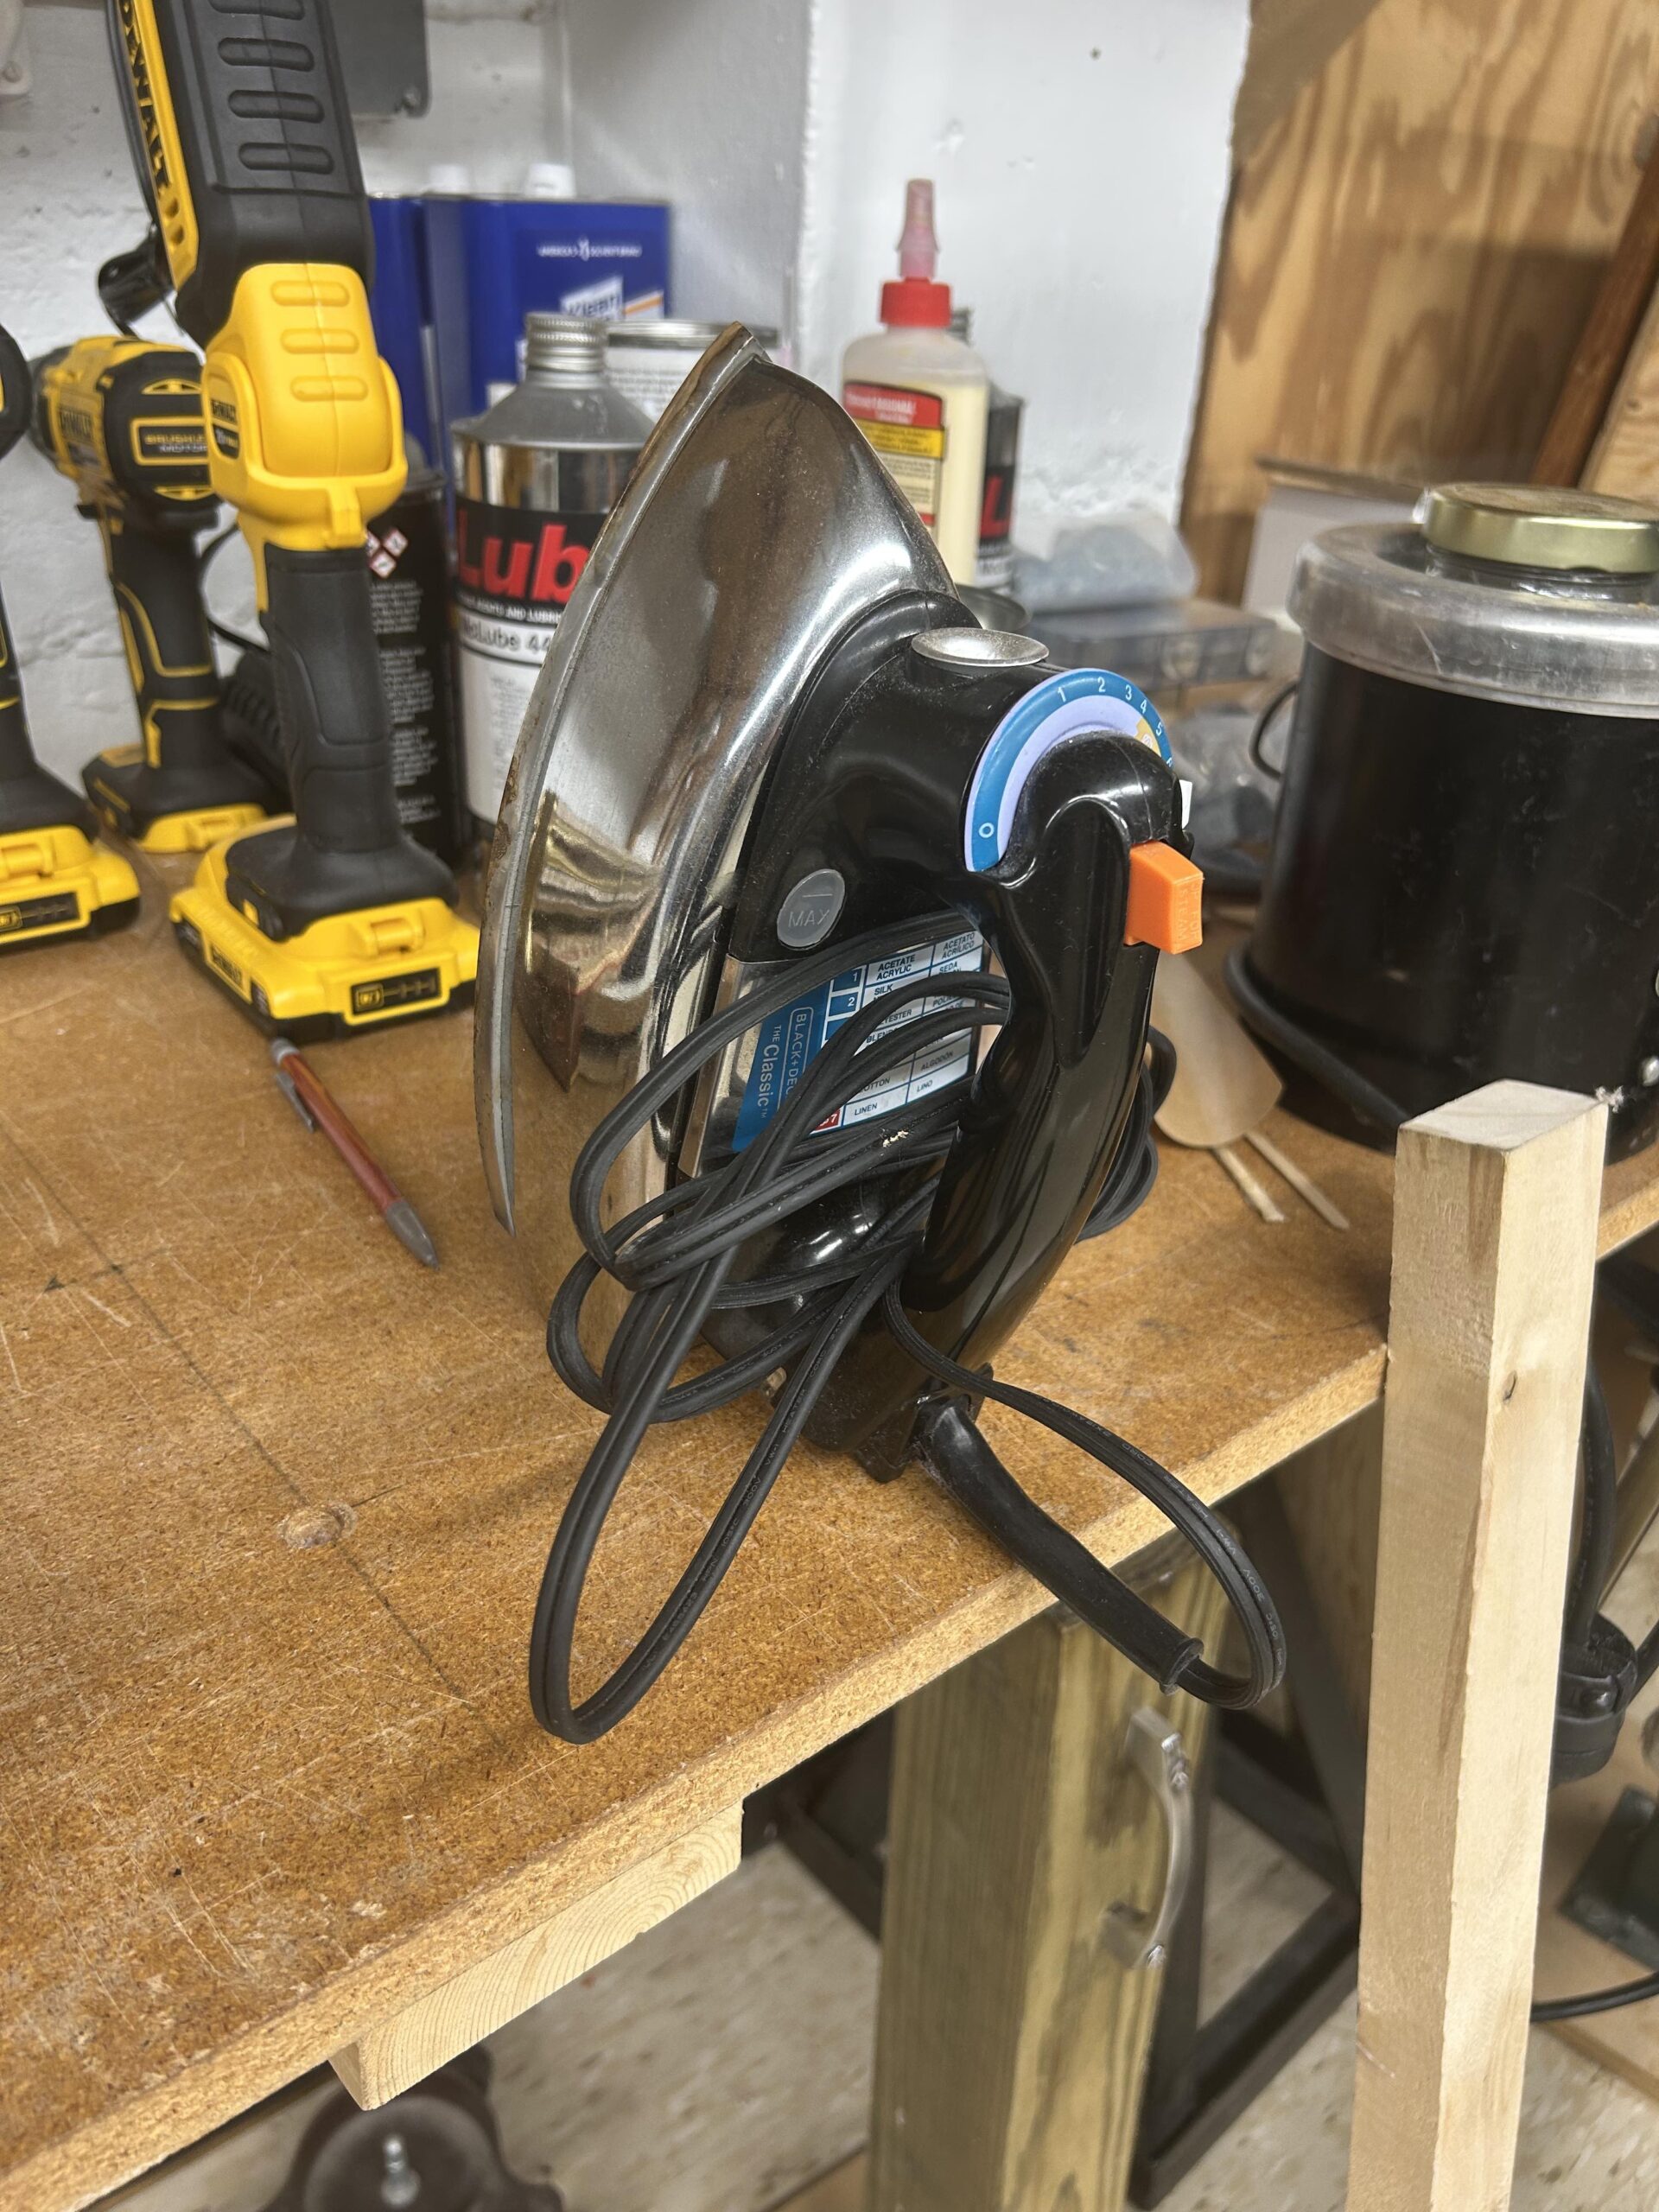
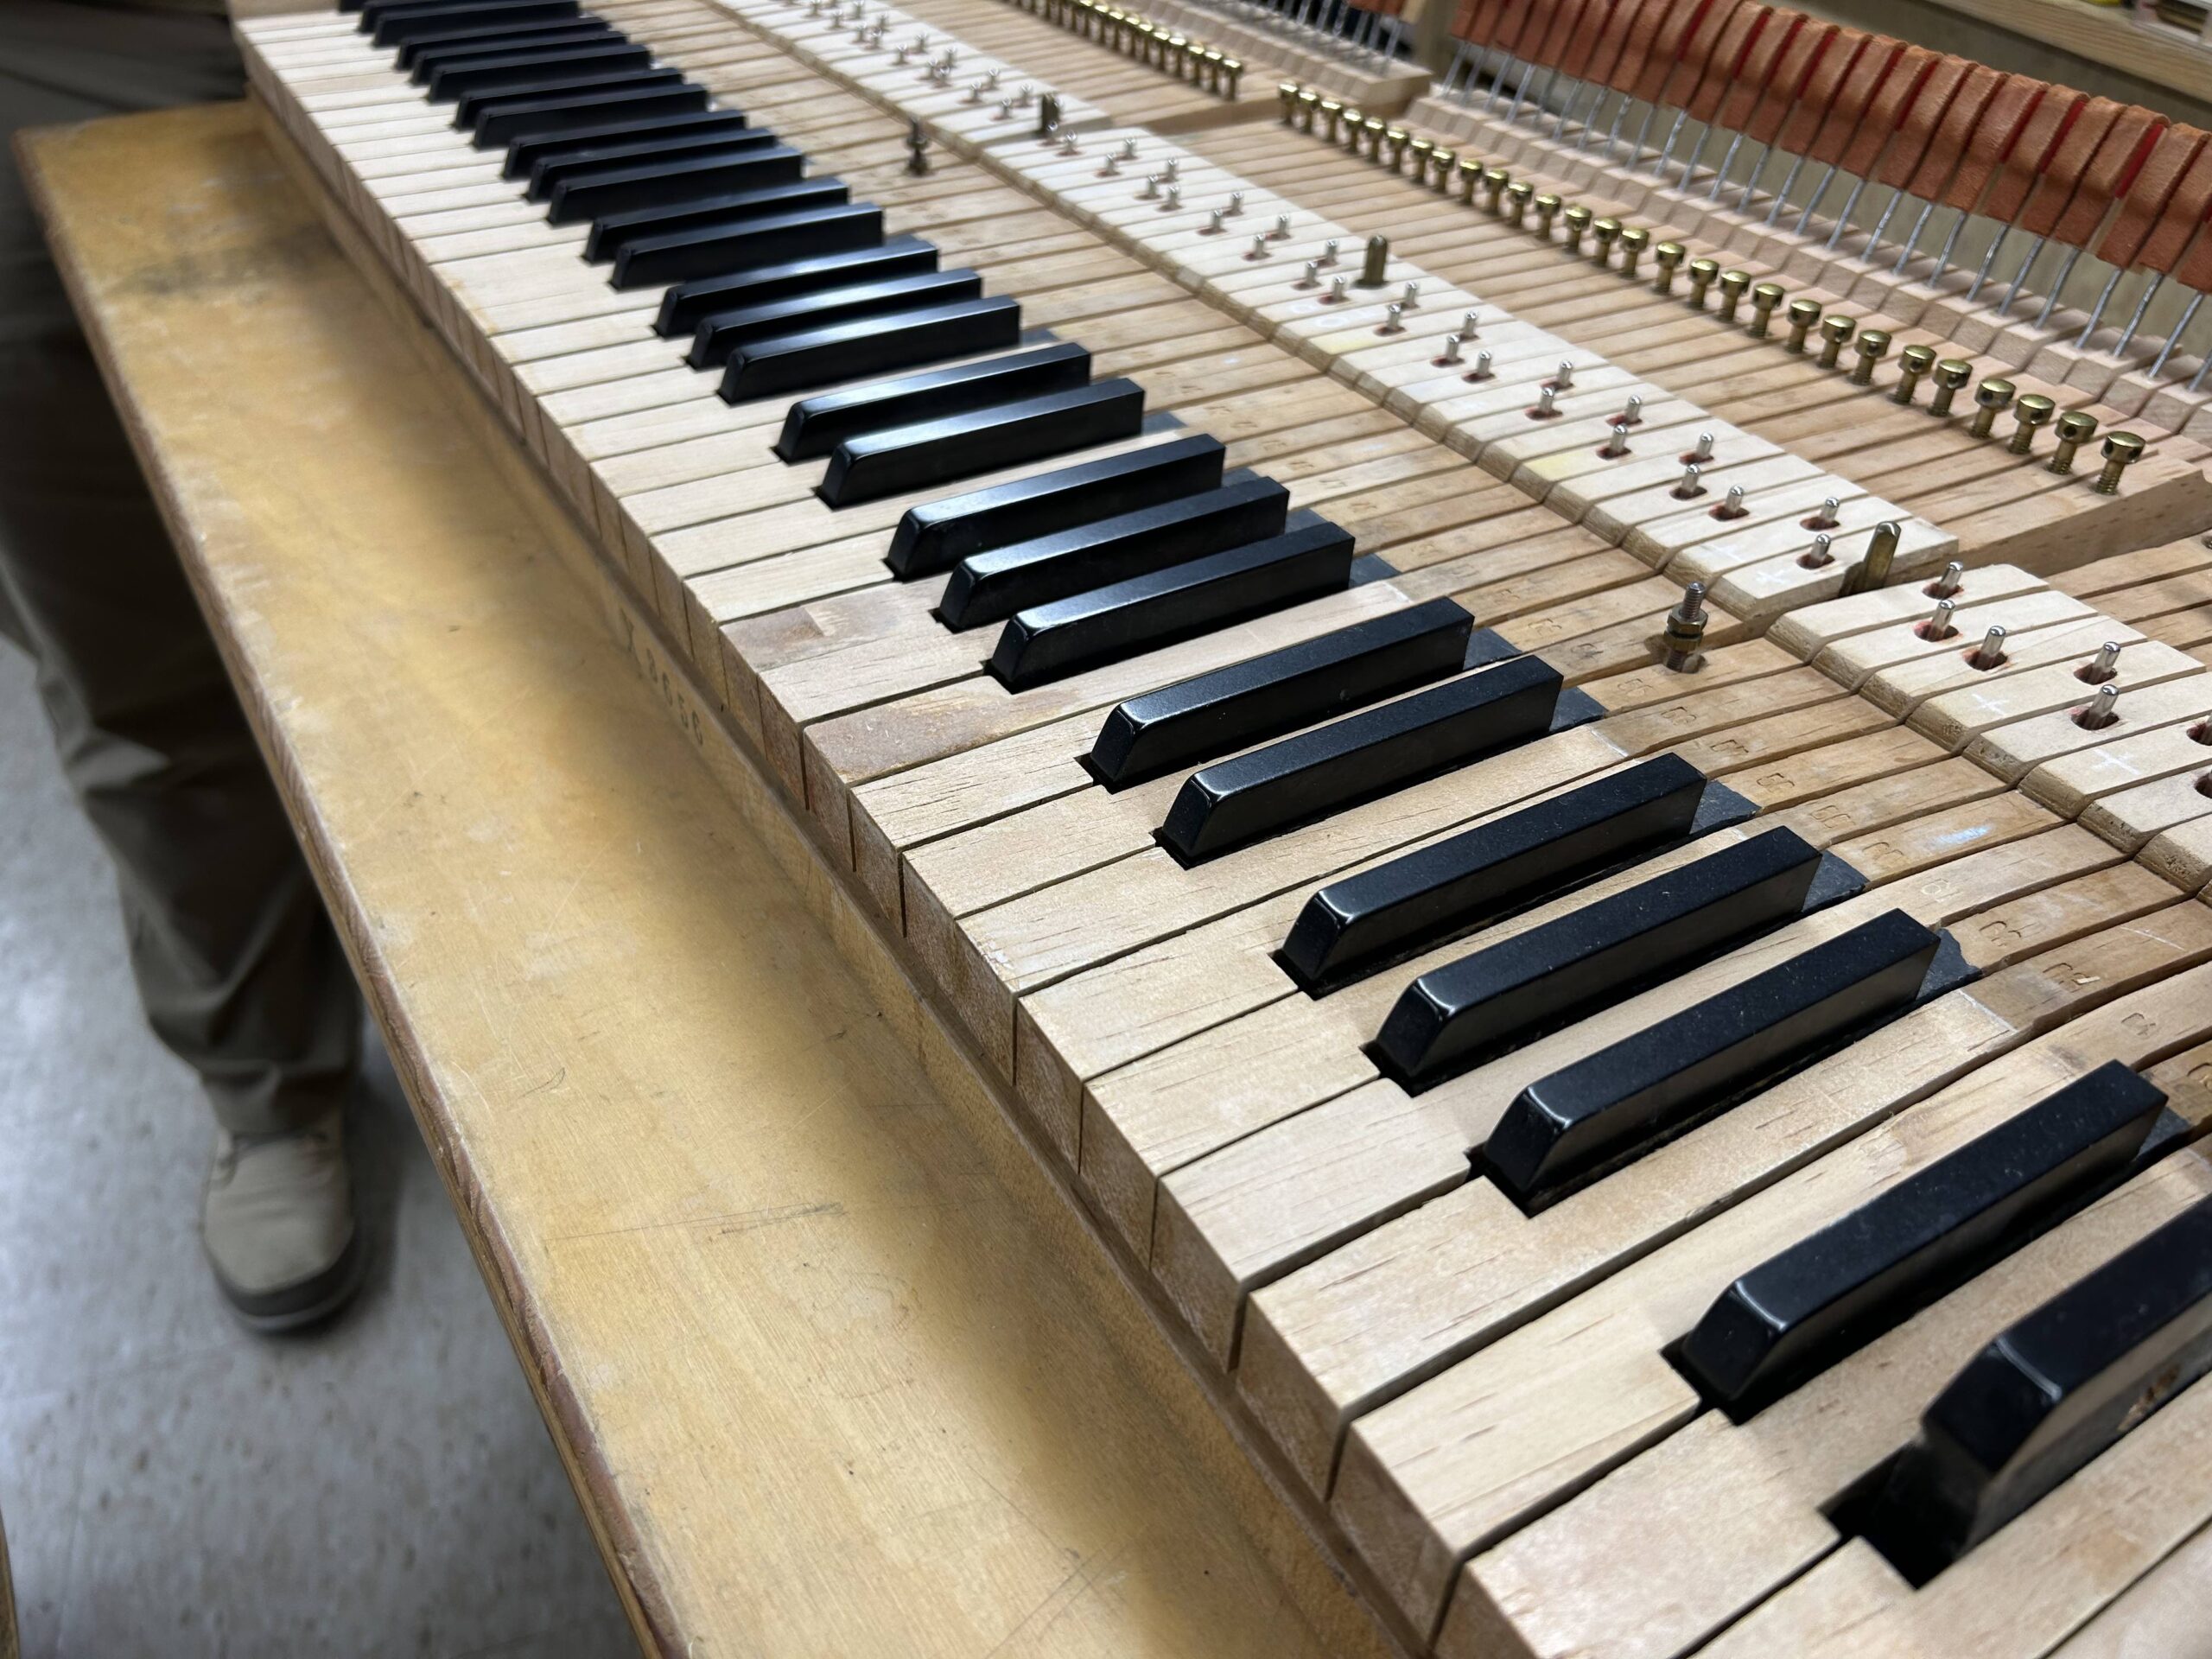
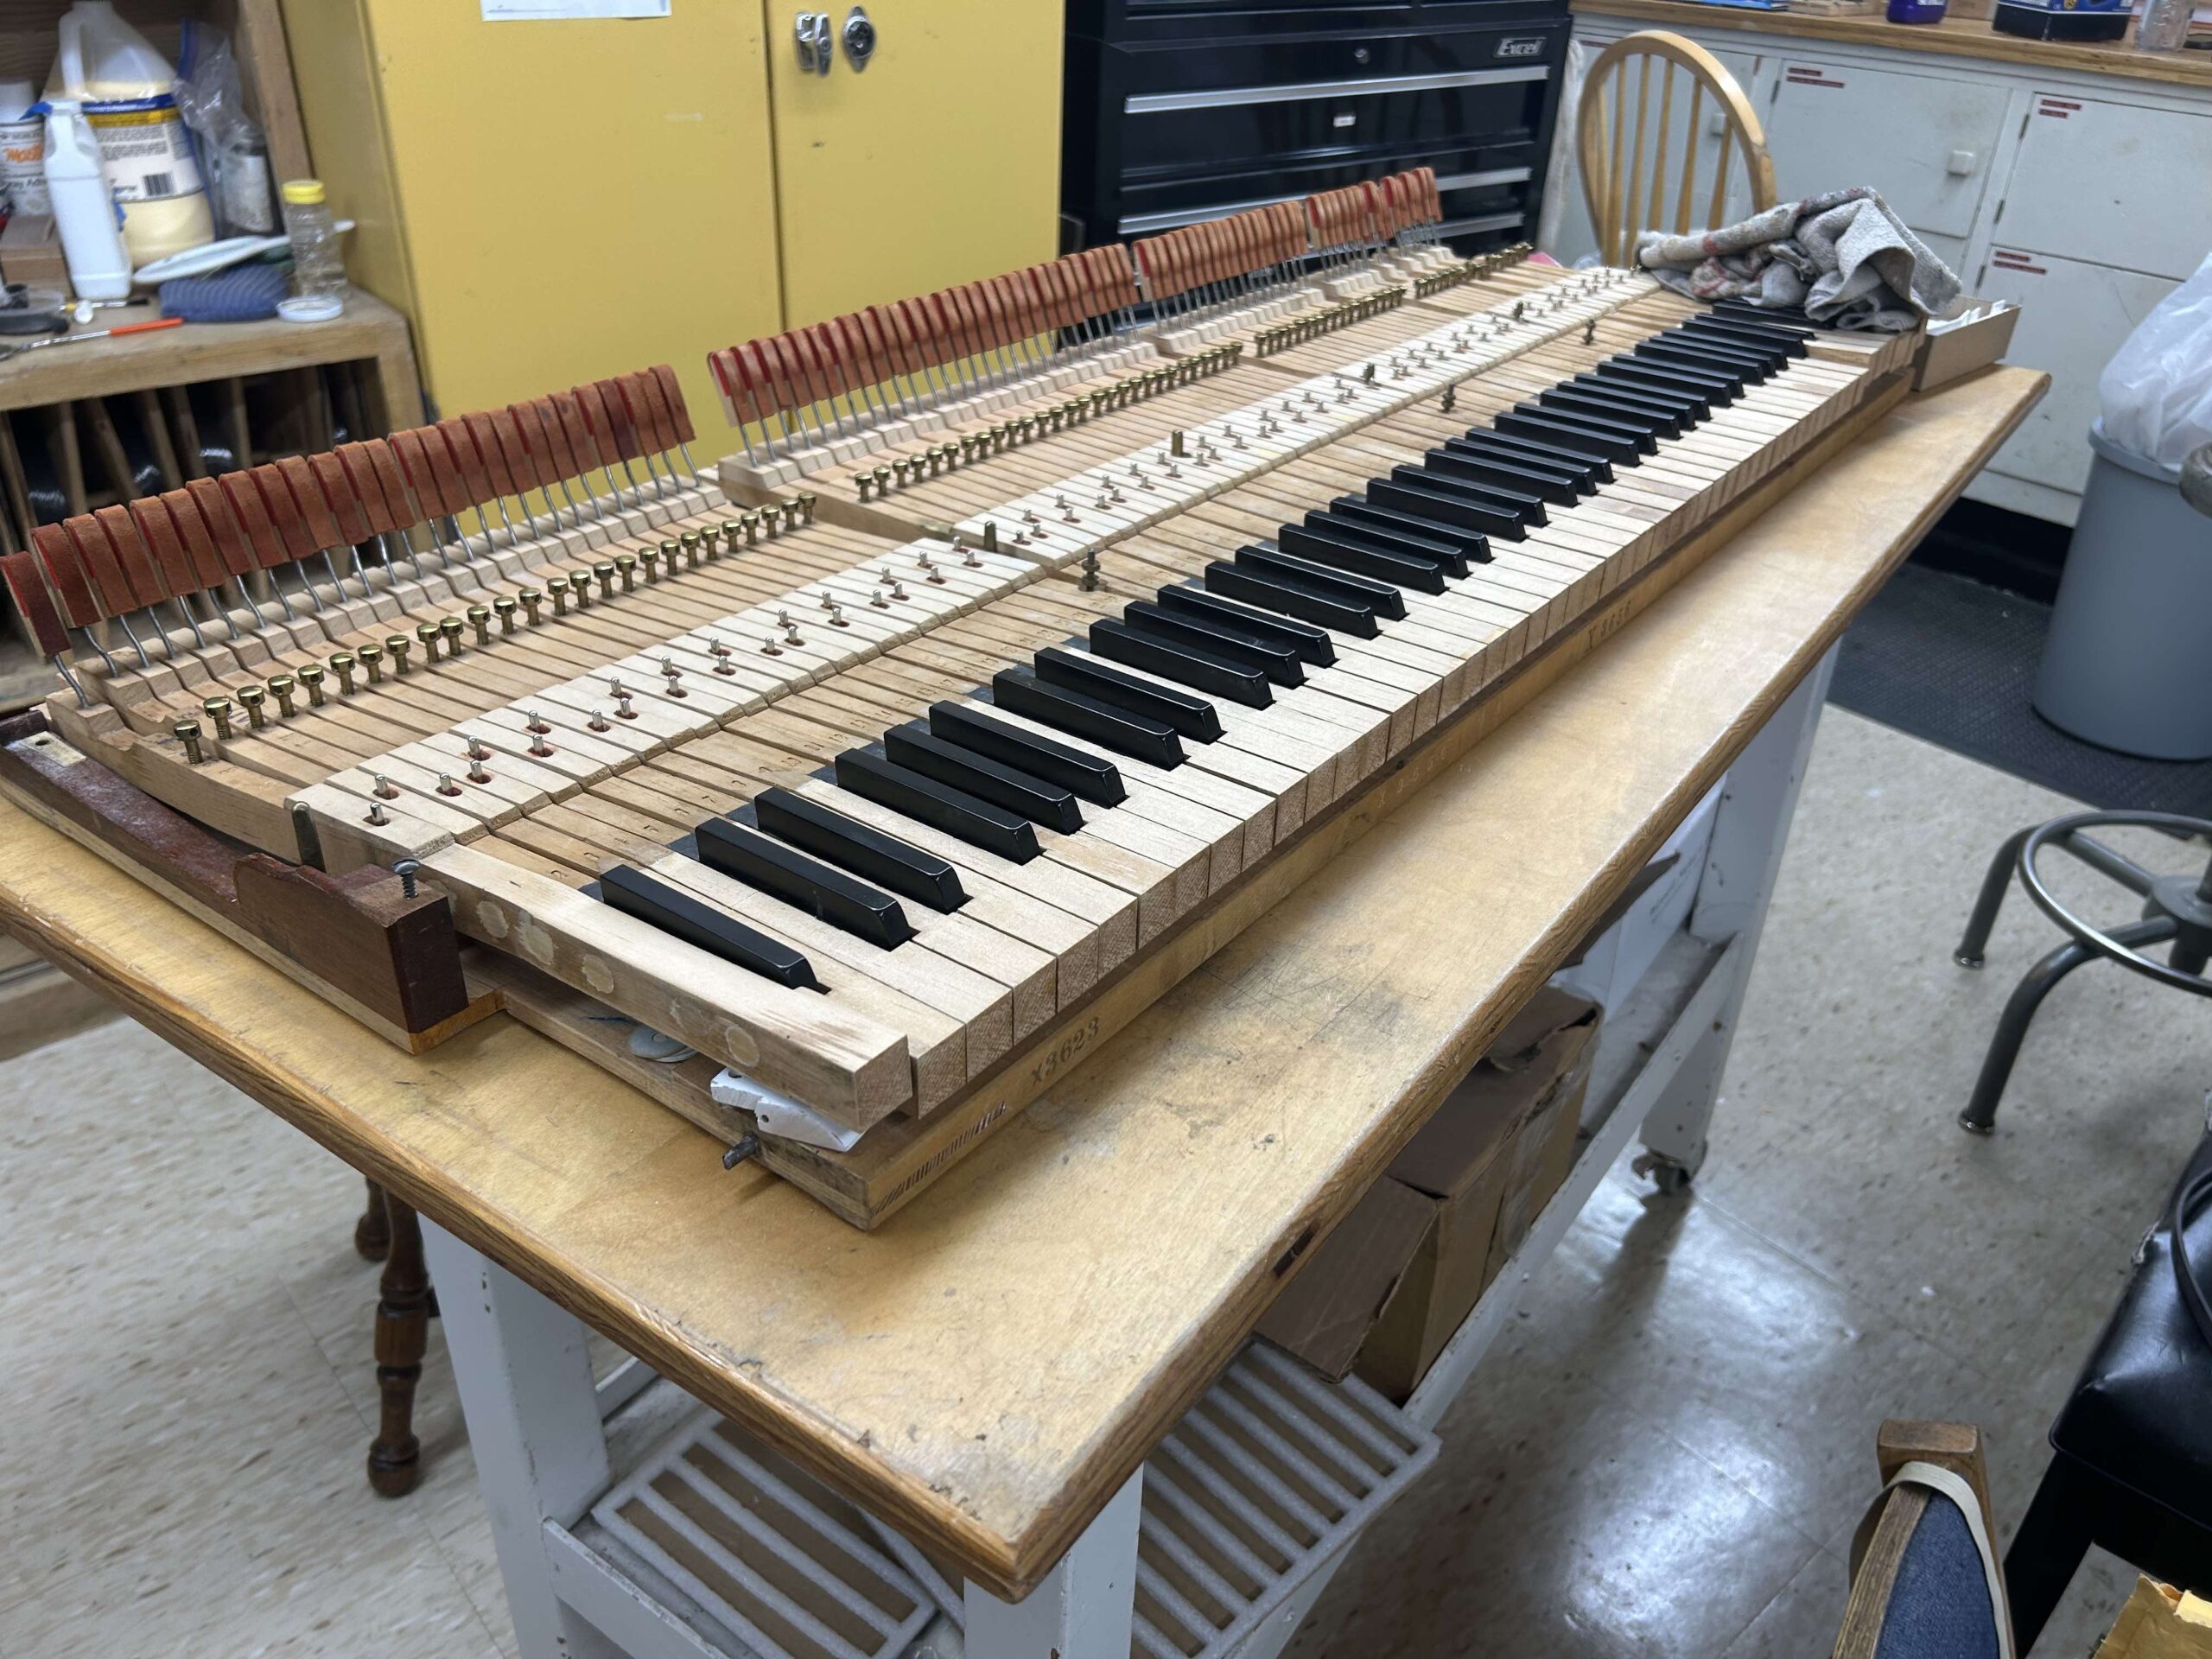
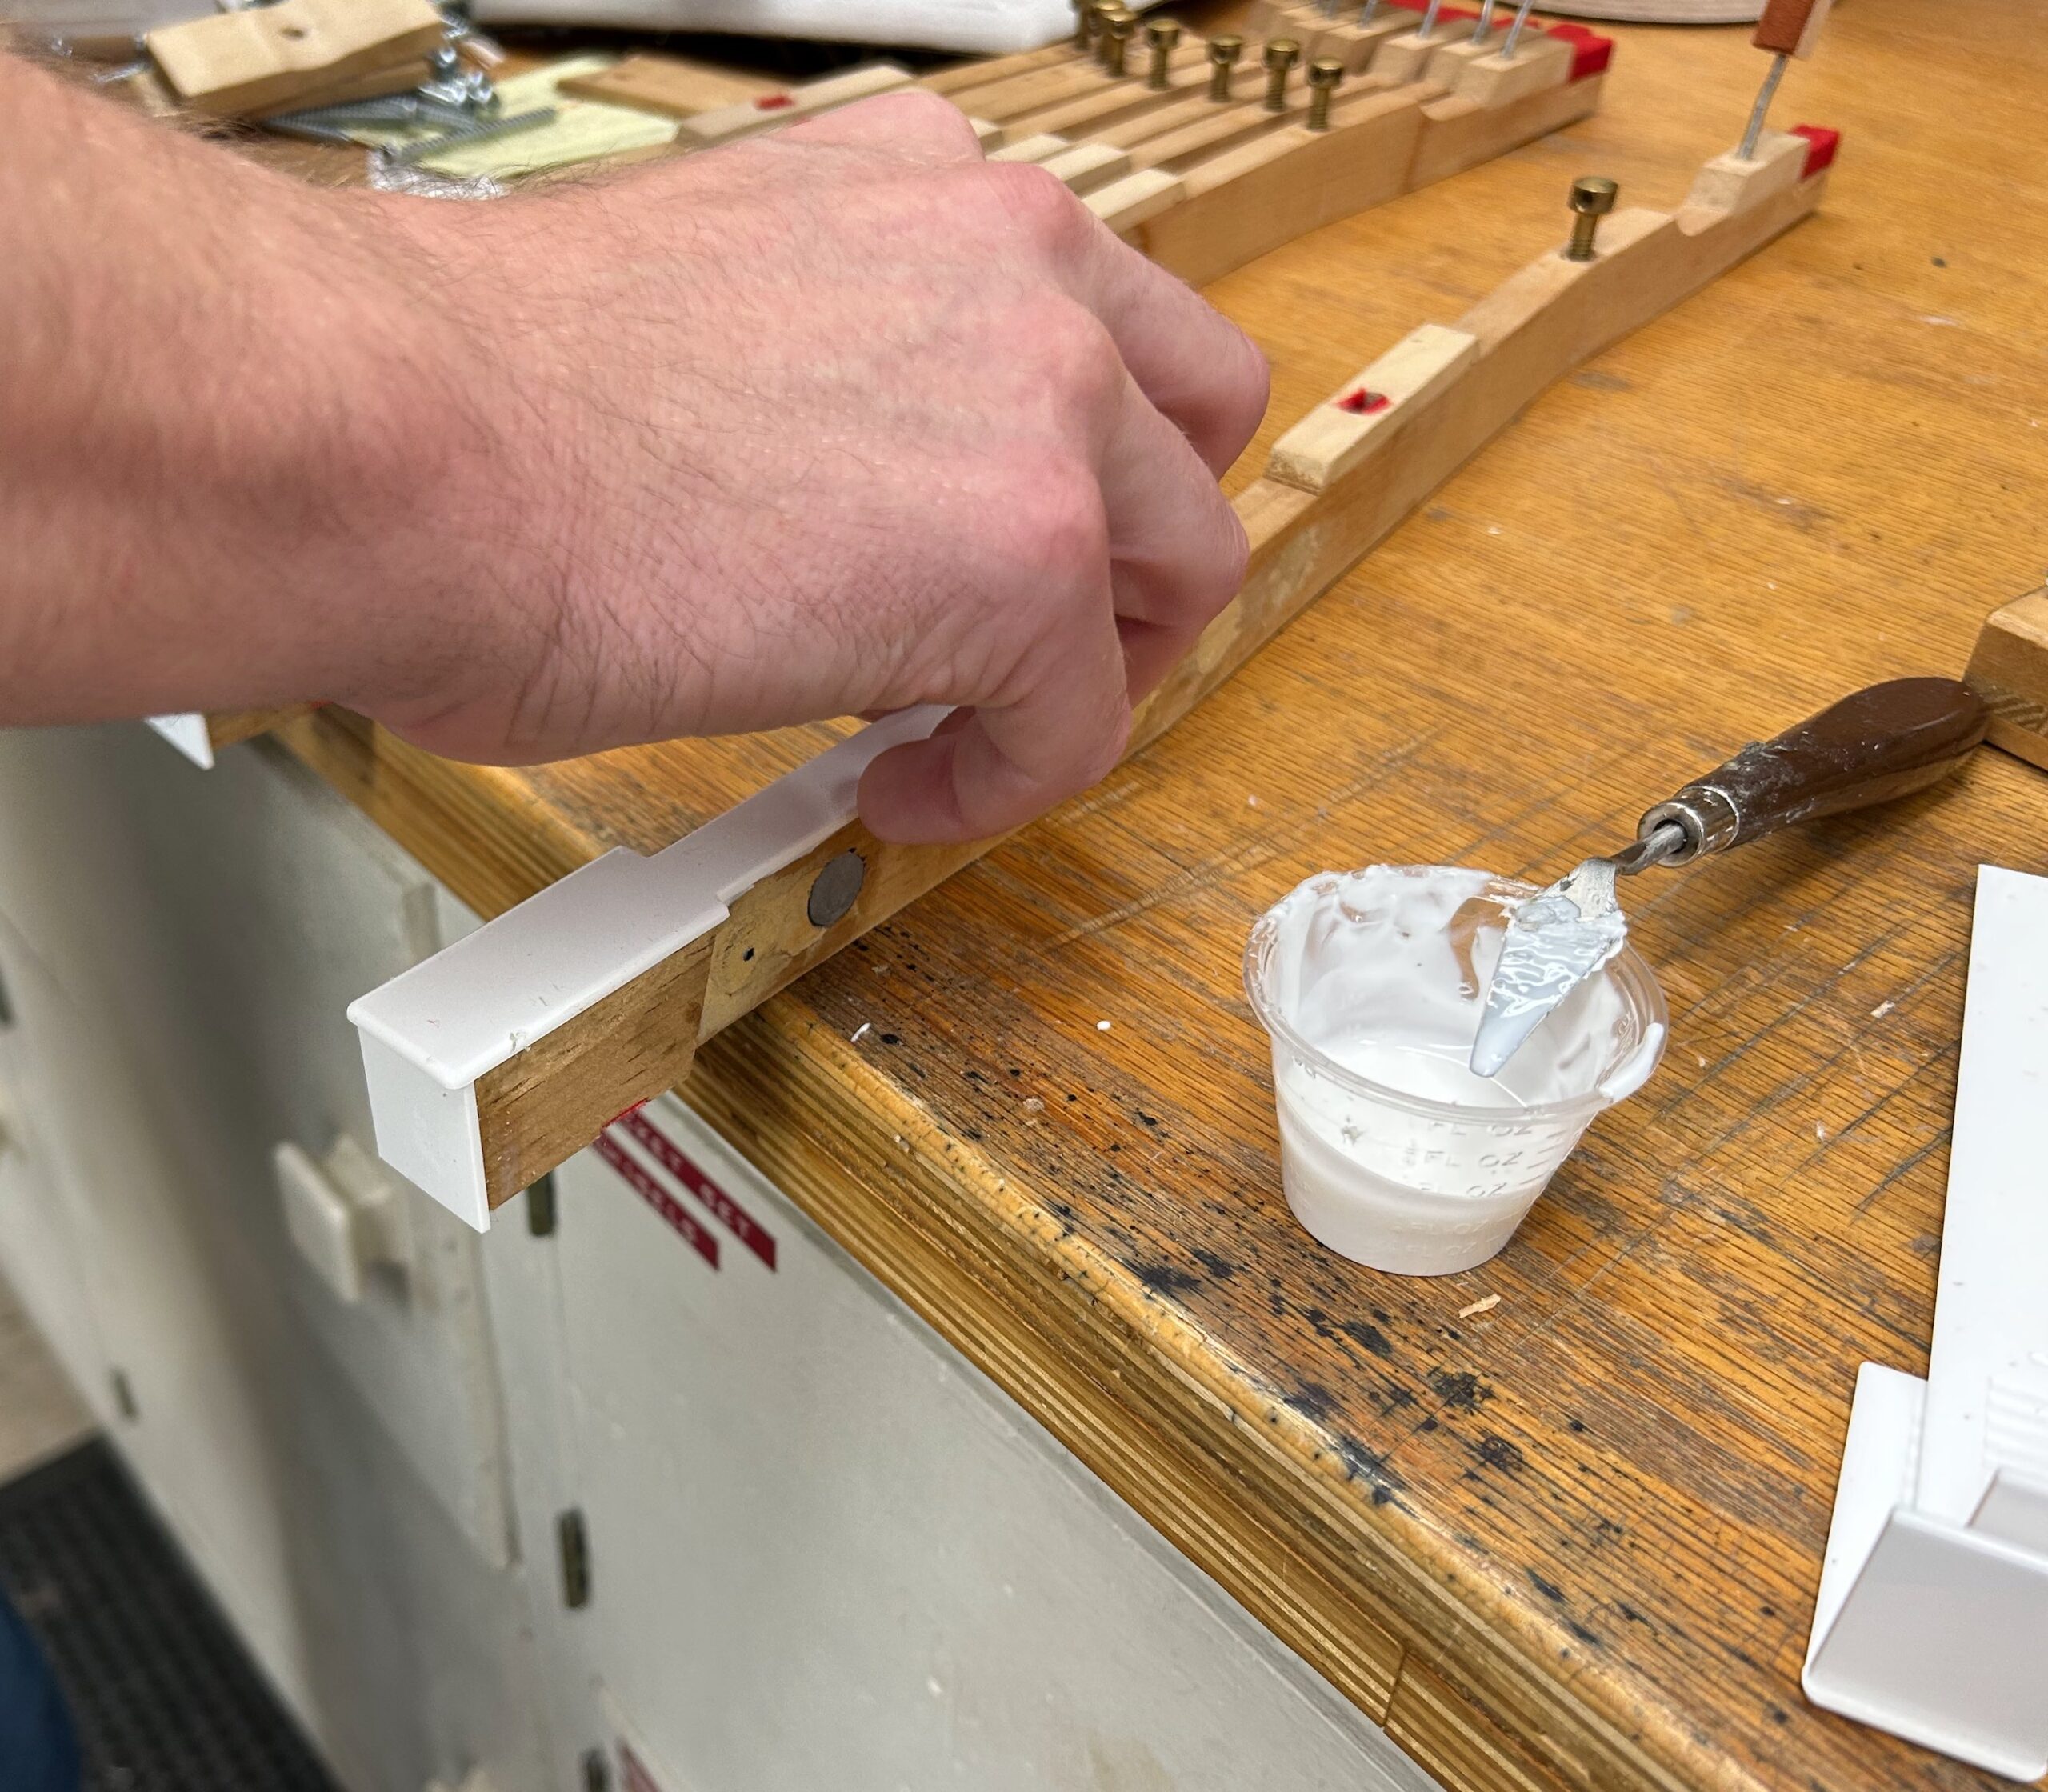
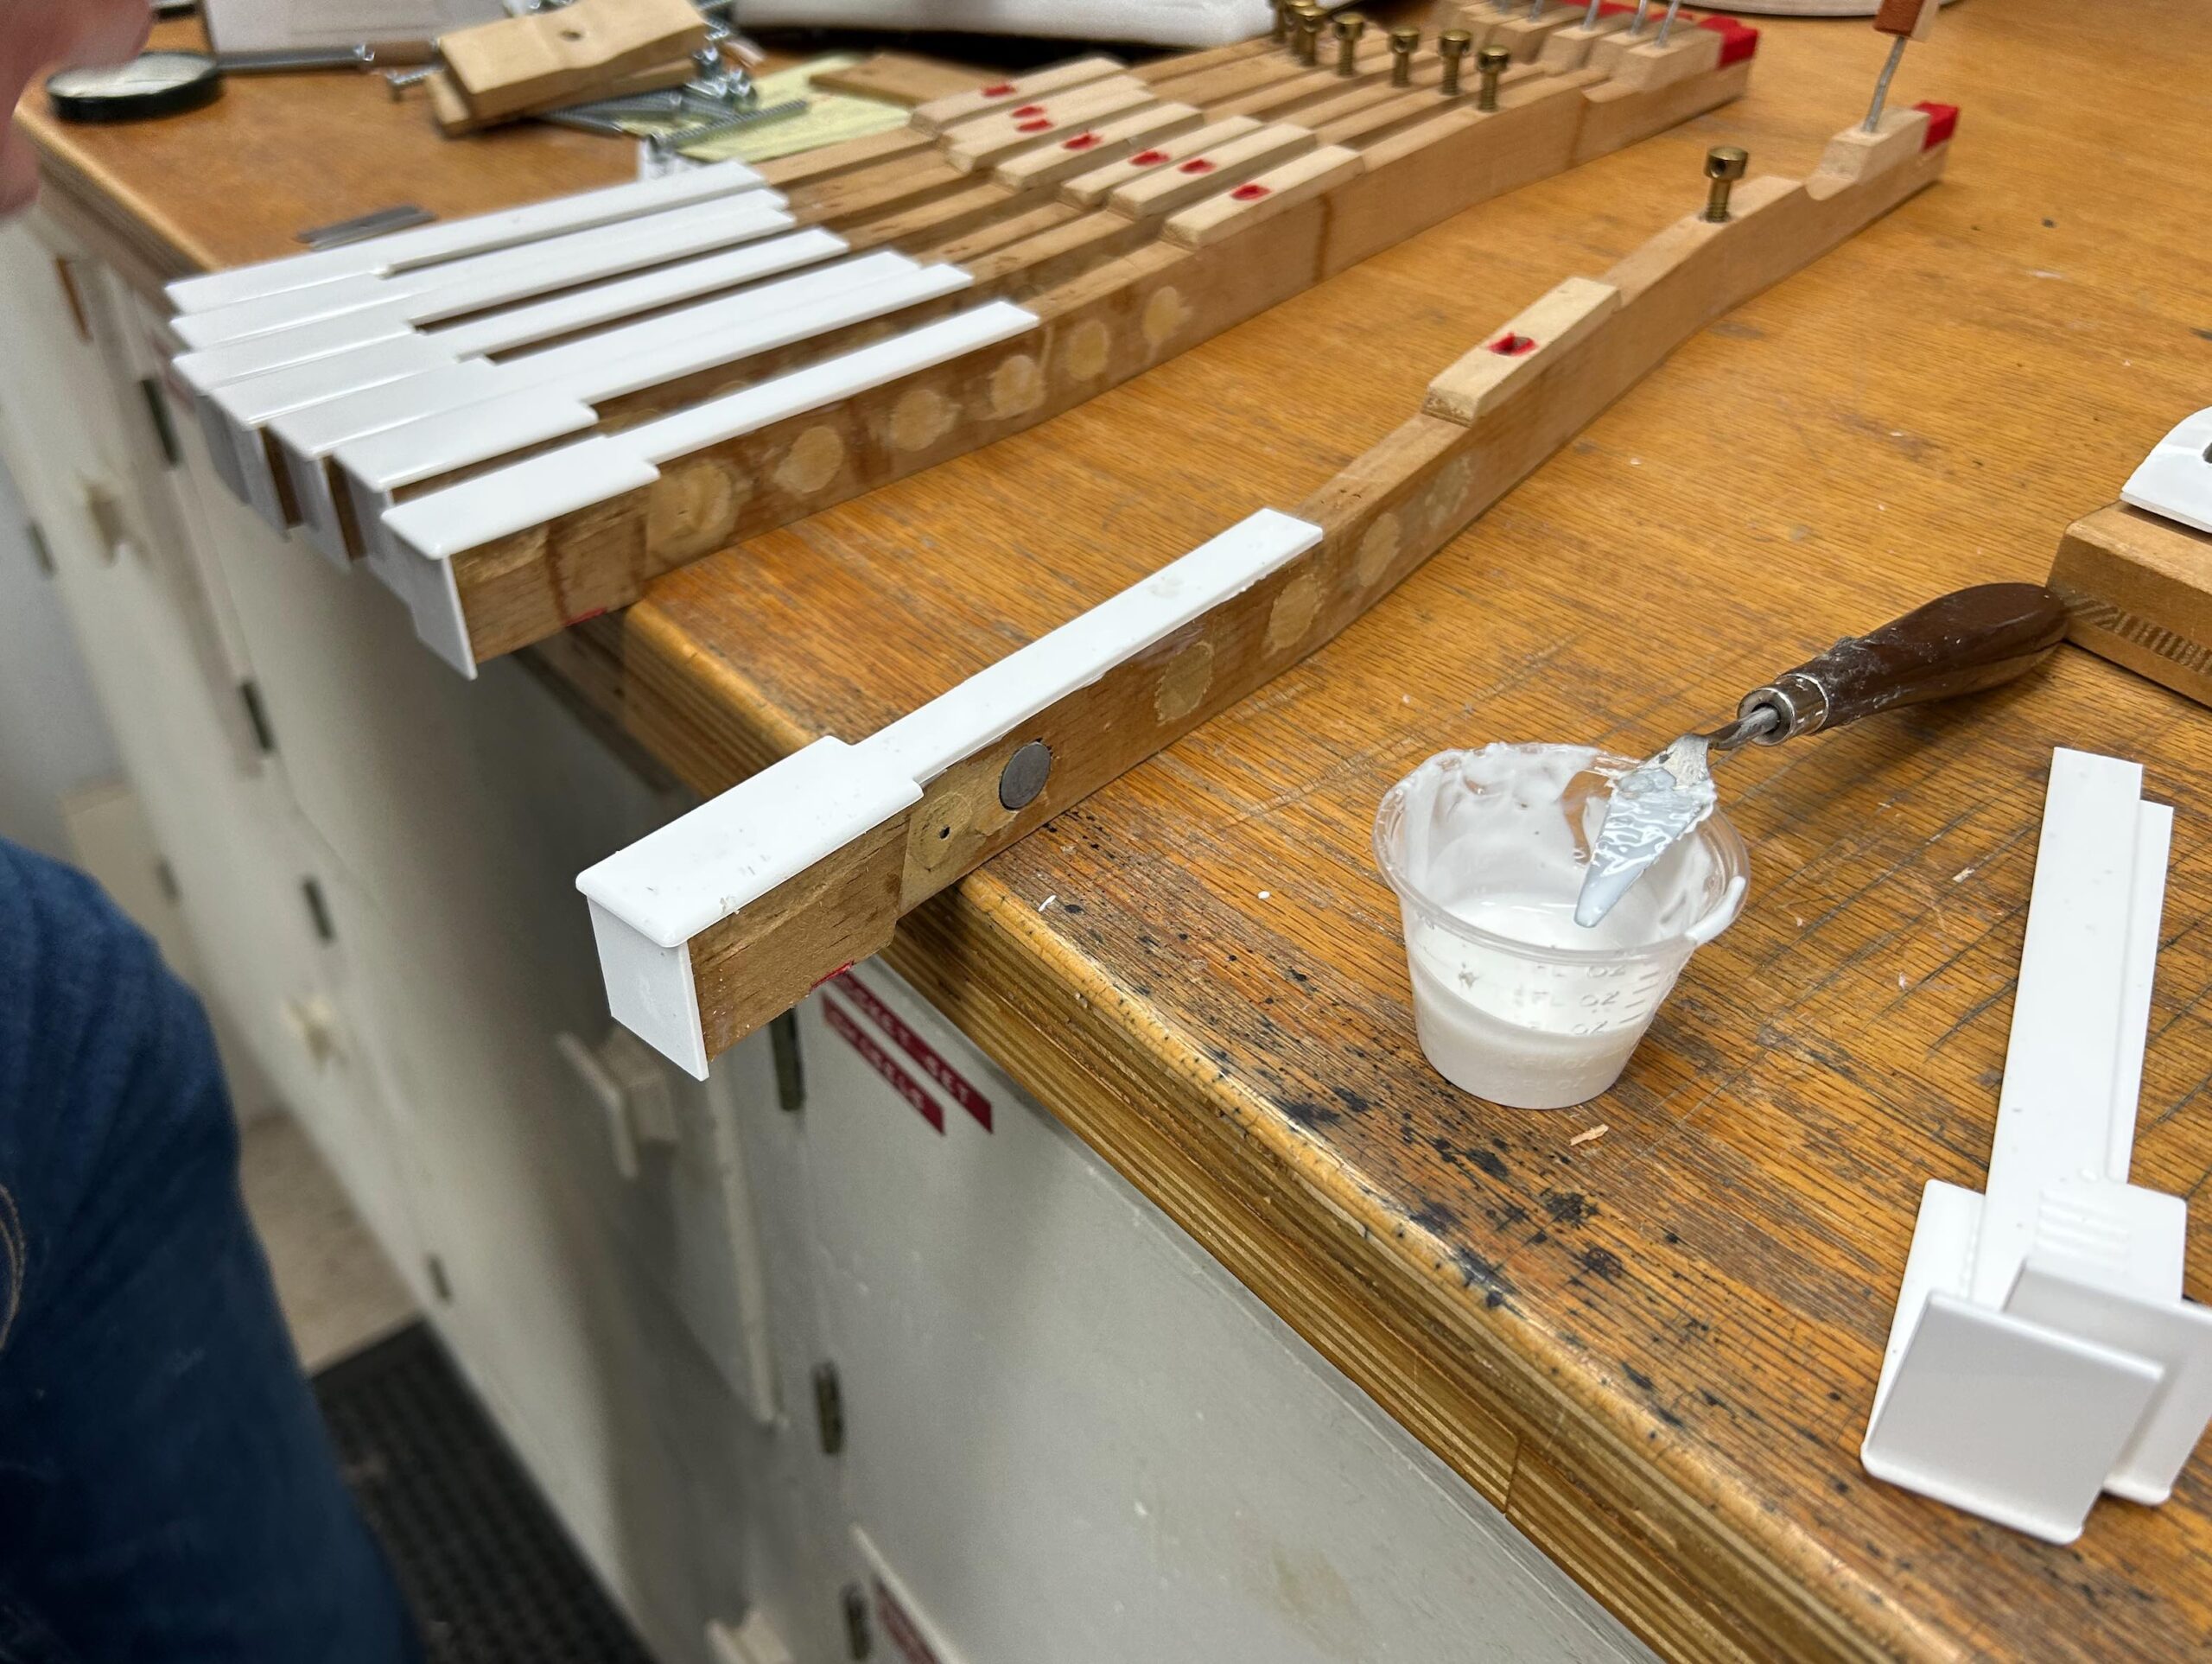
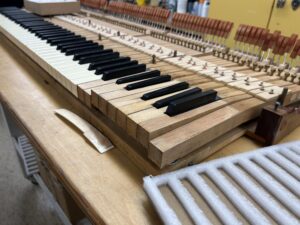
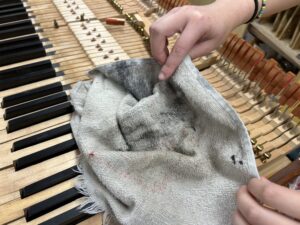
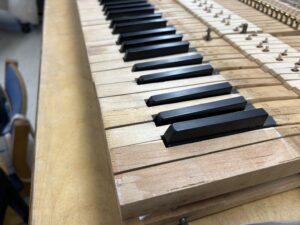
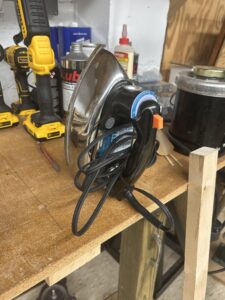
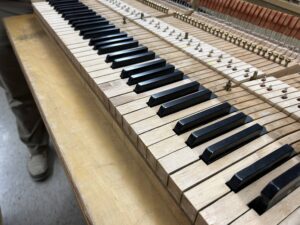
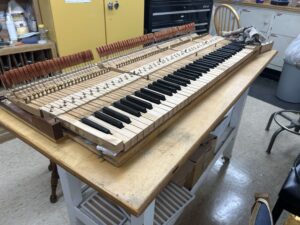
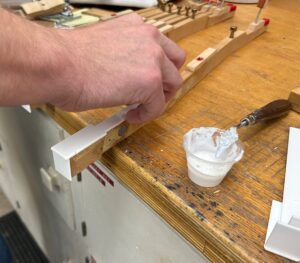
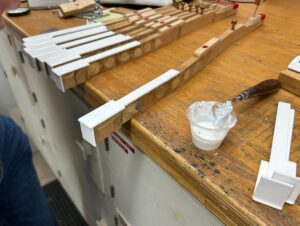
One of the assistants is working to restore smaller Steinway grand and I’ve pictured the action before in previous articles. This week, the keytops were the main focus so I asked several questions about the process and hope to simplify it here. The reason many decide to replace the keytops as a set is mostly for matching purposes. It’s an aesthetic choice but also a functional one to make sure the keys are level across all of them. The white keytops, in this case, were plastic, making it easier than if they were ivory. A damp cloth is laid over the plastic keytop and an iron is used to steam the glue until it is soft enough to peel the key away with either your hands or a putty knife. I had thought maybe floss would be a good tool to get under the keytop like separating a windshield, but that may be overkill. The replacement keytop is then aligned and glued down with PCV-E.
The Piano’s Action: Isn’t It Grand?
In an effort to be helpful, I made another study guide for the class and posted it below for the grand action. Hopefully, this will aid any student in learning these parts and pieces. Print on two pages and tape the center for a handy test prep exercise. The second file contains the answers.
