Don’t Beat Around the Bush
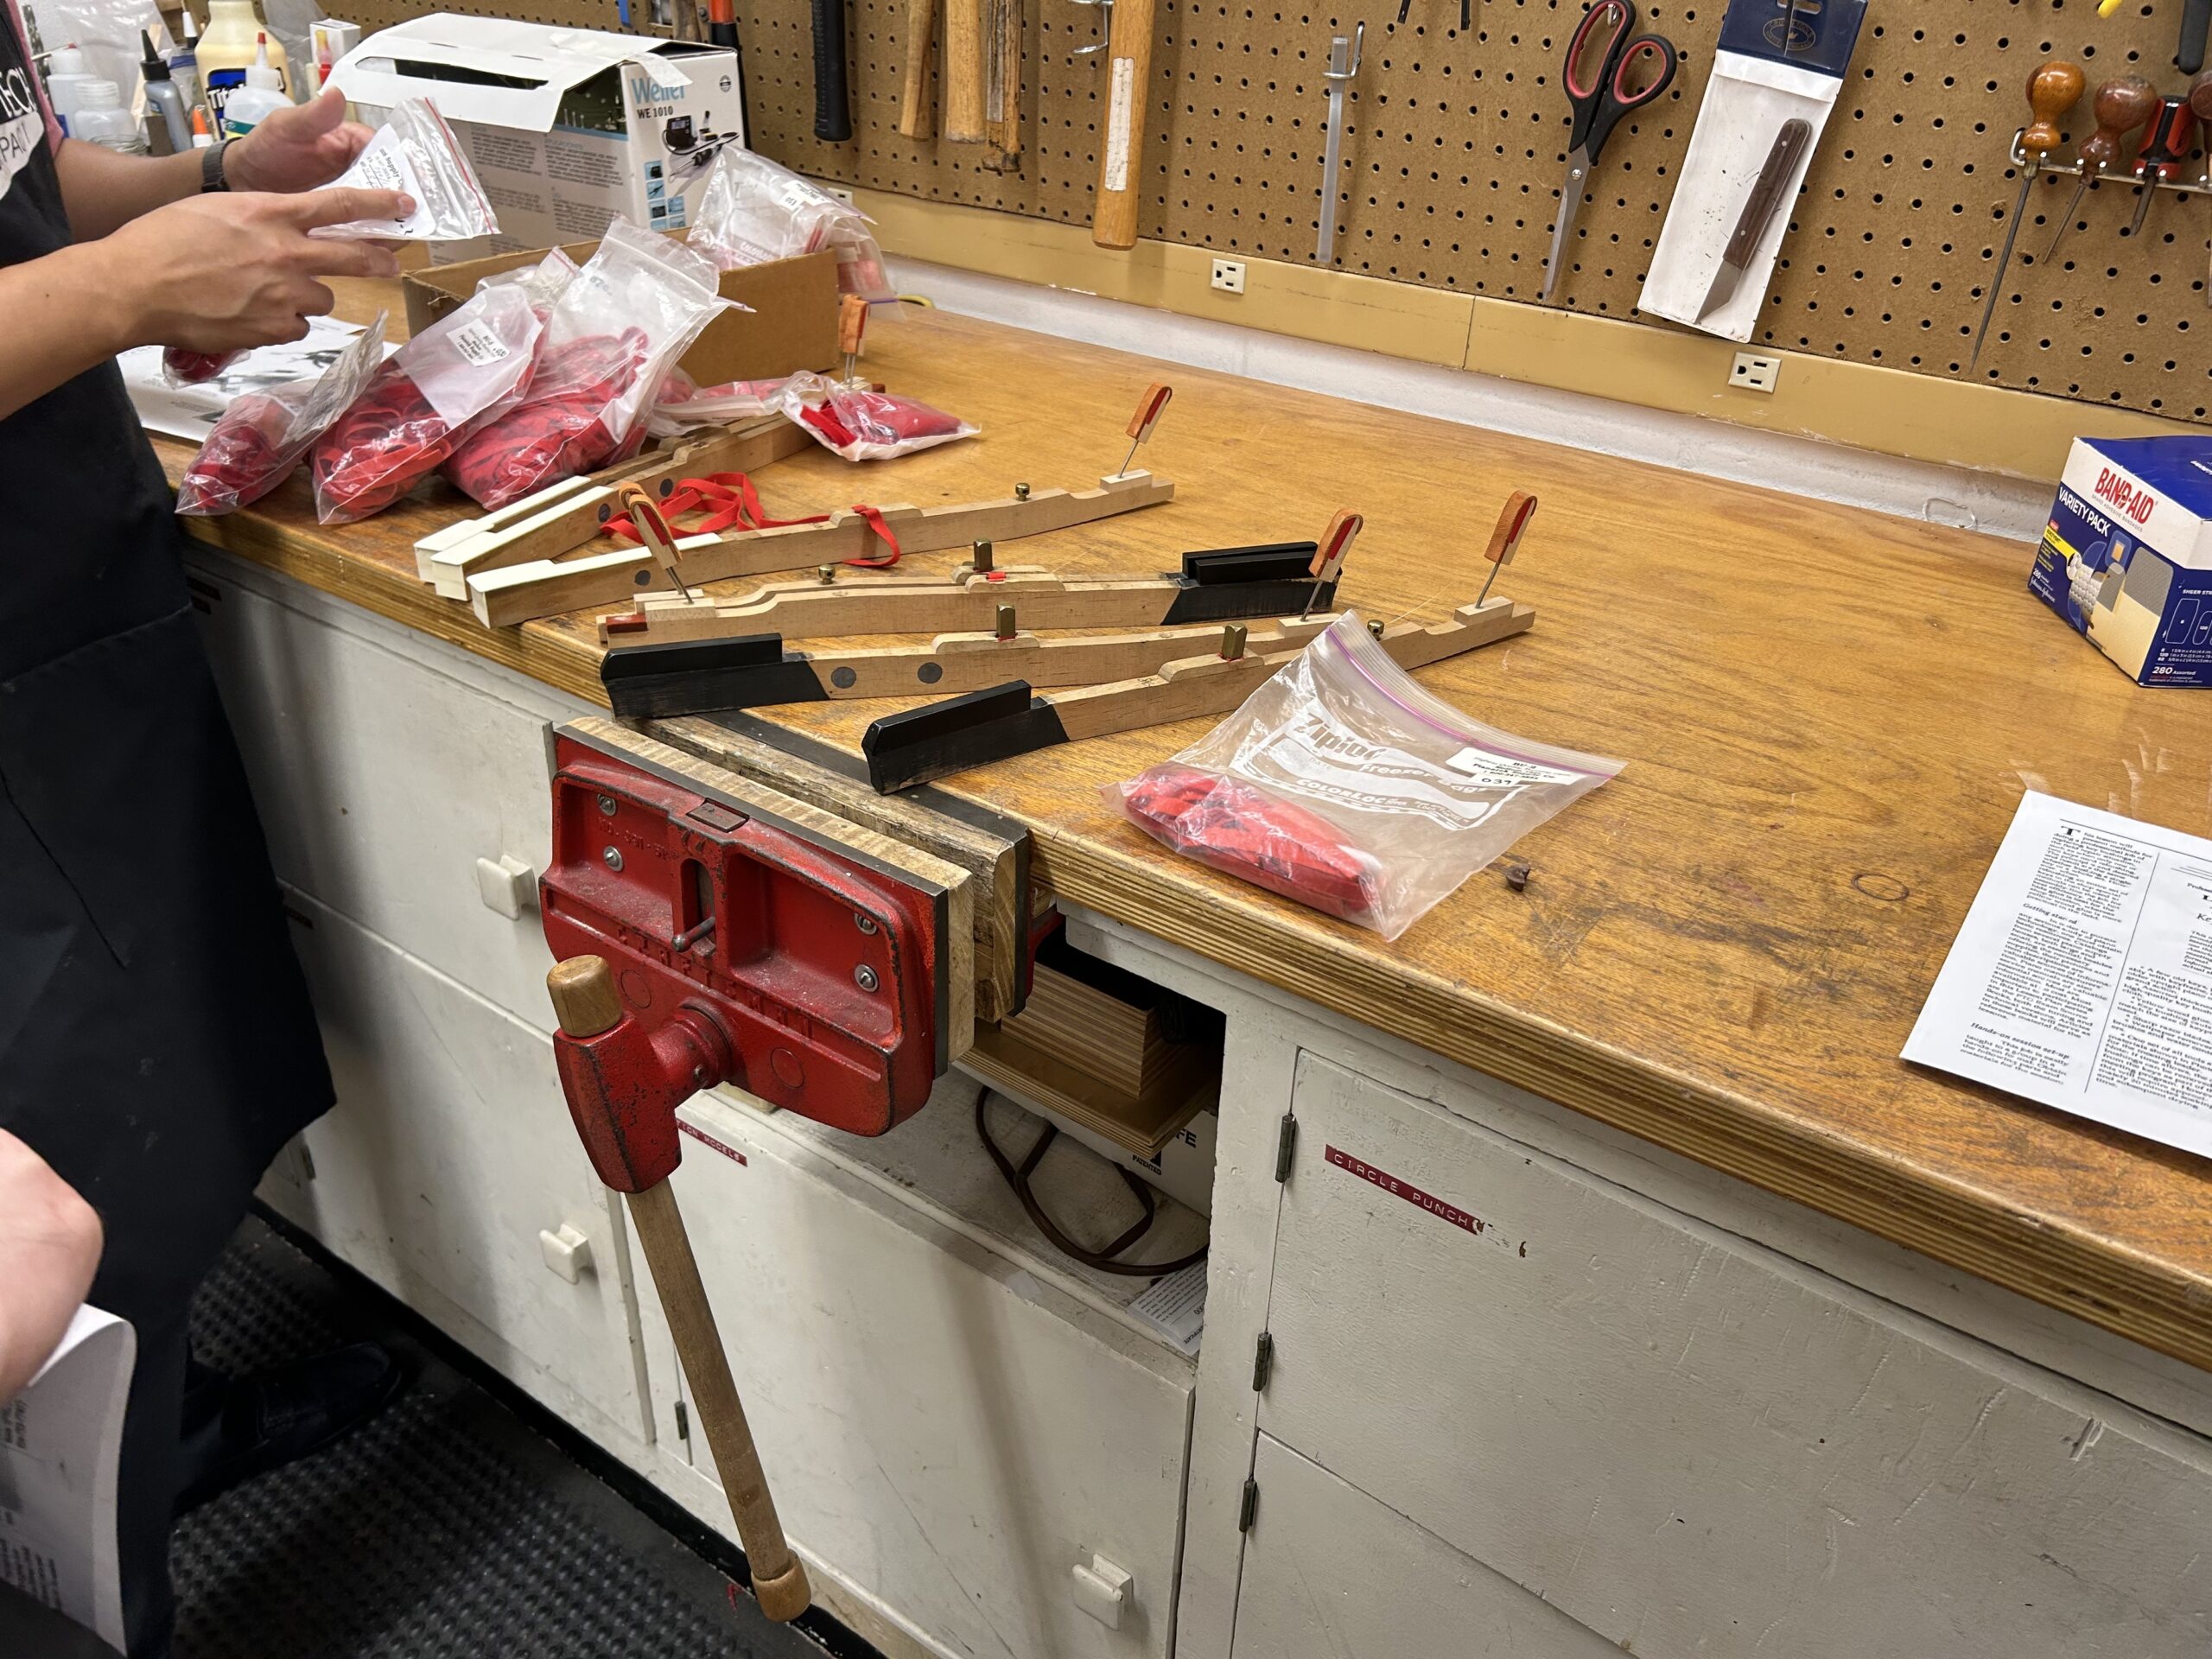
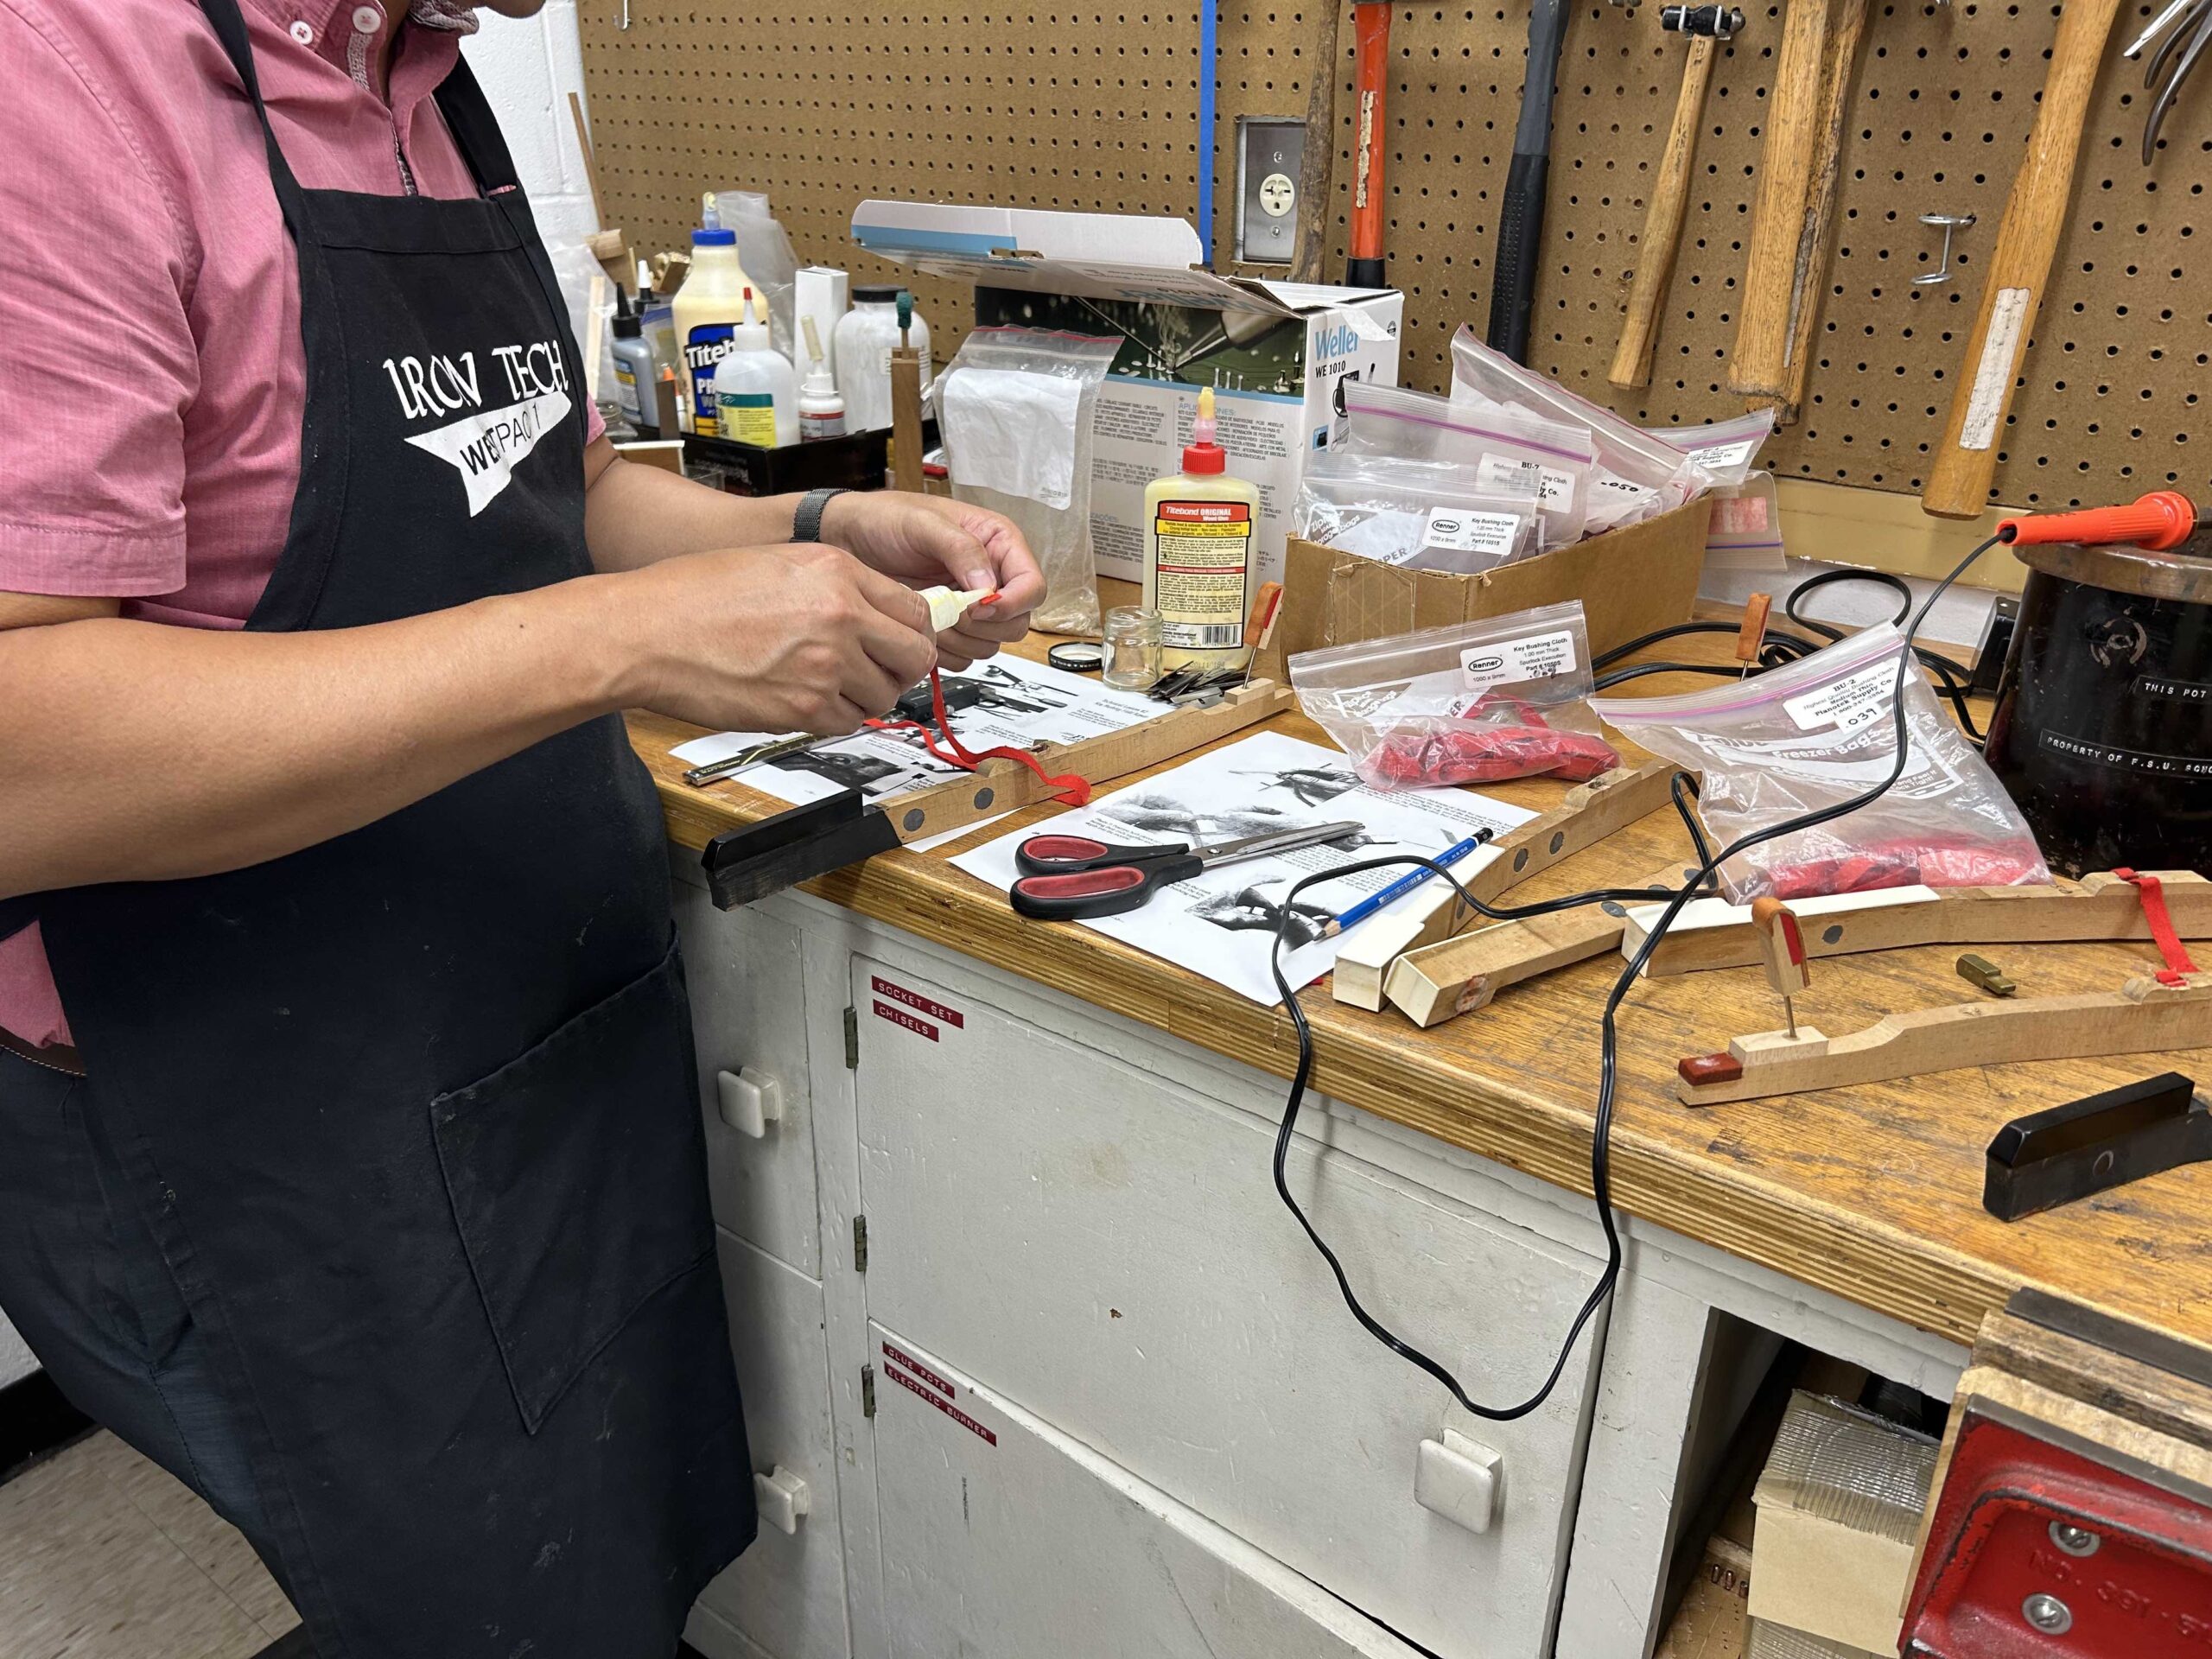
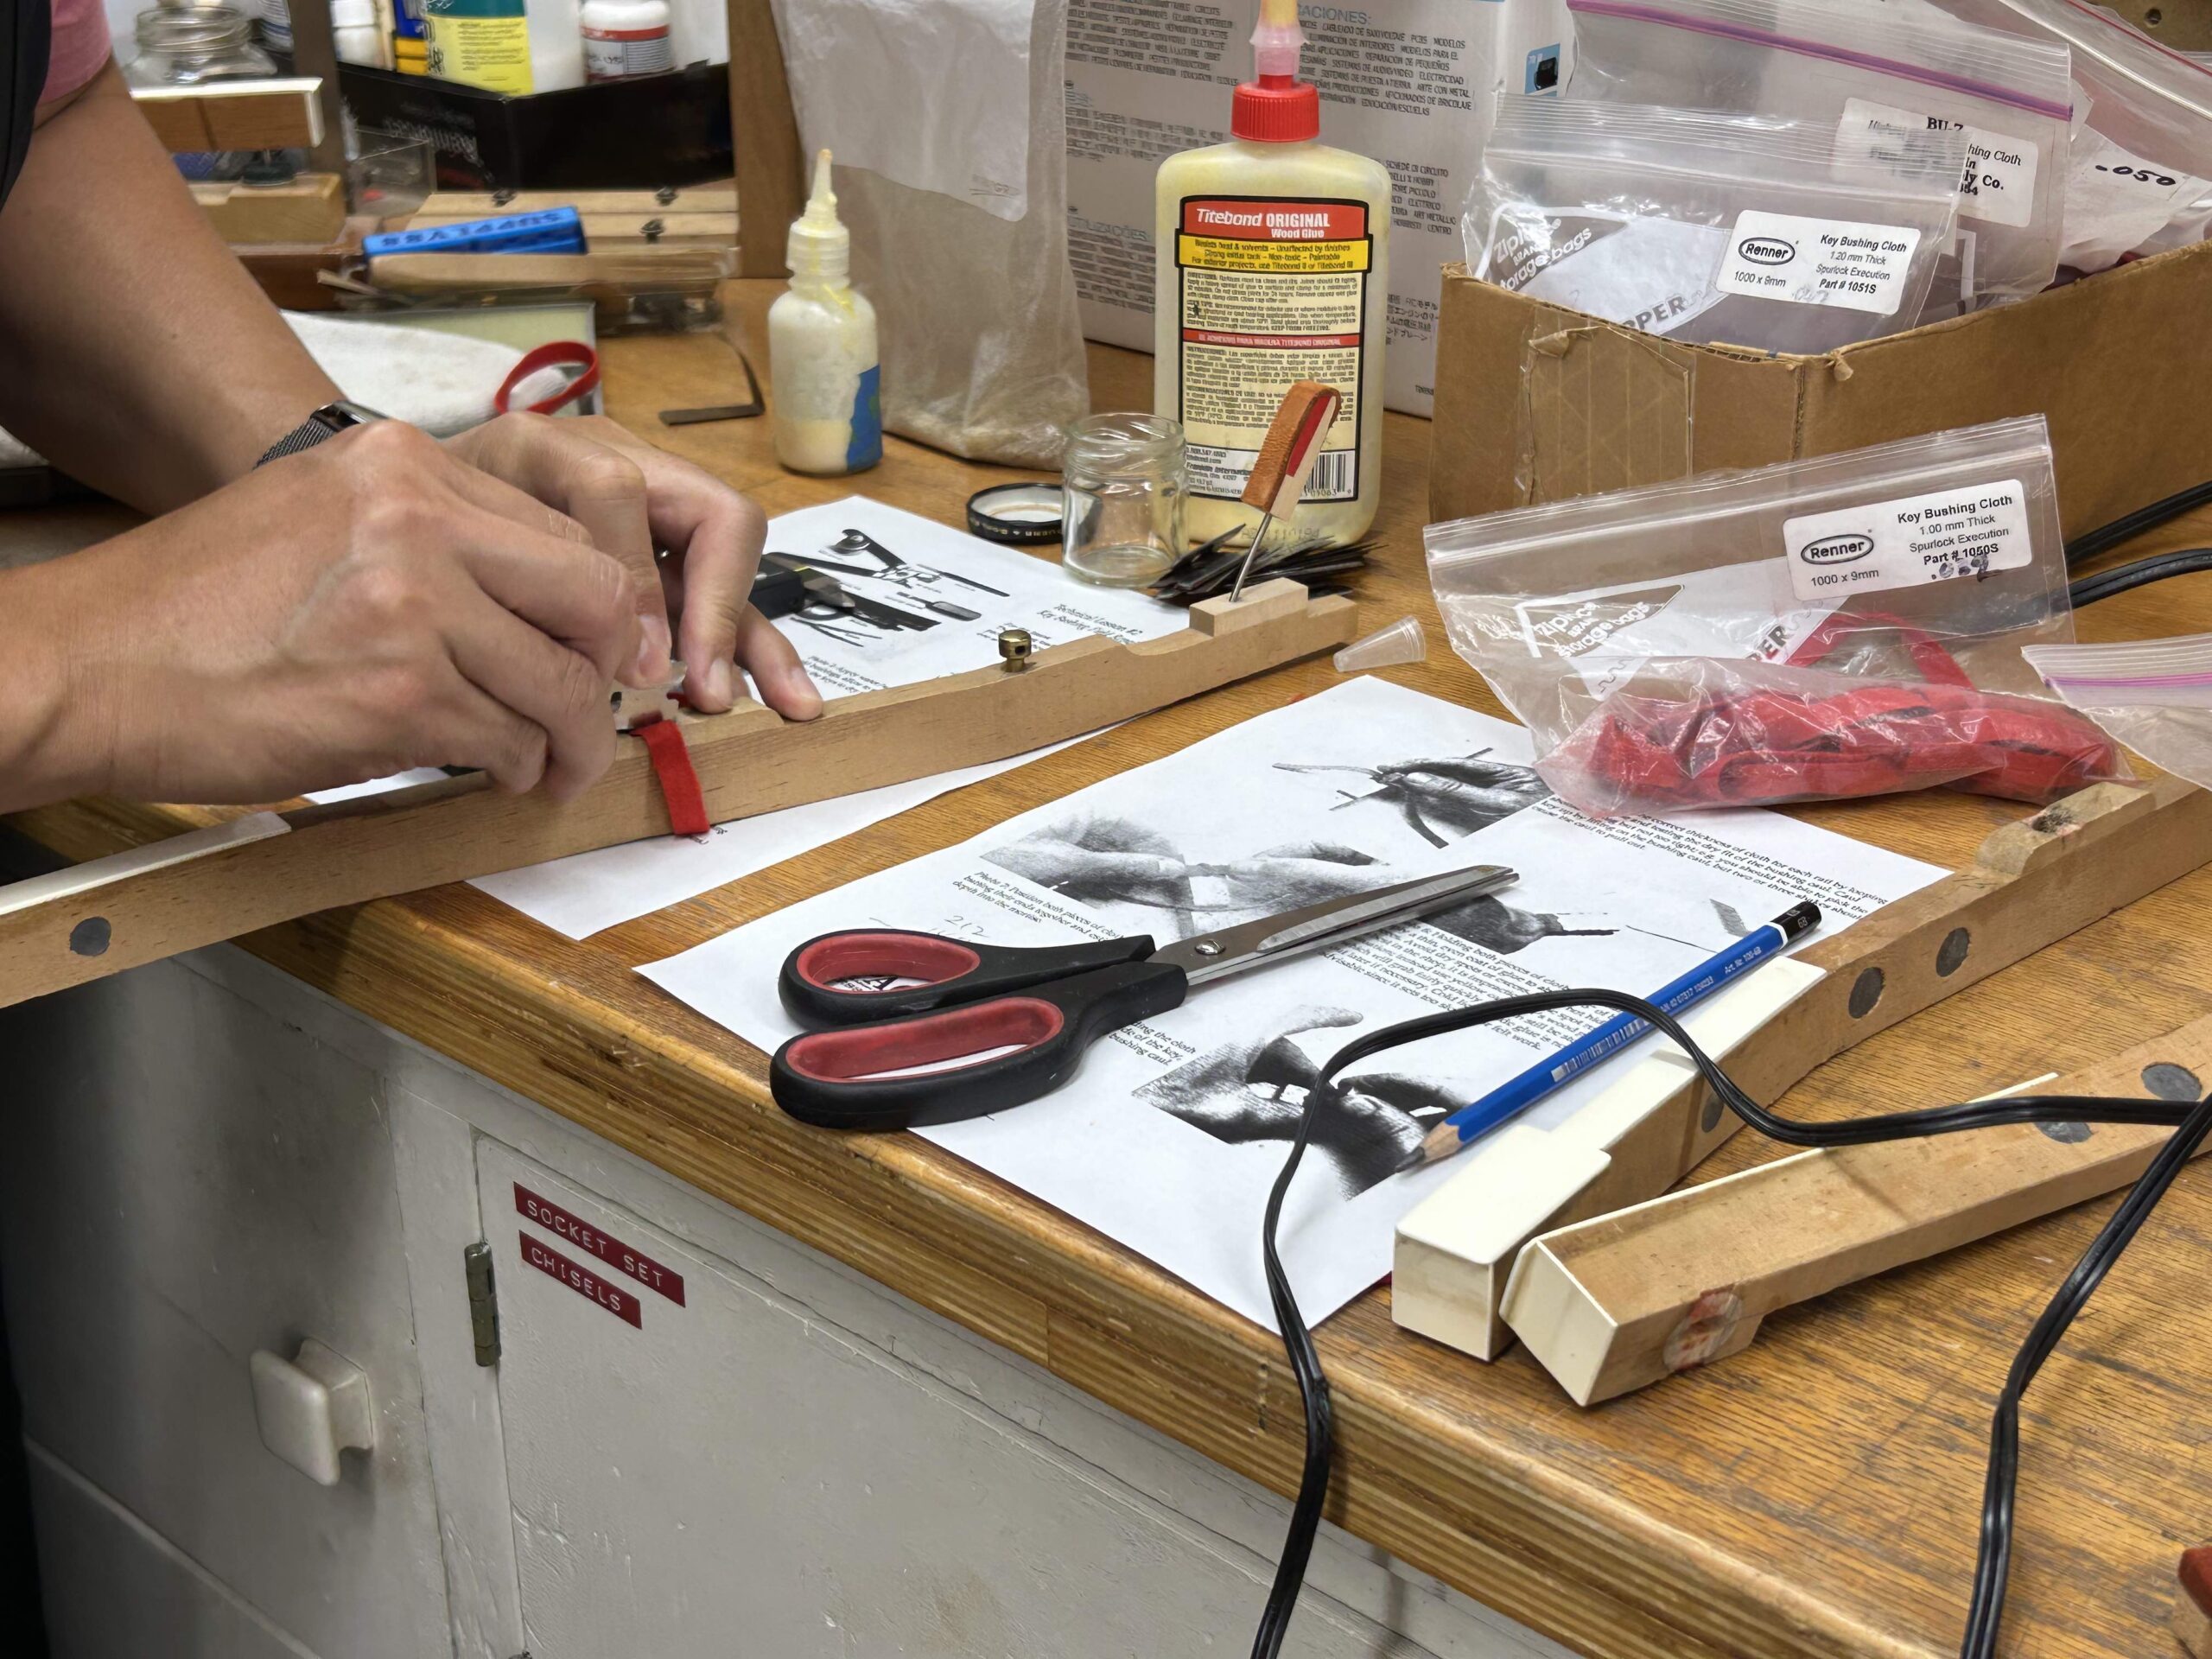
Our technical session this week focused on replacing the fabric on which the keys ride. These cloth pieces are wear points and must be replaced when they have reached the end of their useful life. Otherwise, the steel pins underneath the keys will ride directly on the wood of the key, causing damage over time. To determine if the bushings need replacing, the key must be inspected for wobble and excess play in its motion.
Caul Me Maybe
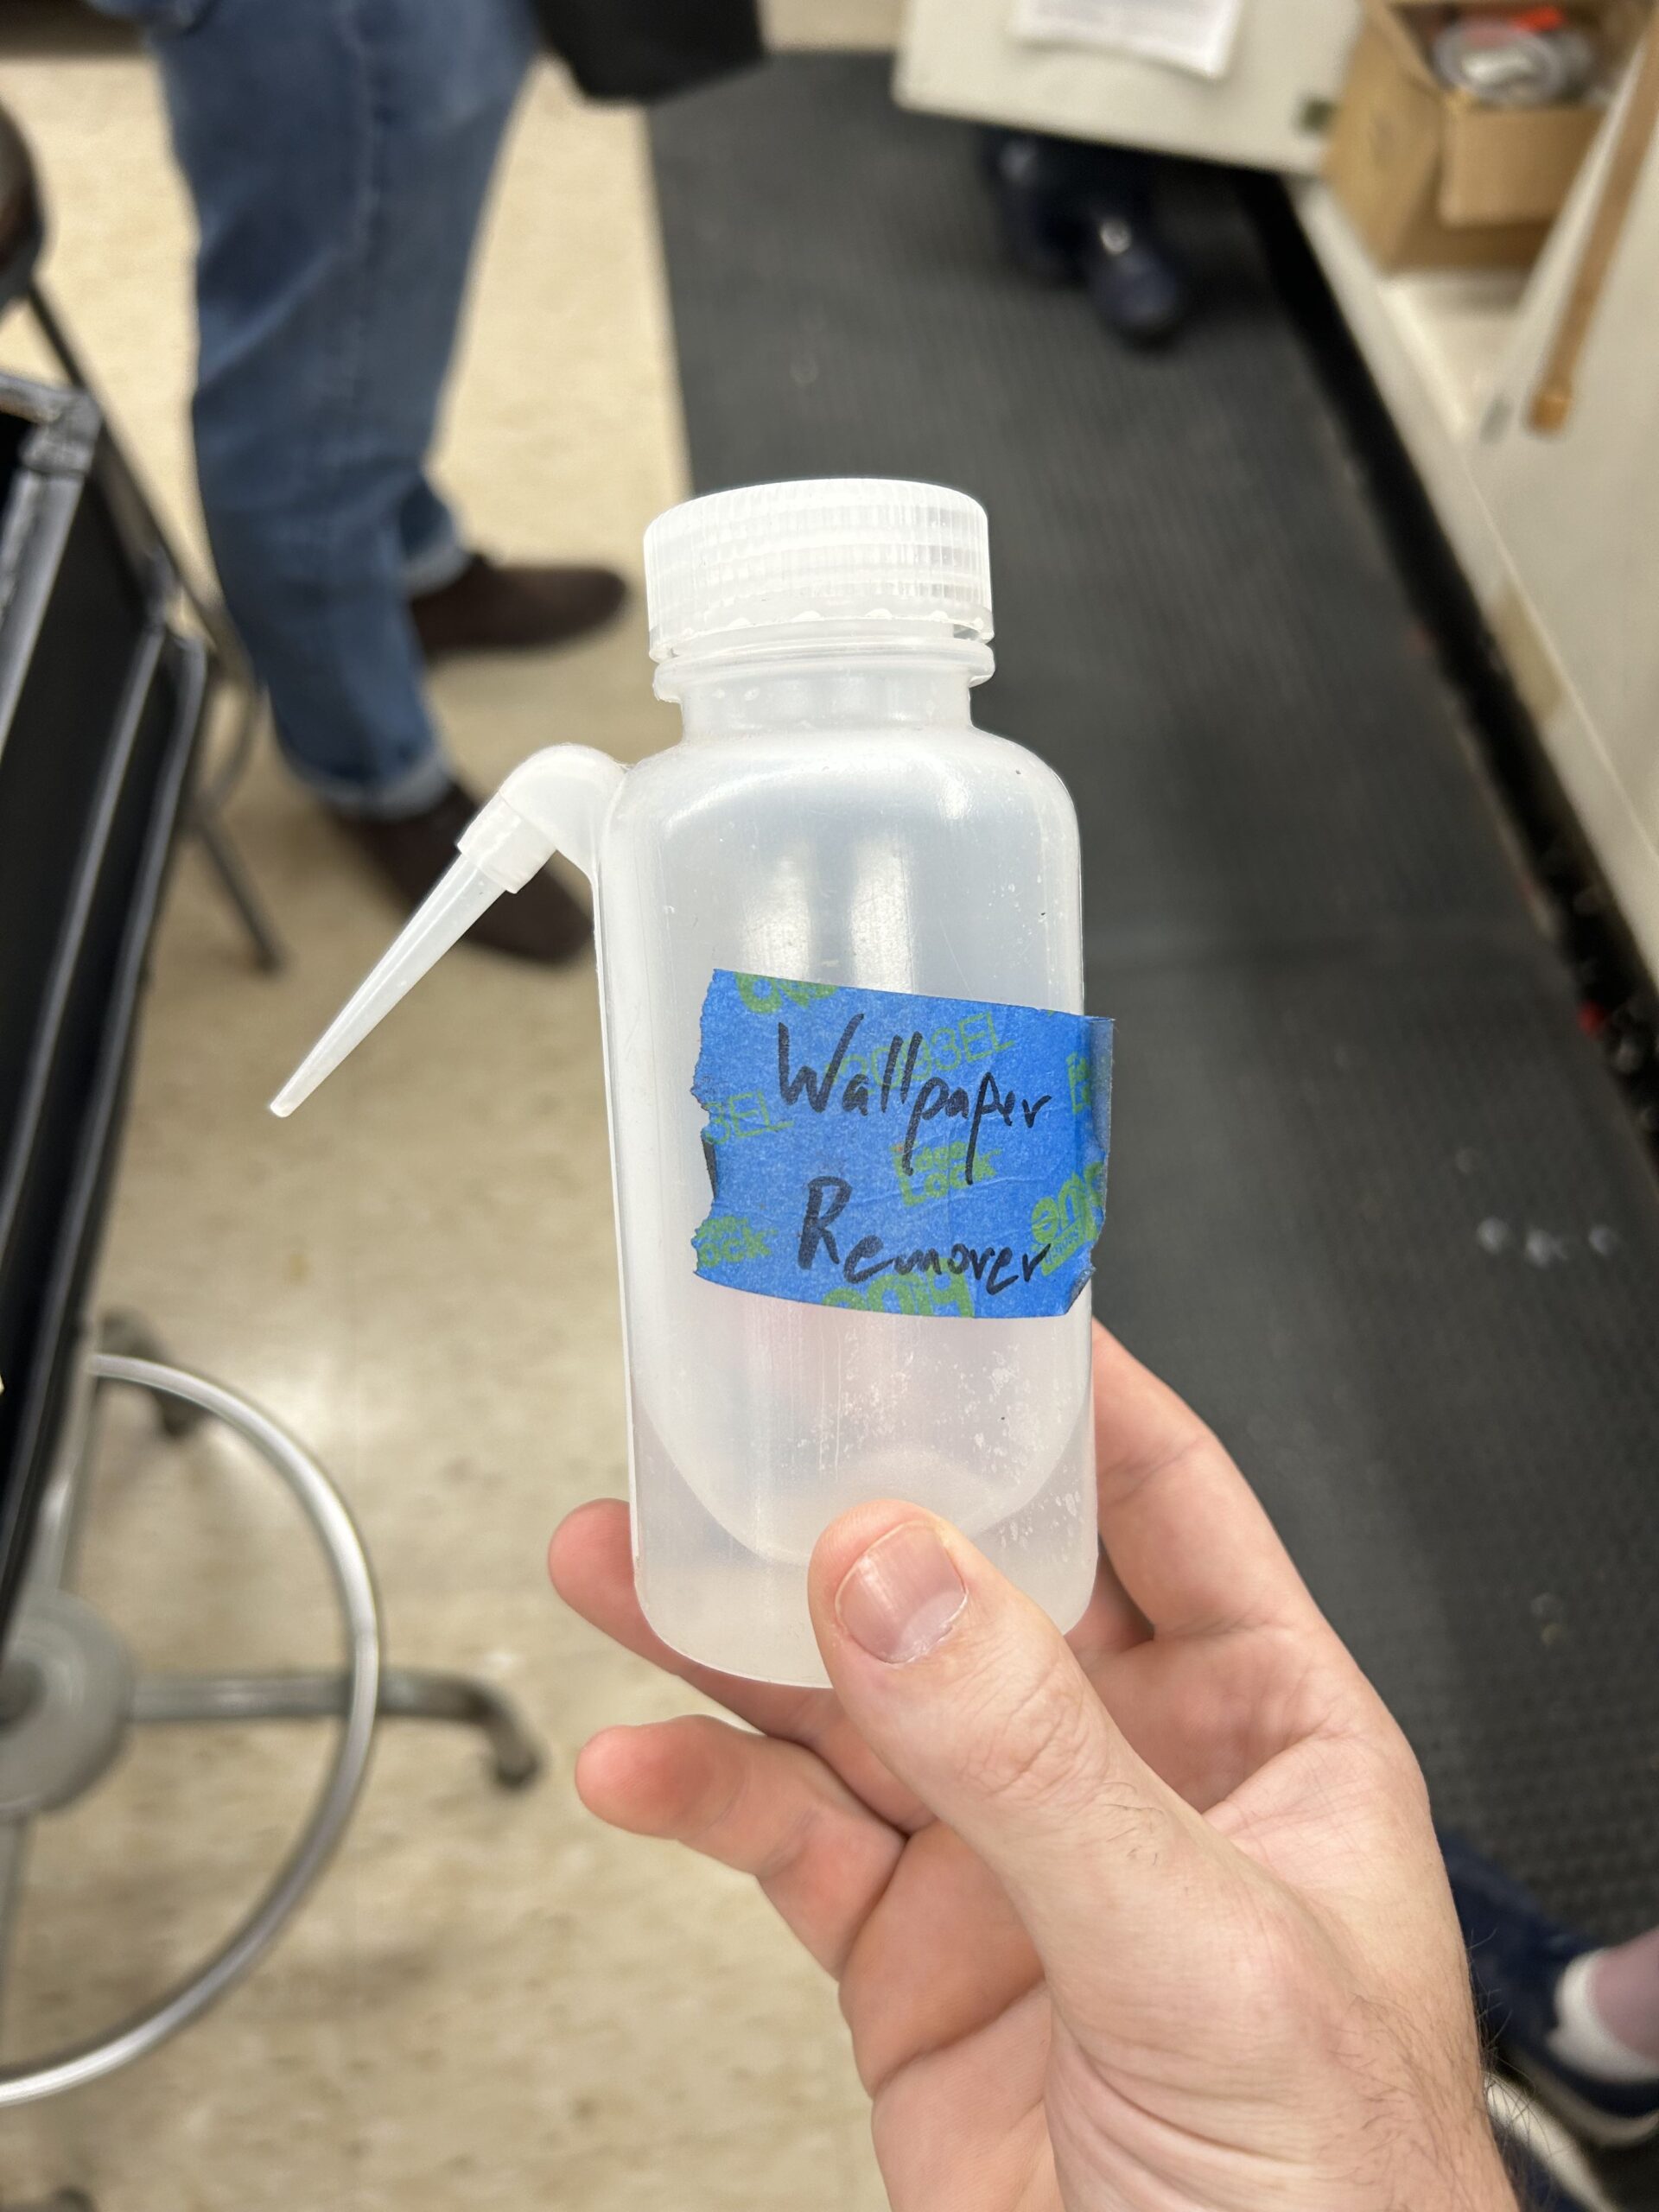
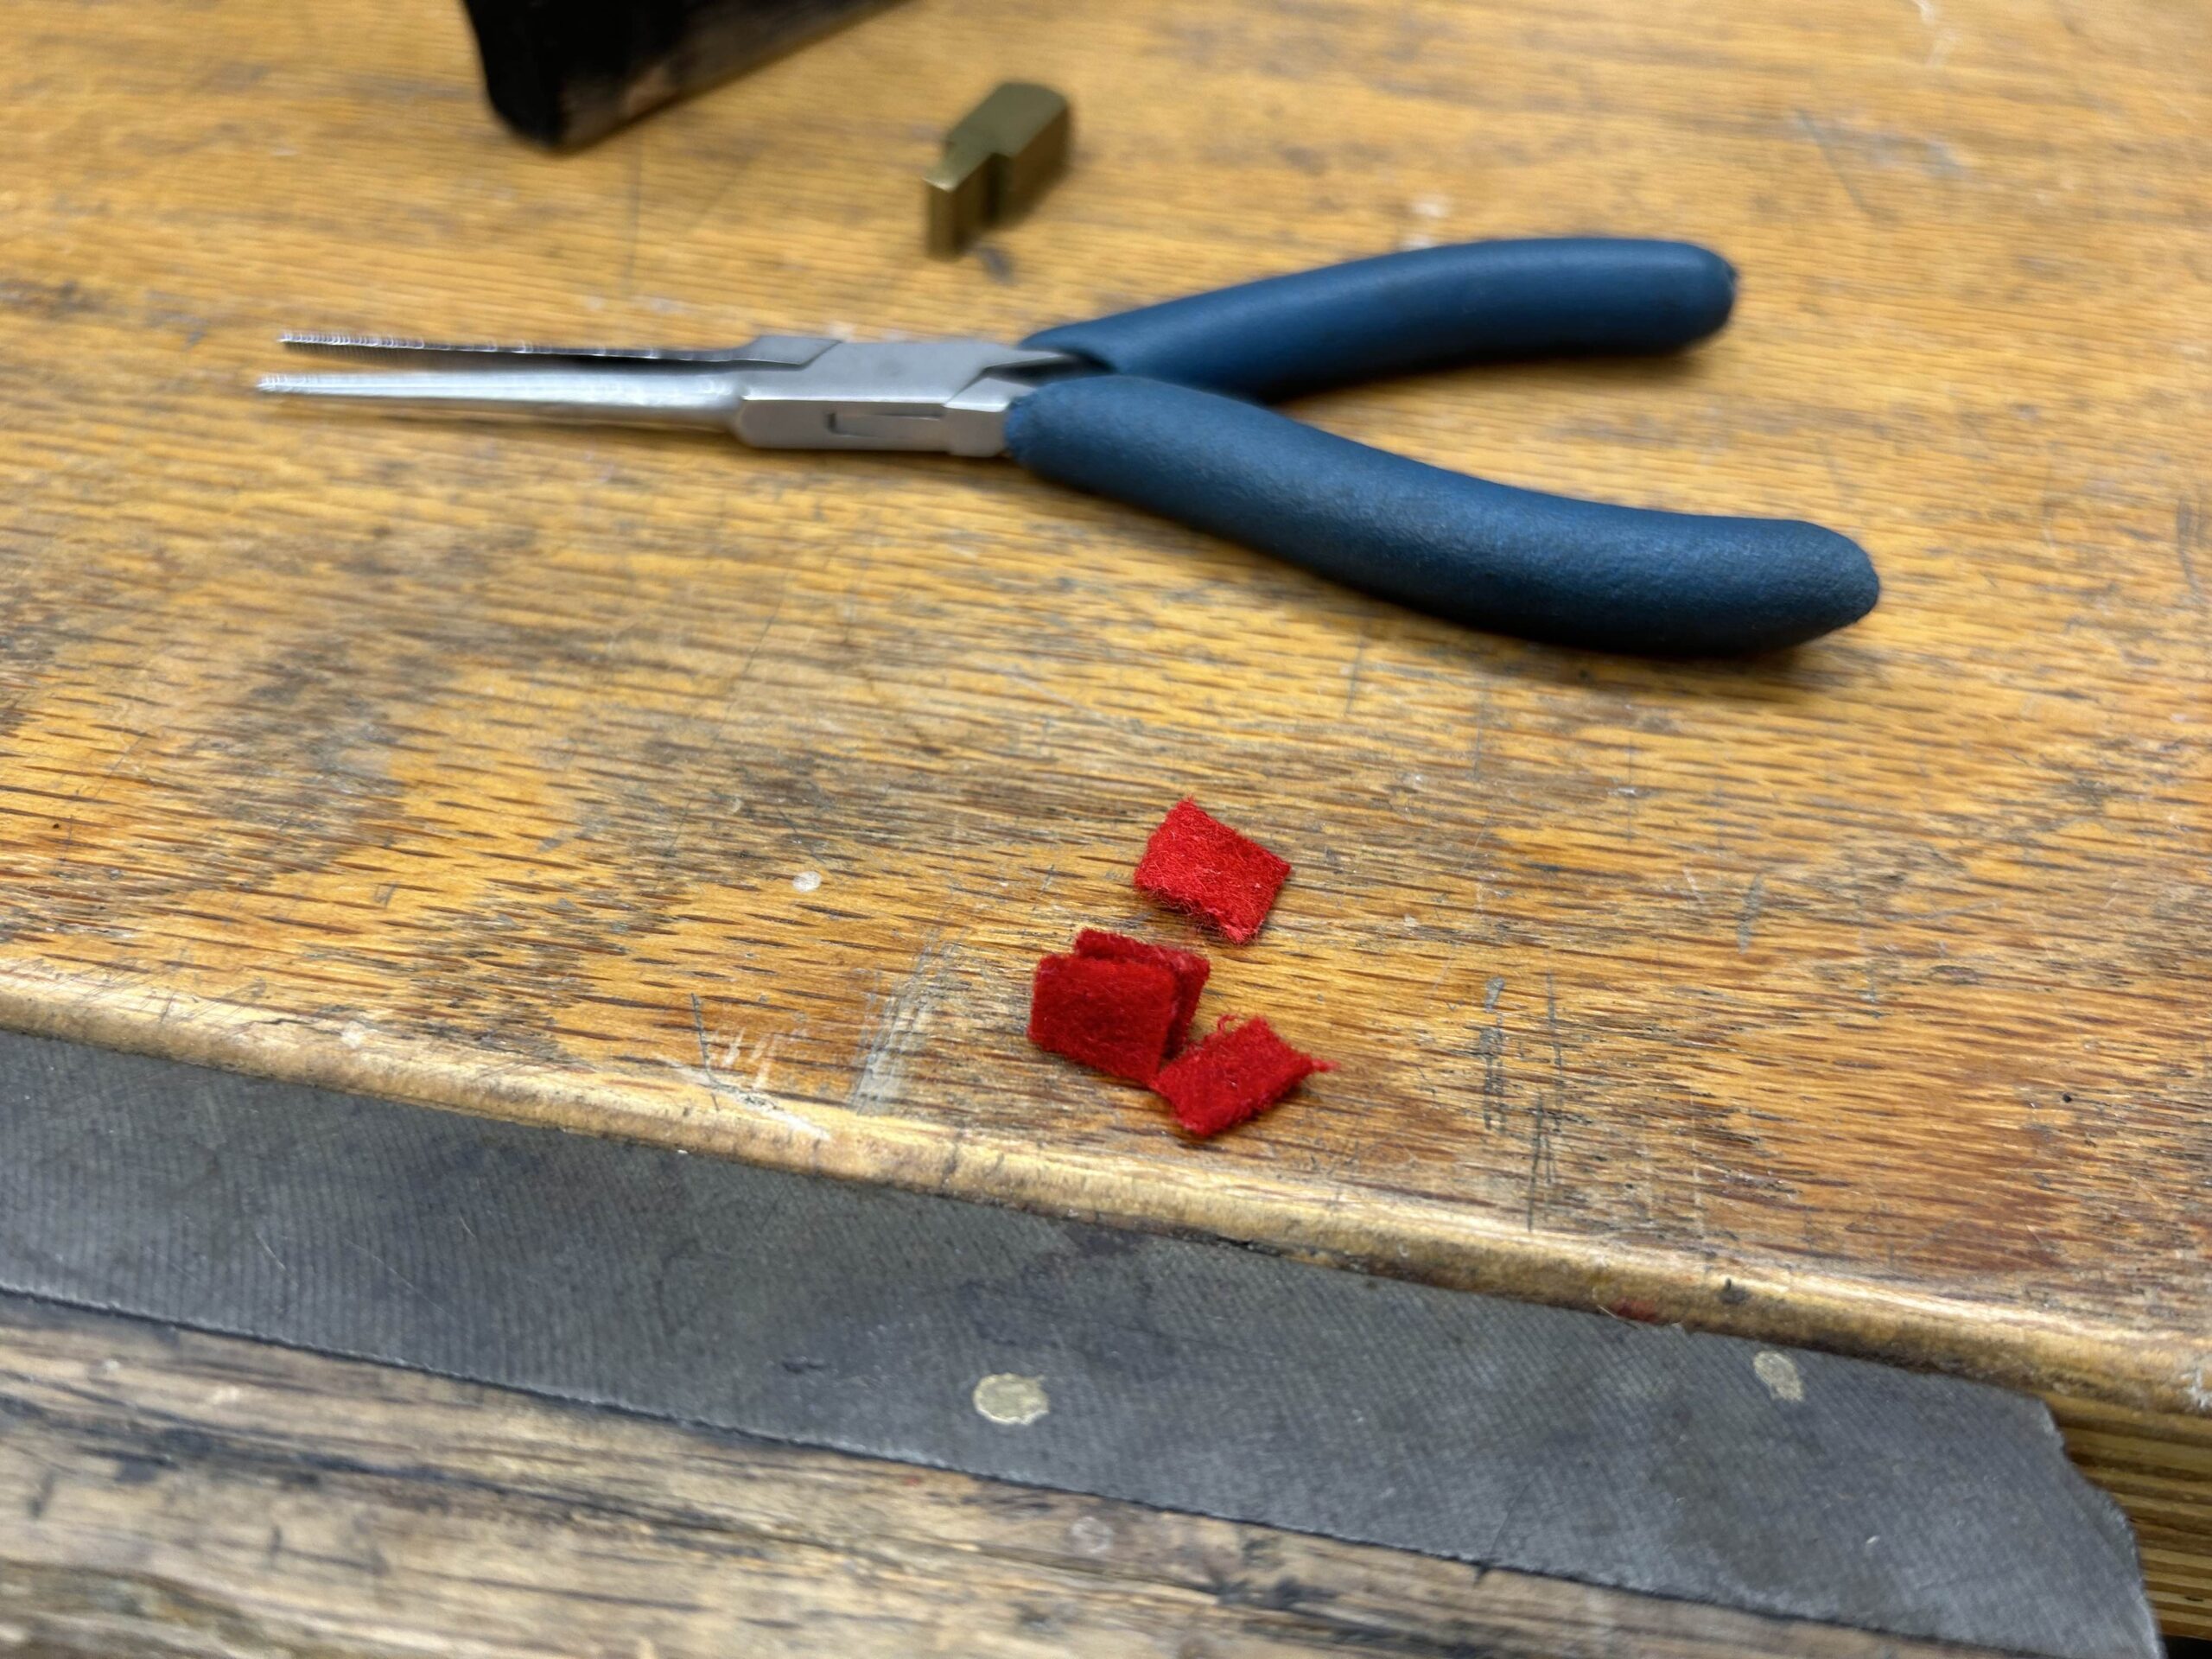
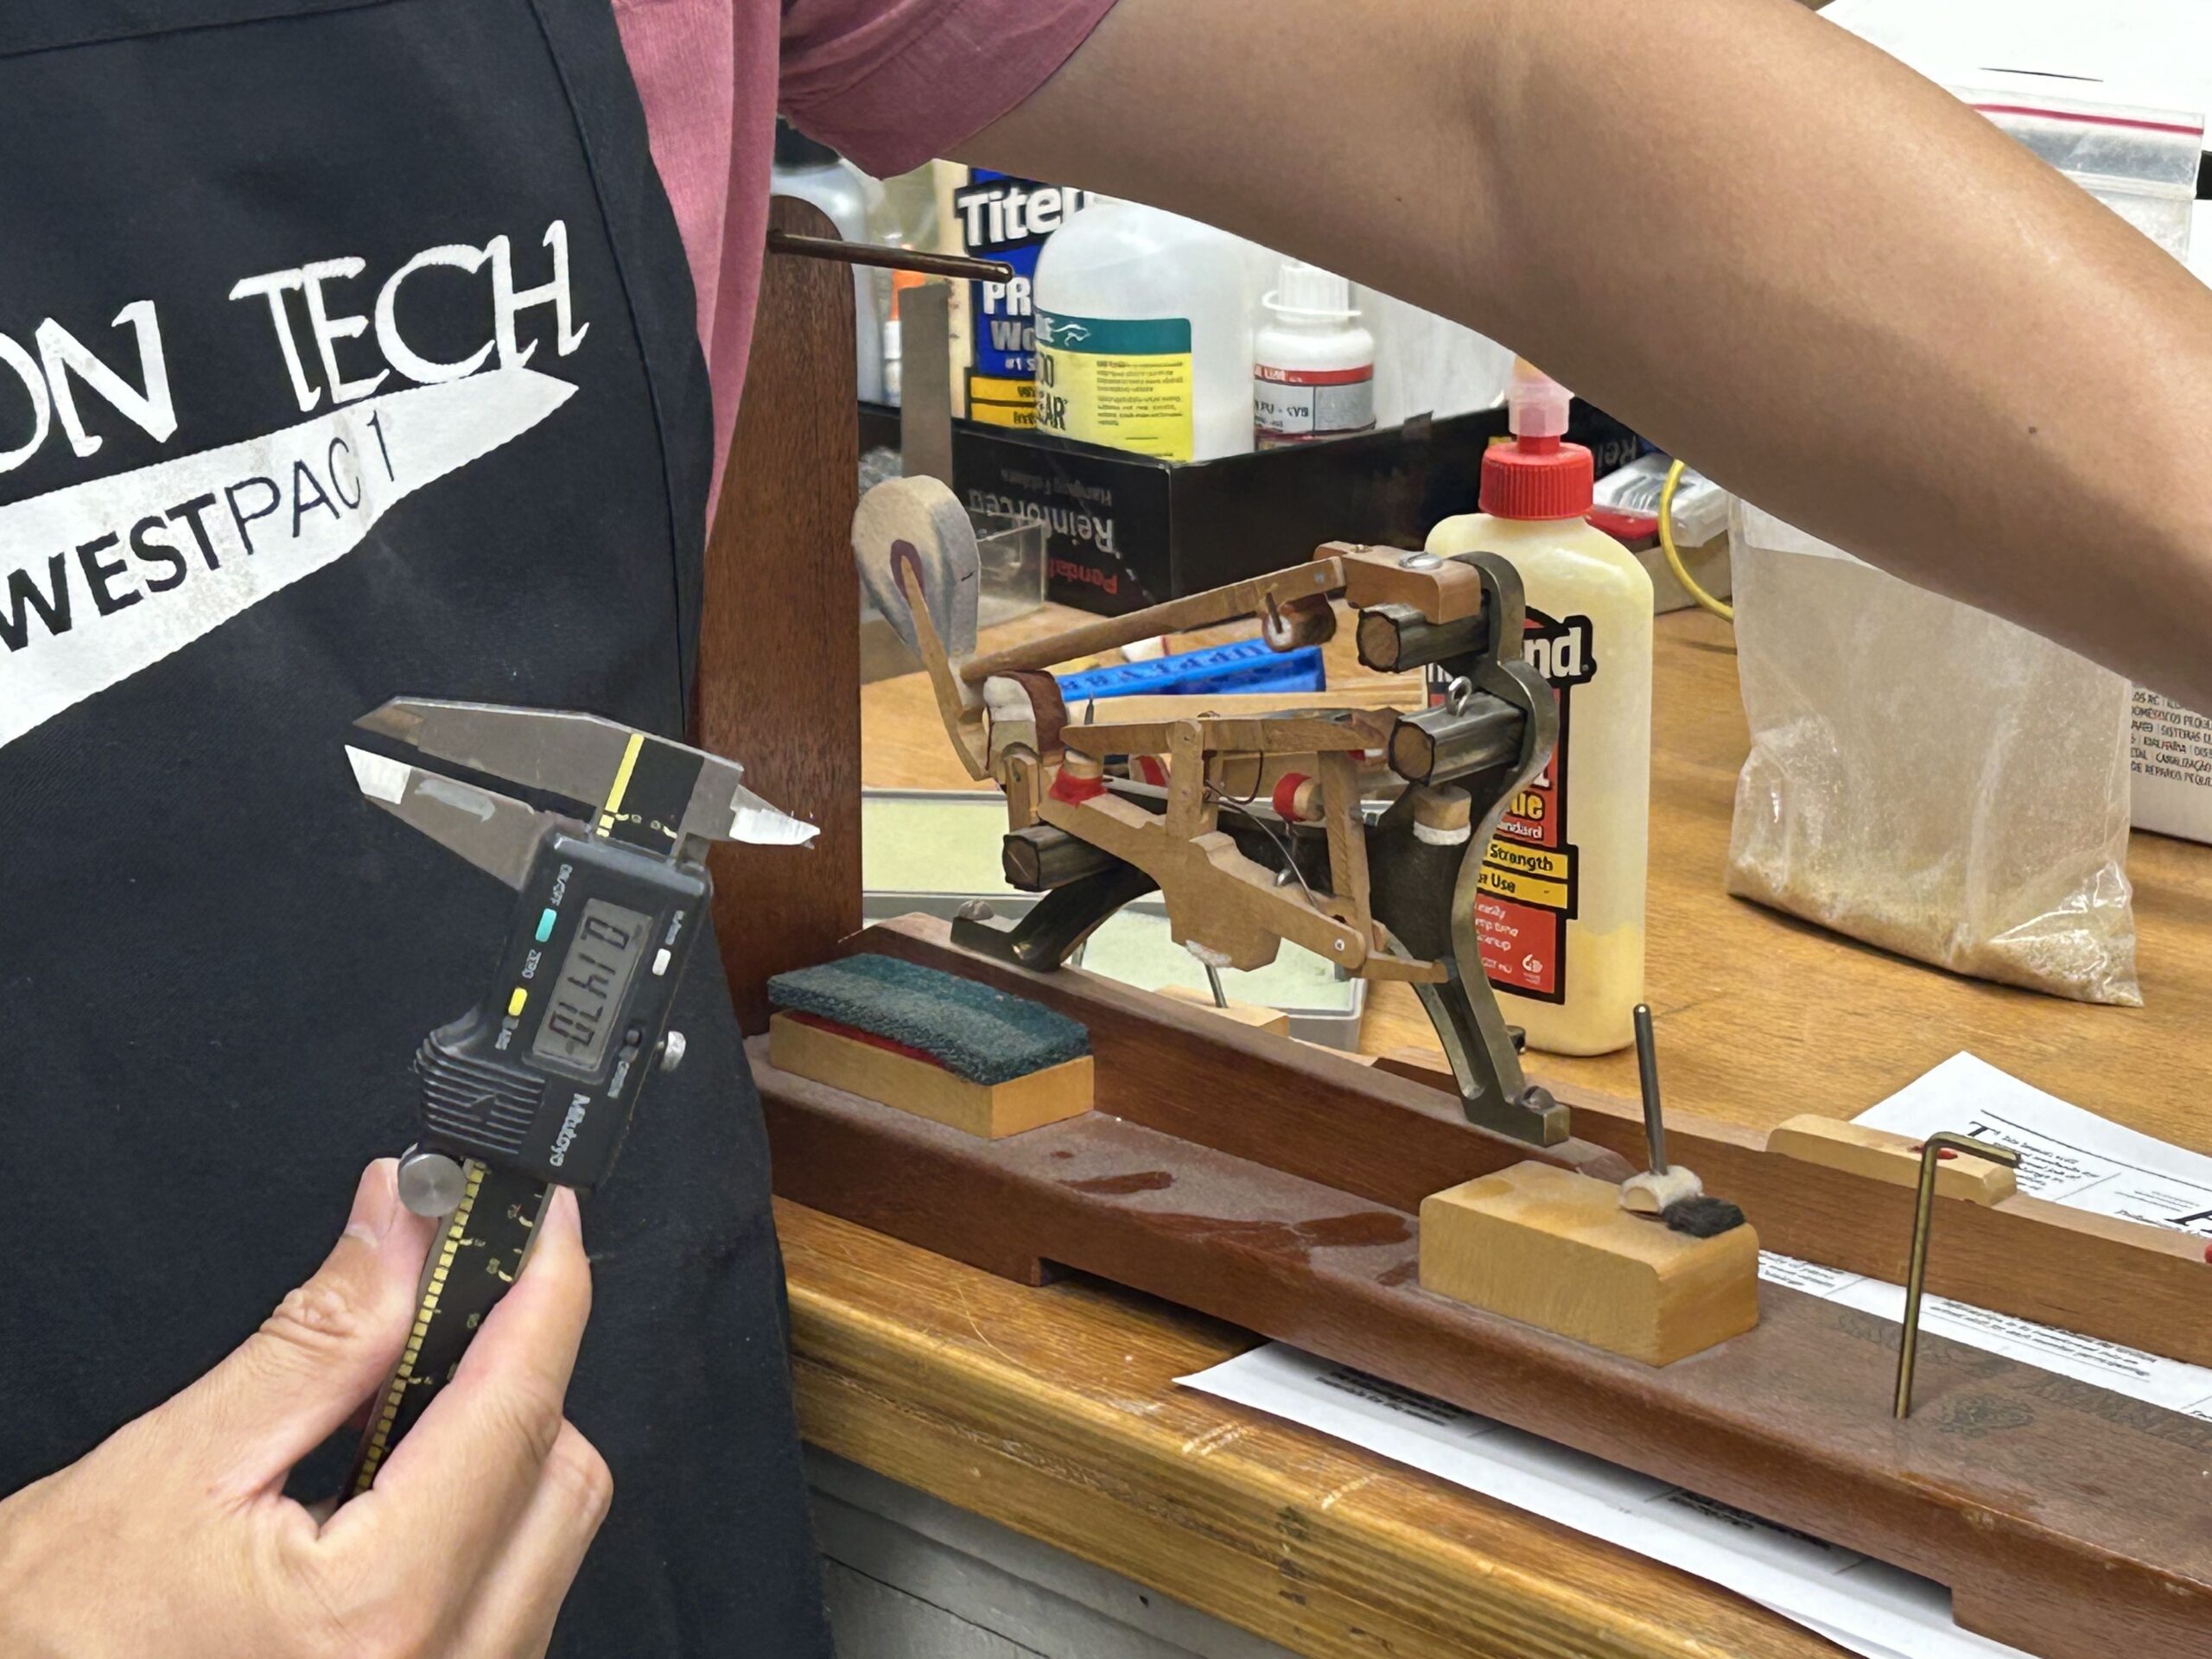
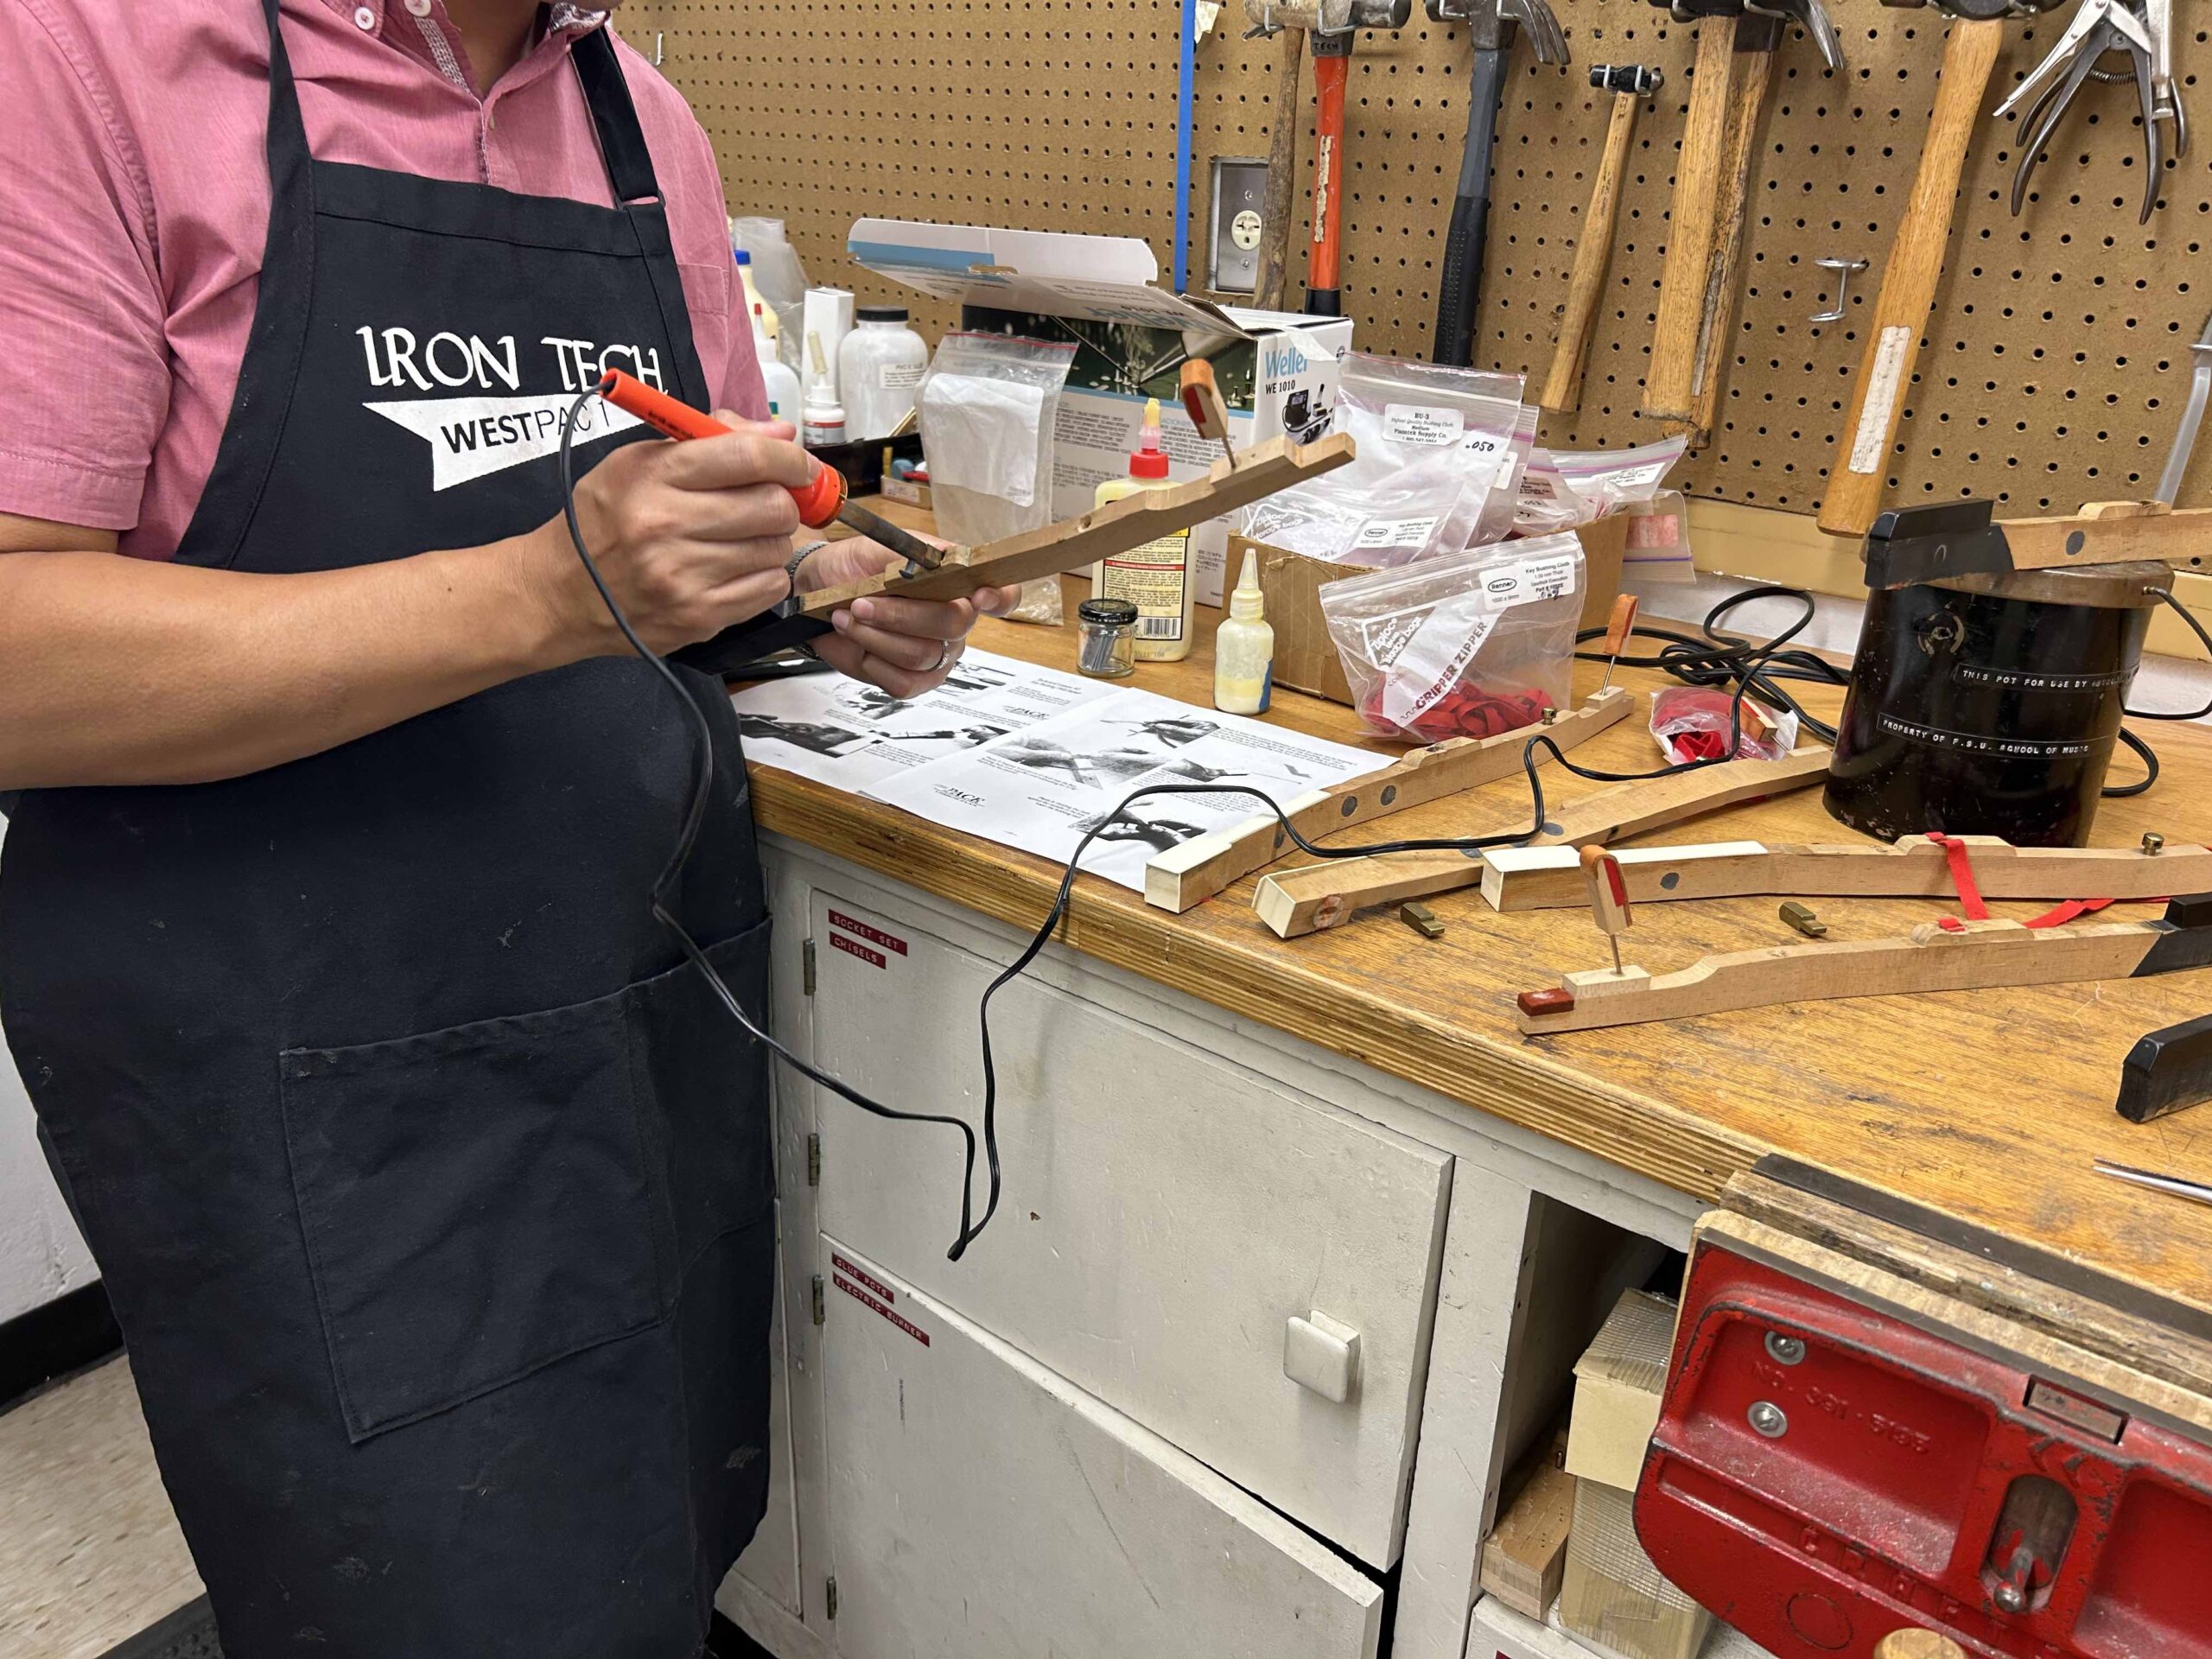
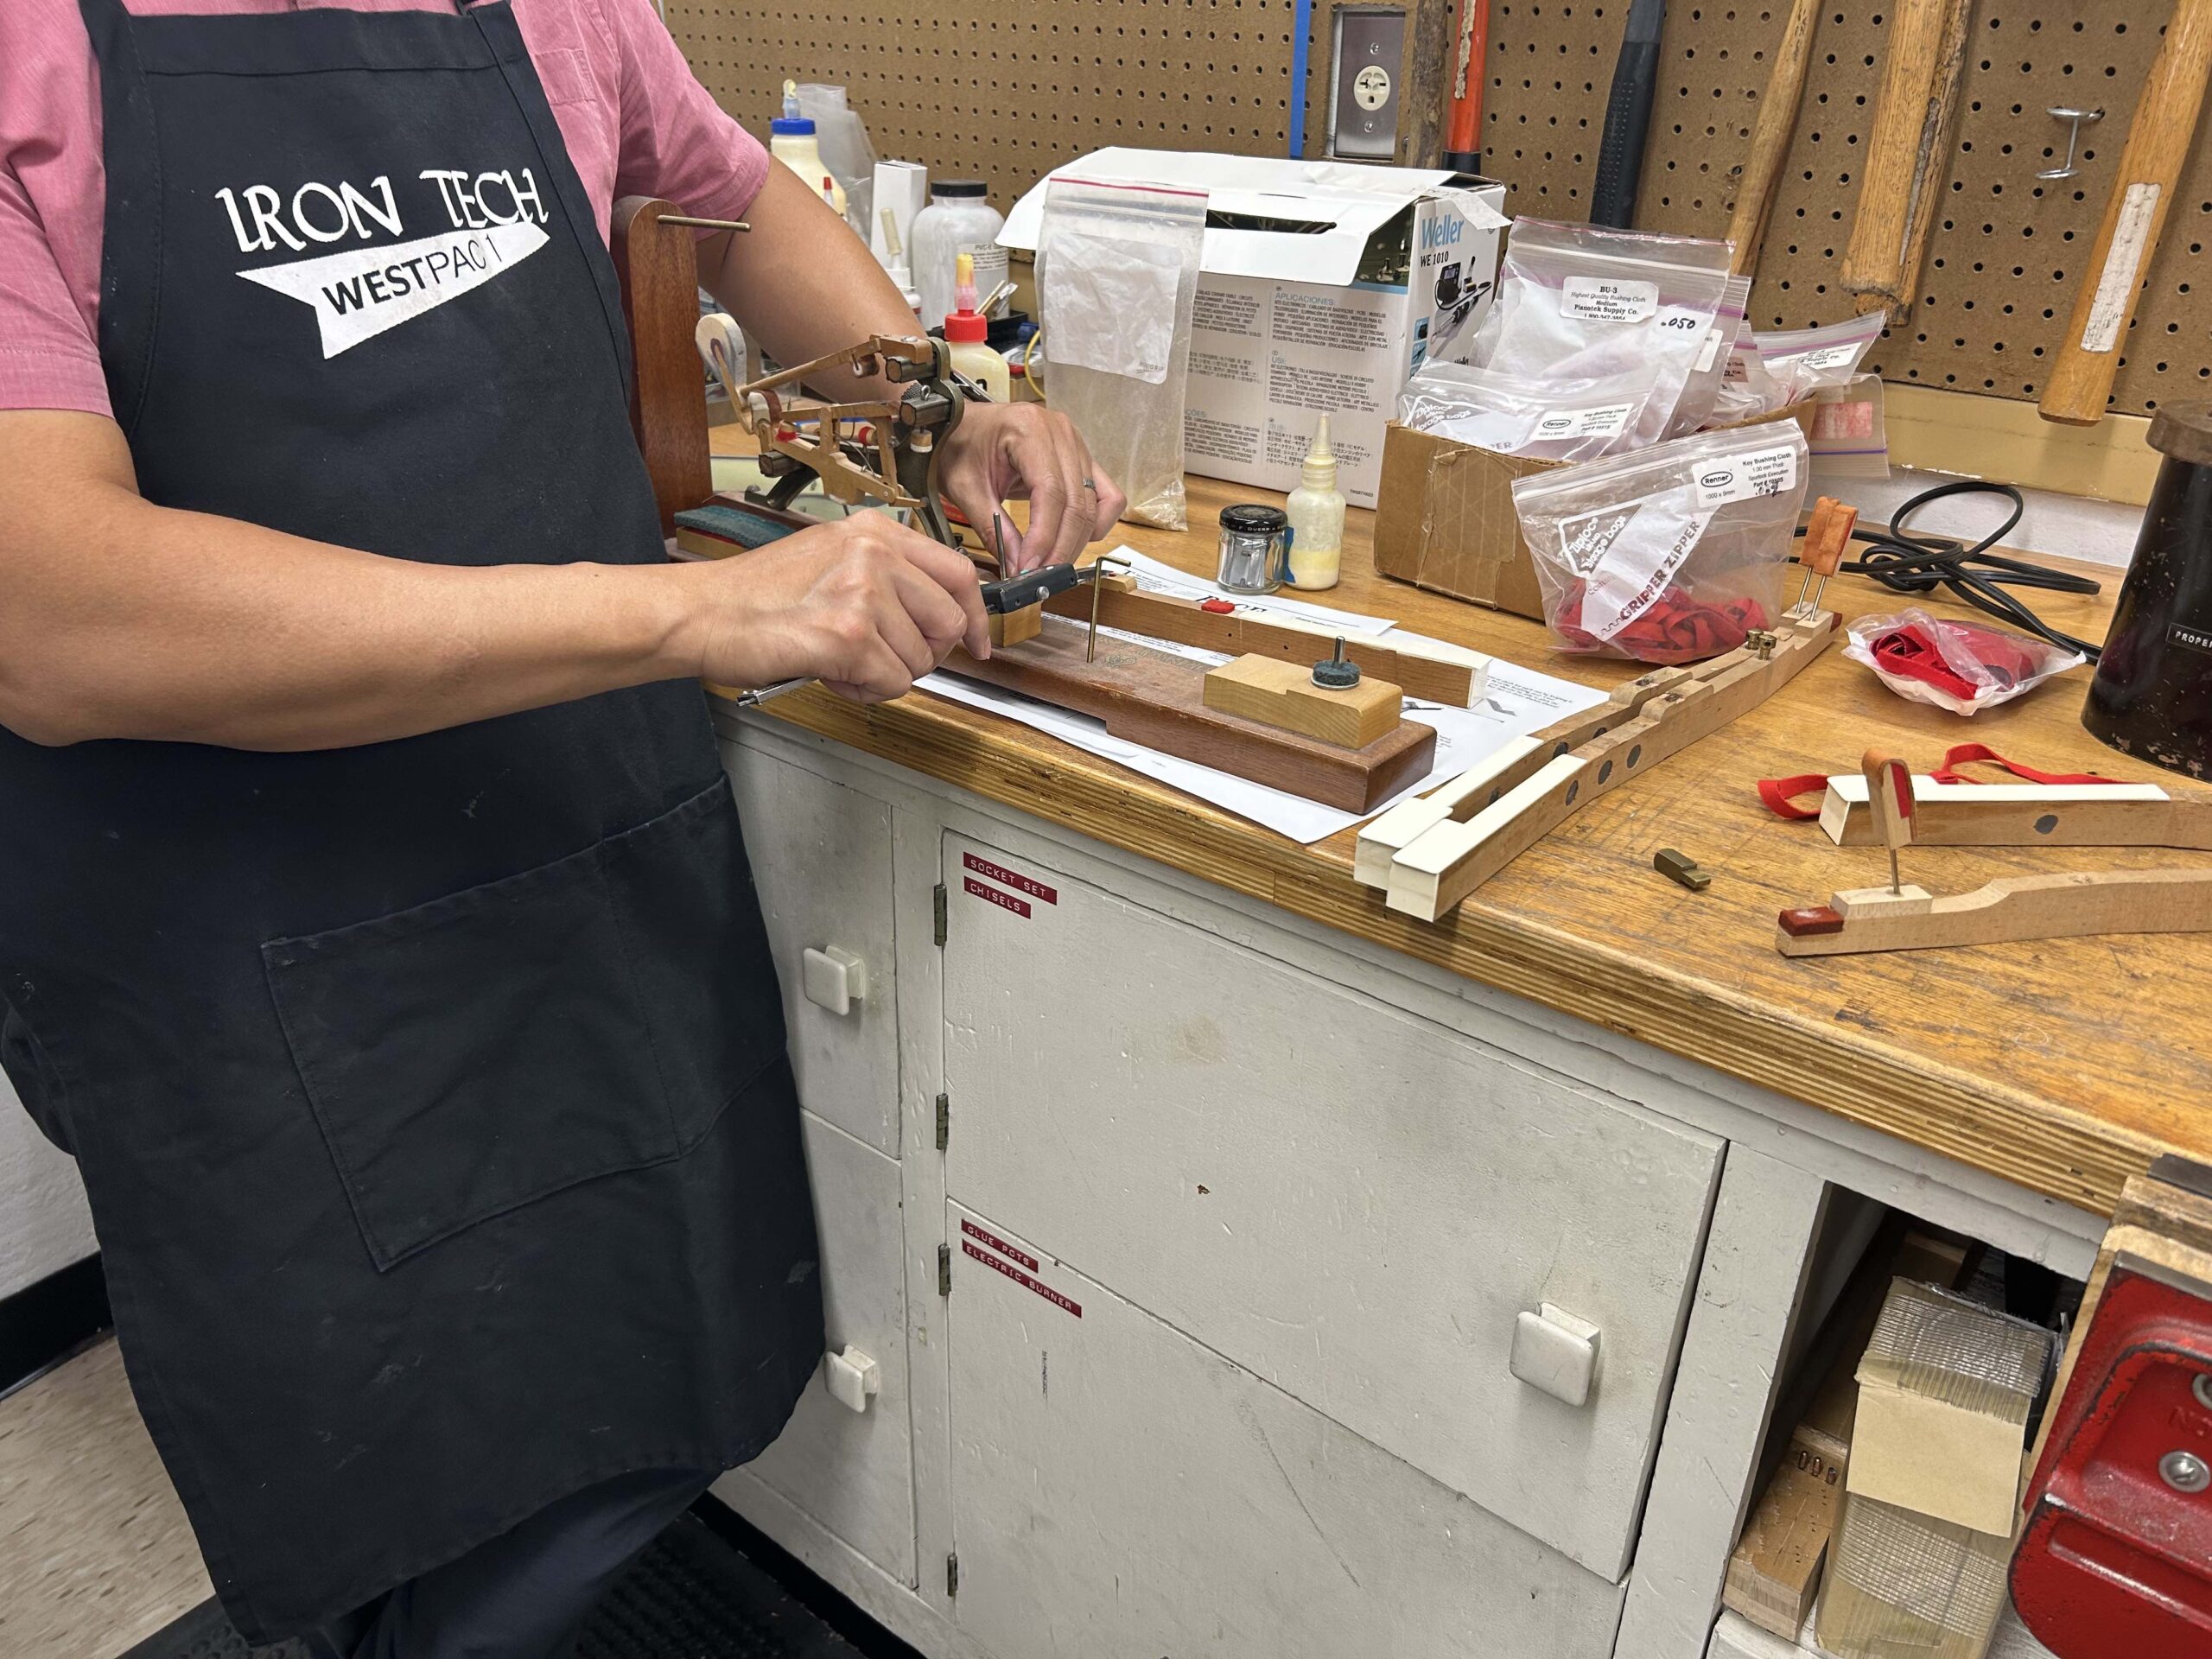
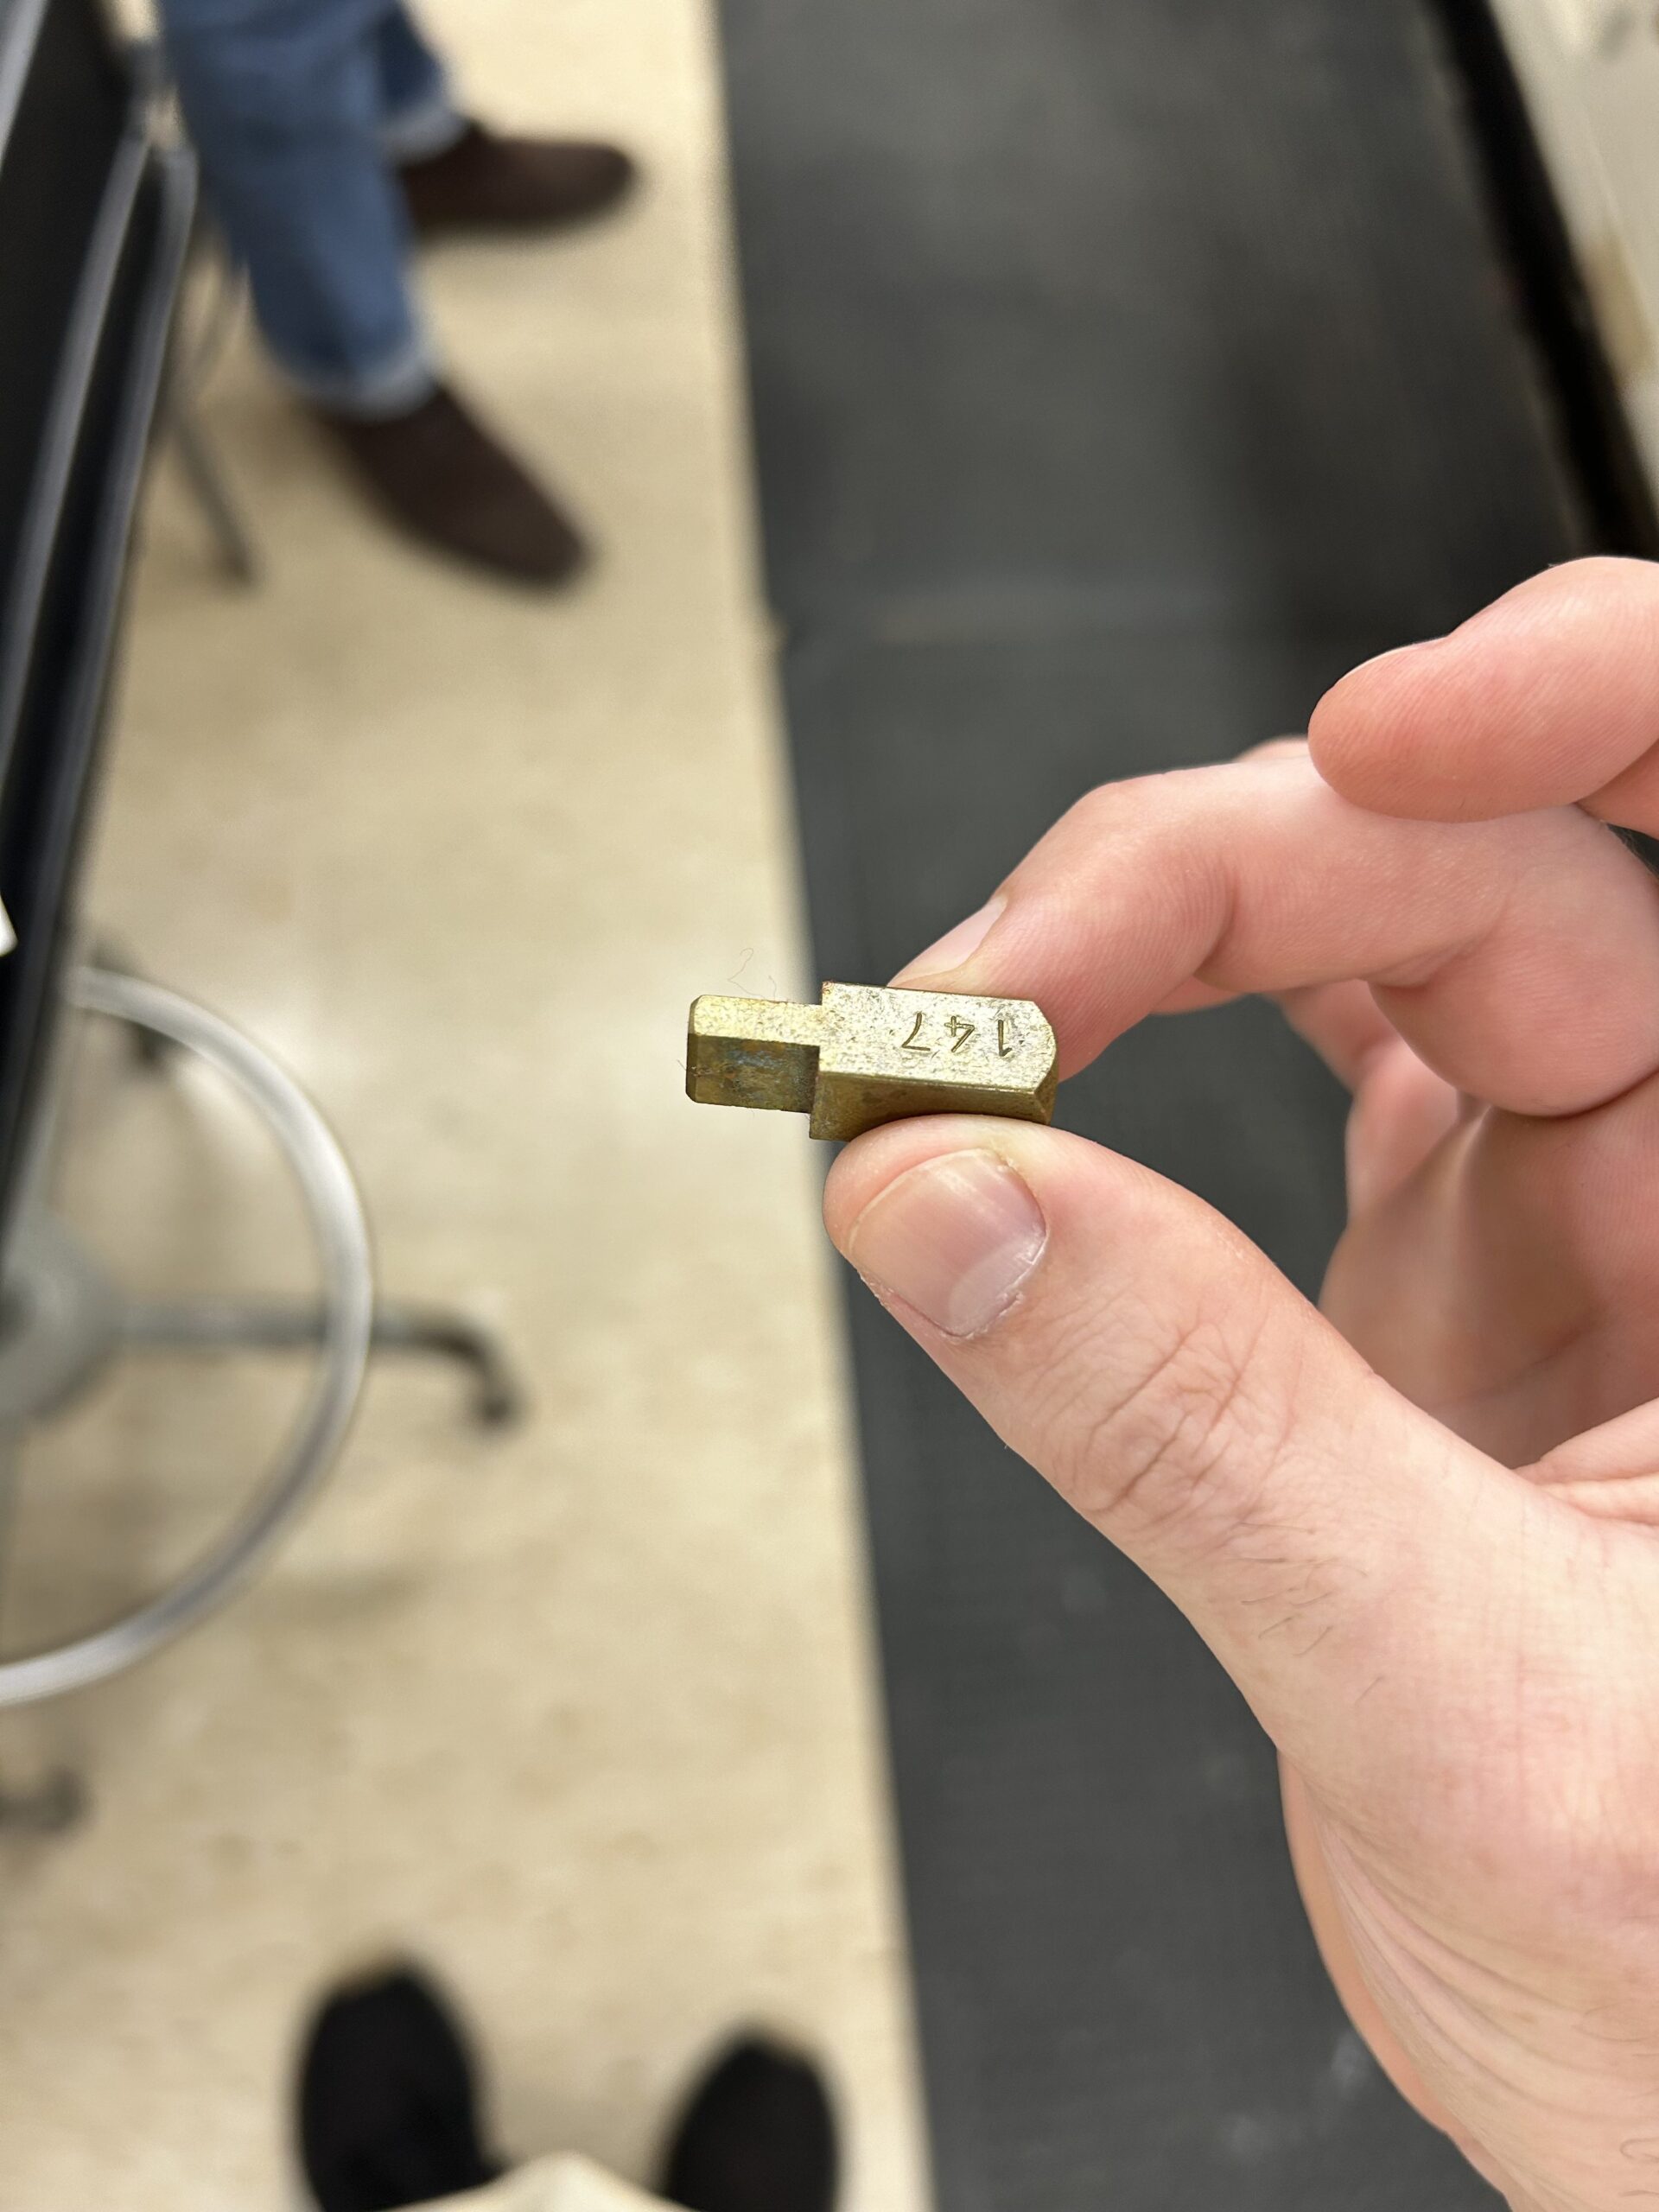
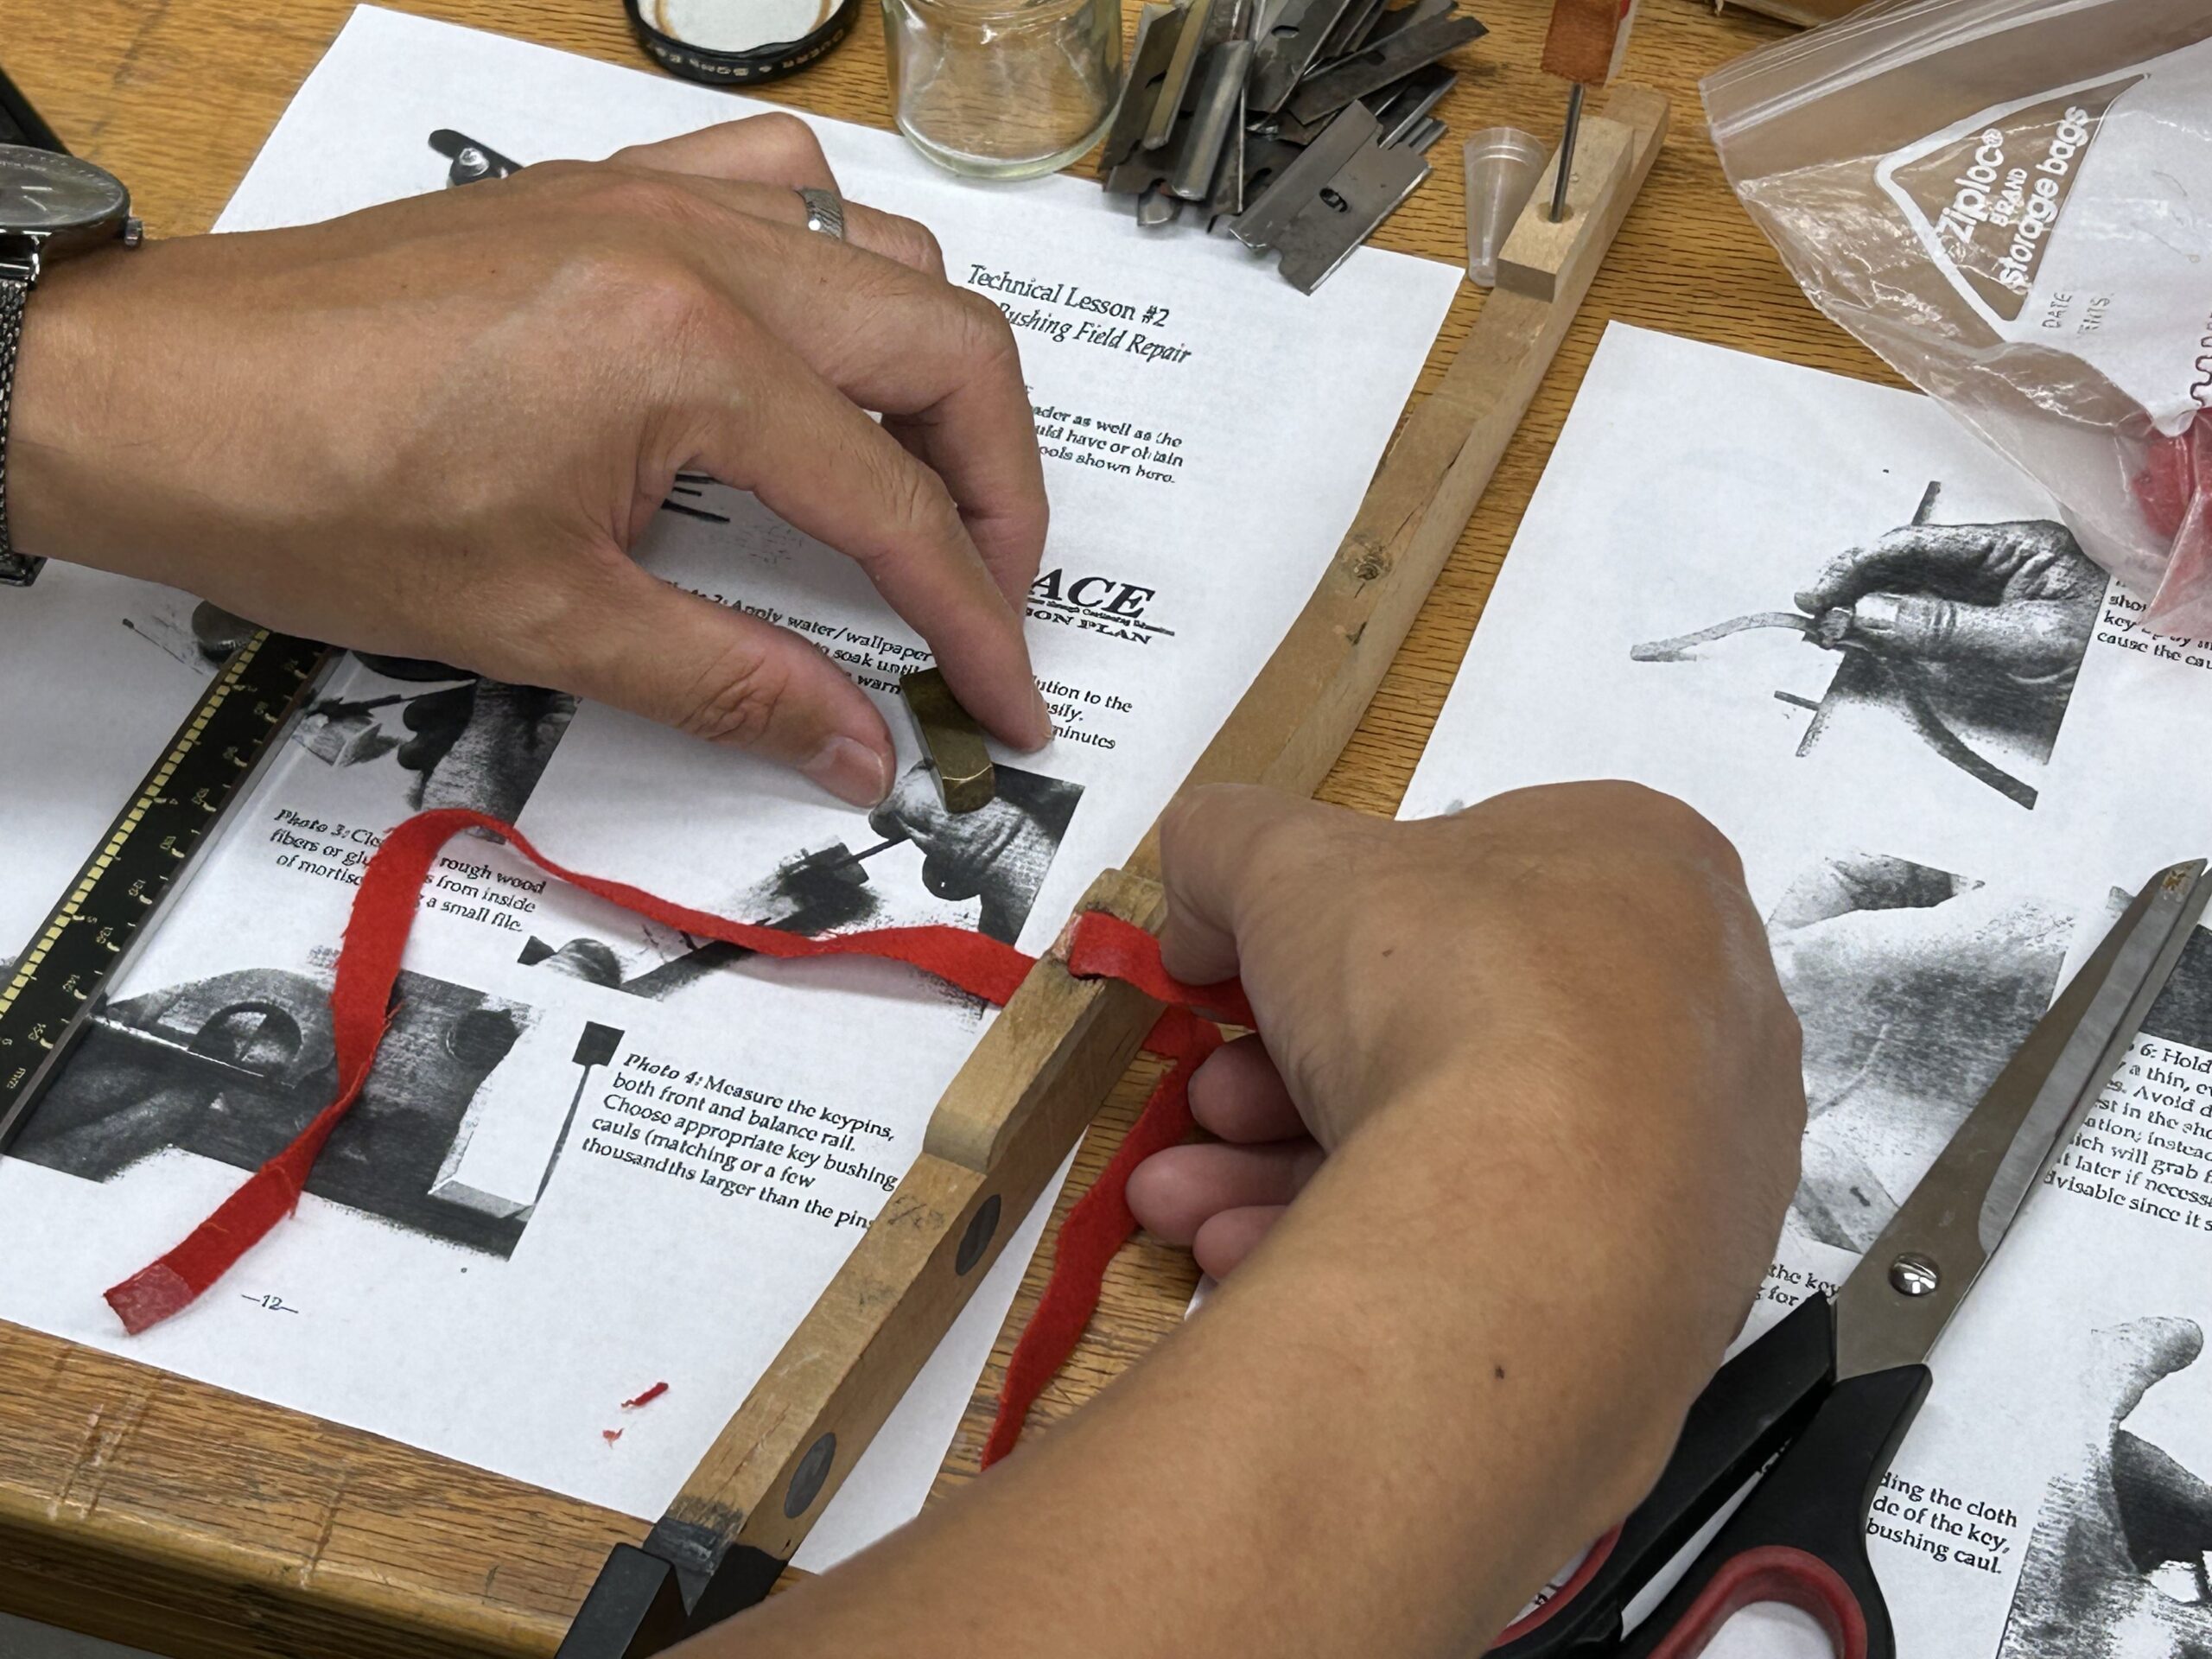
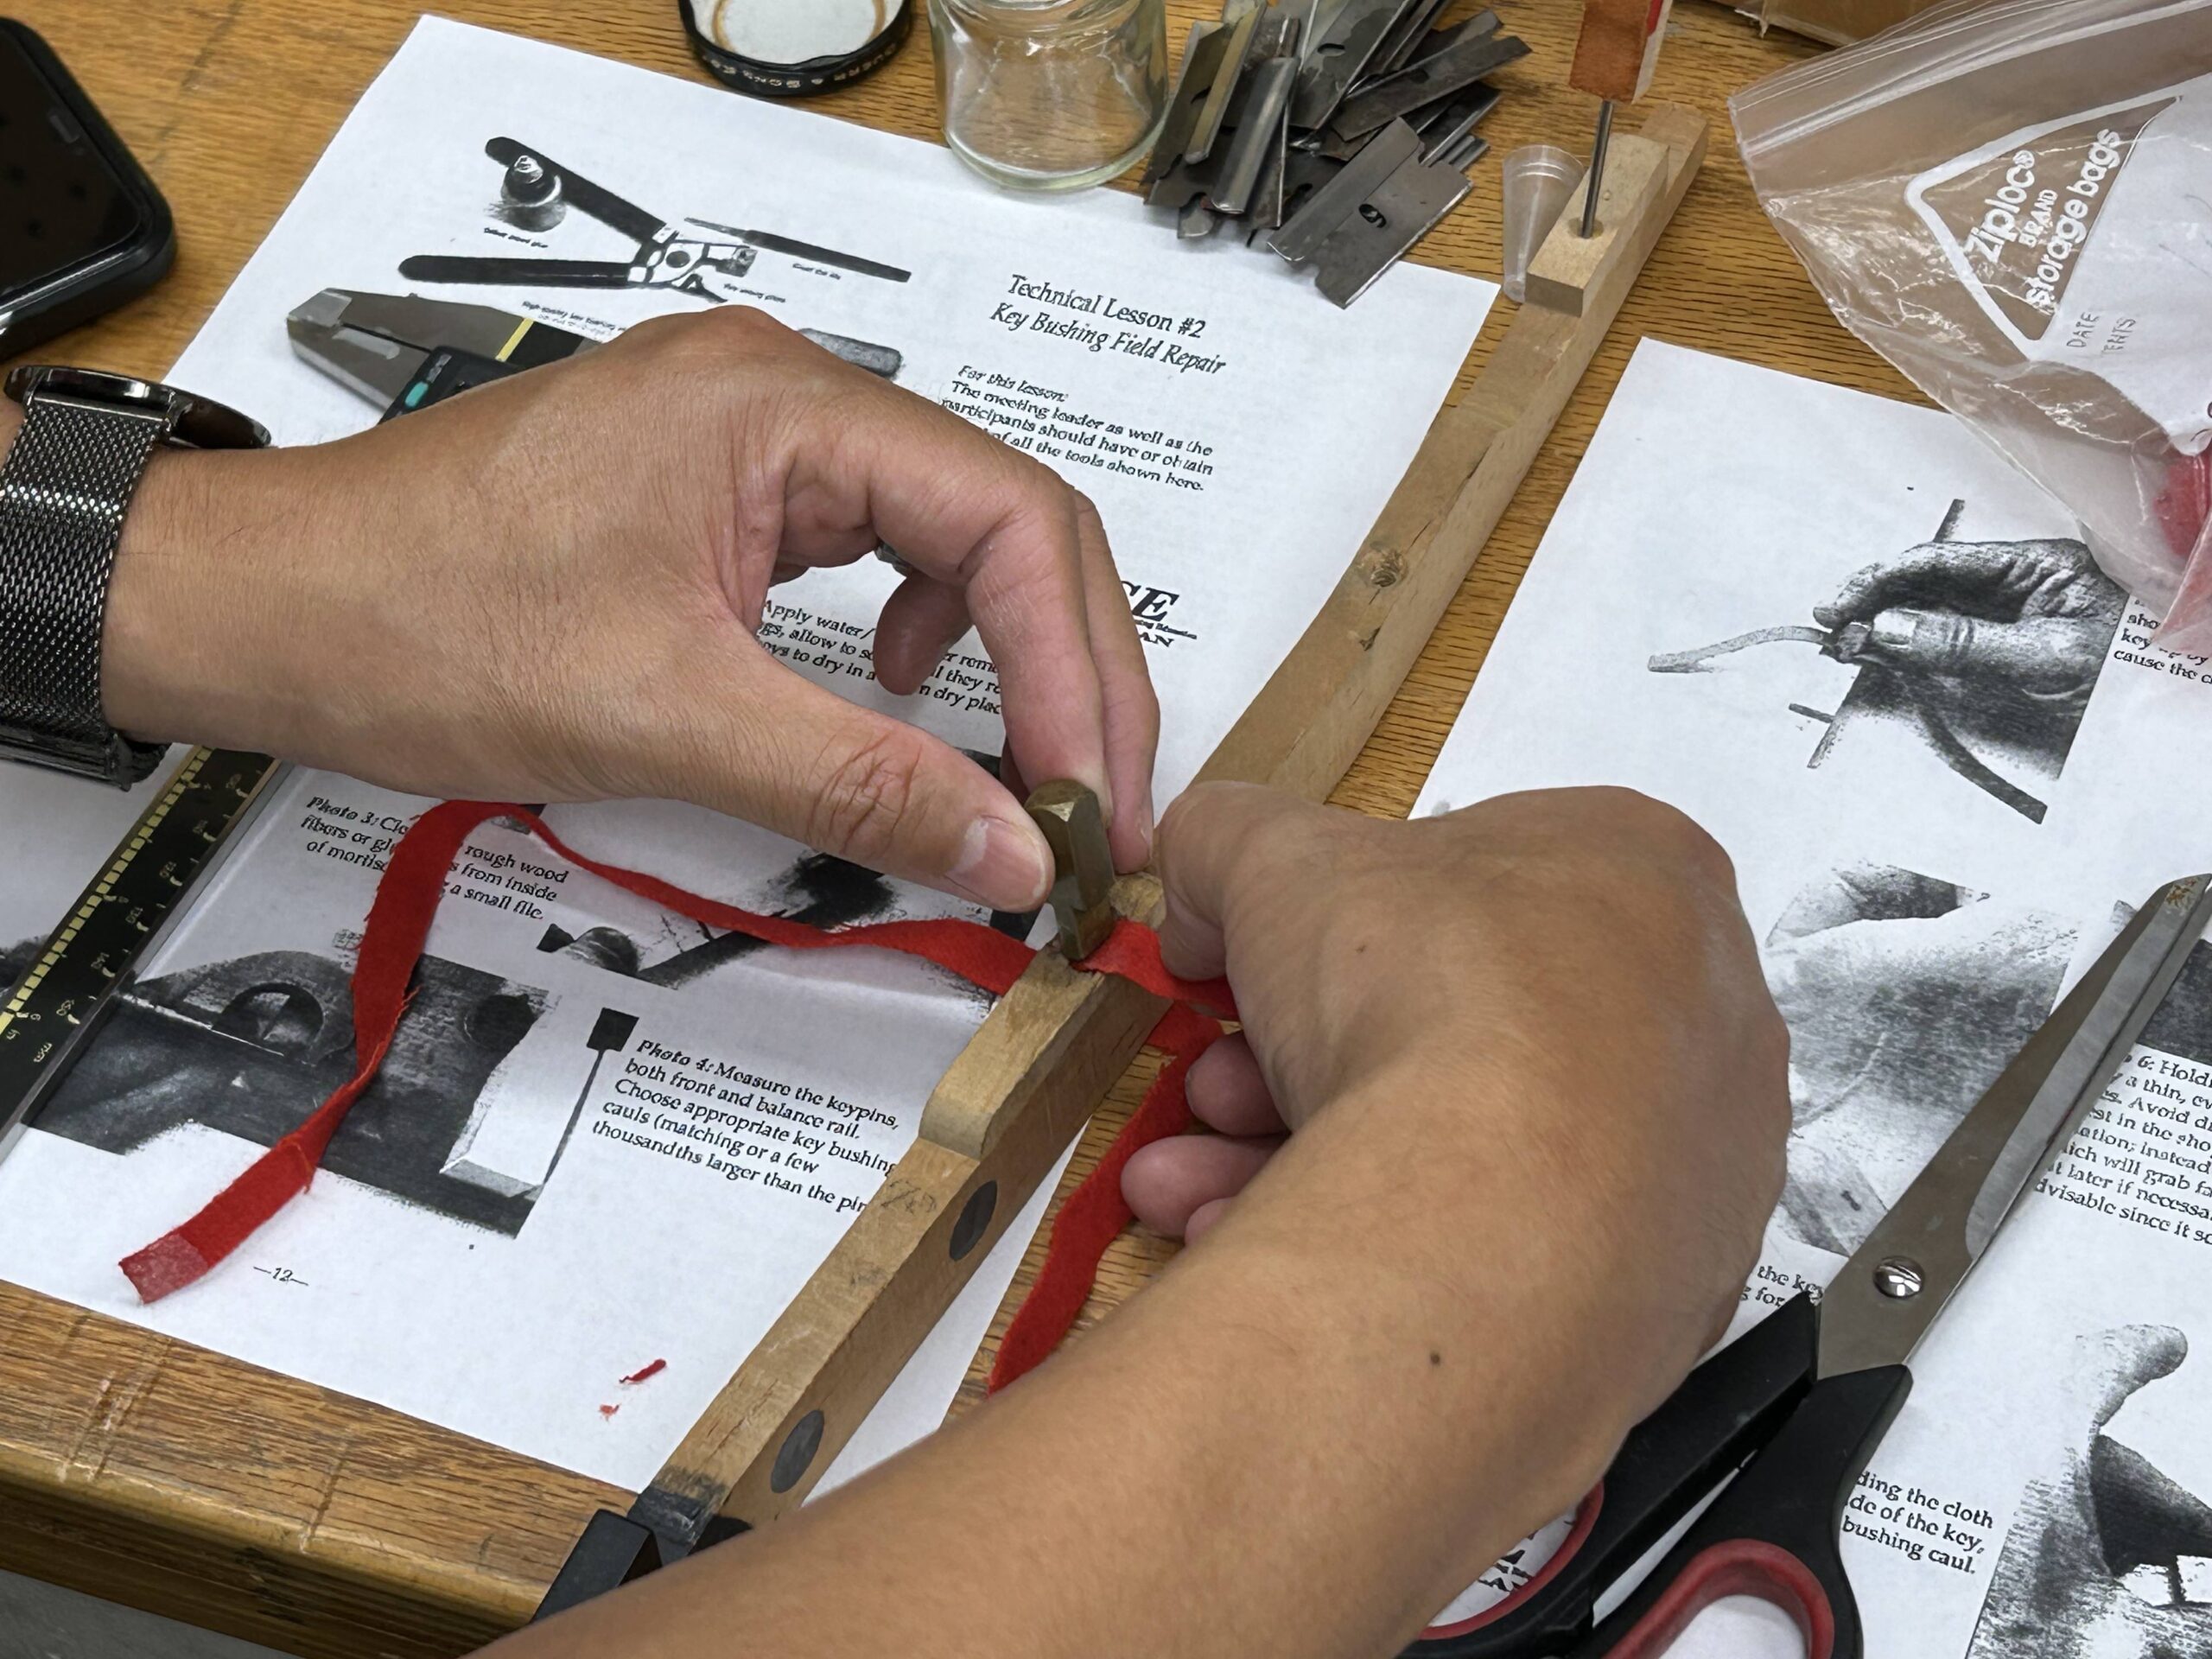
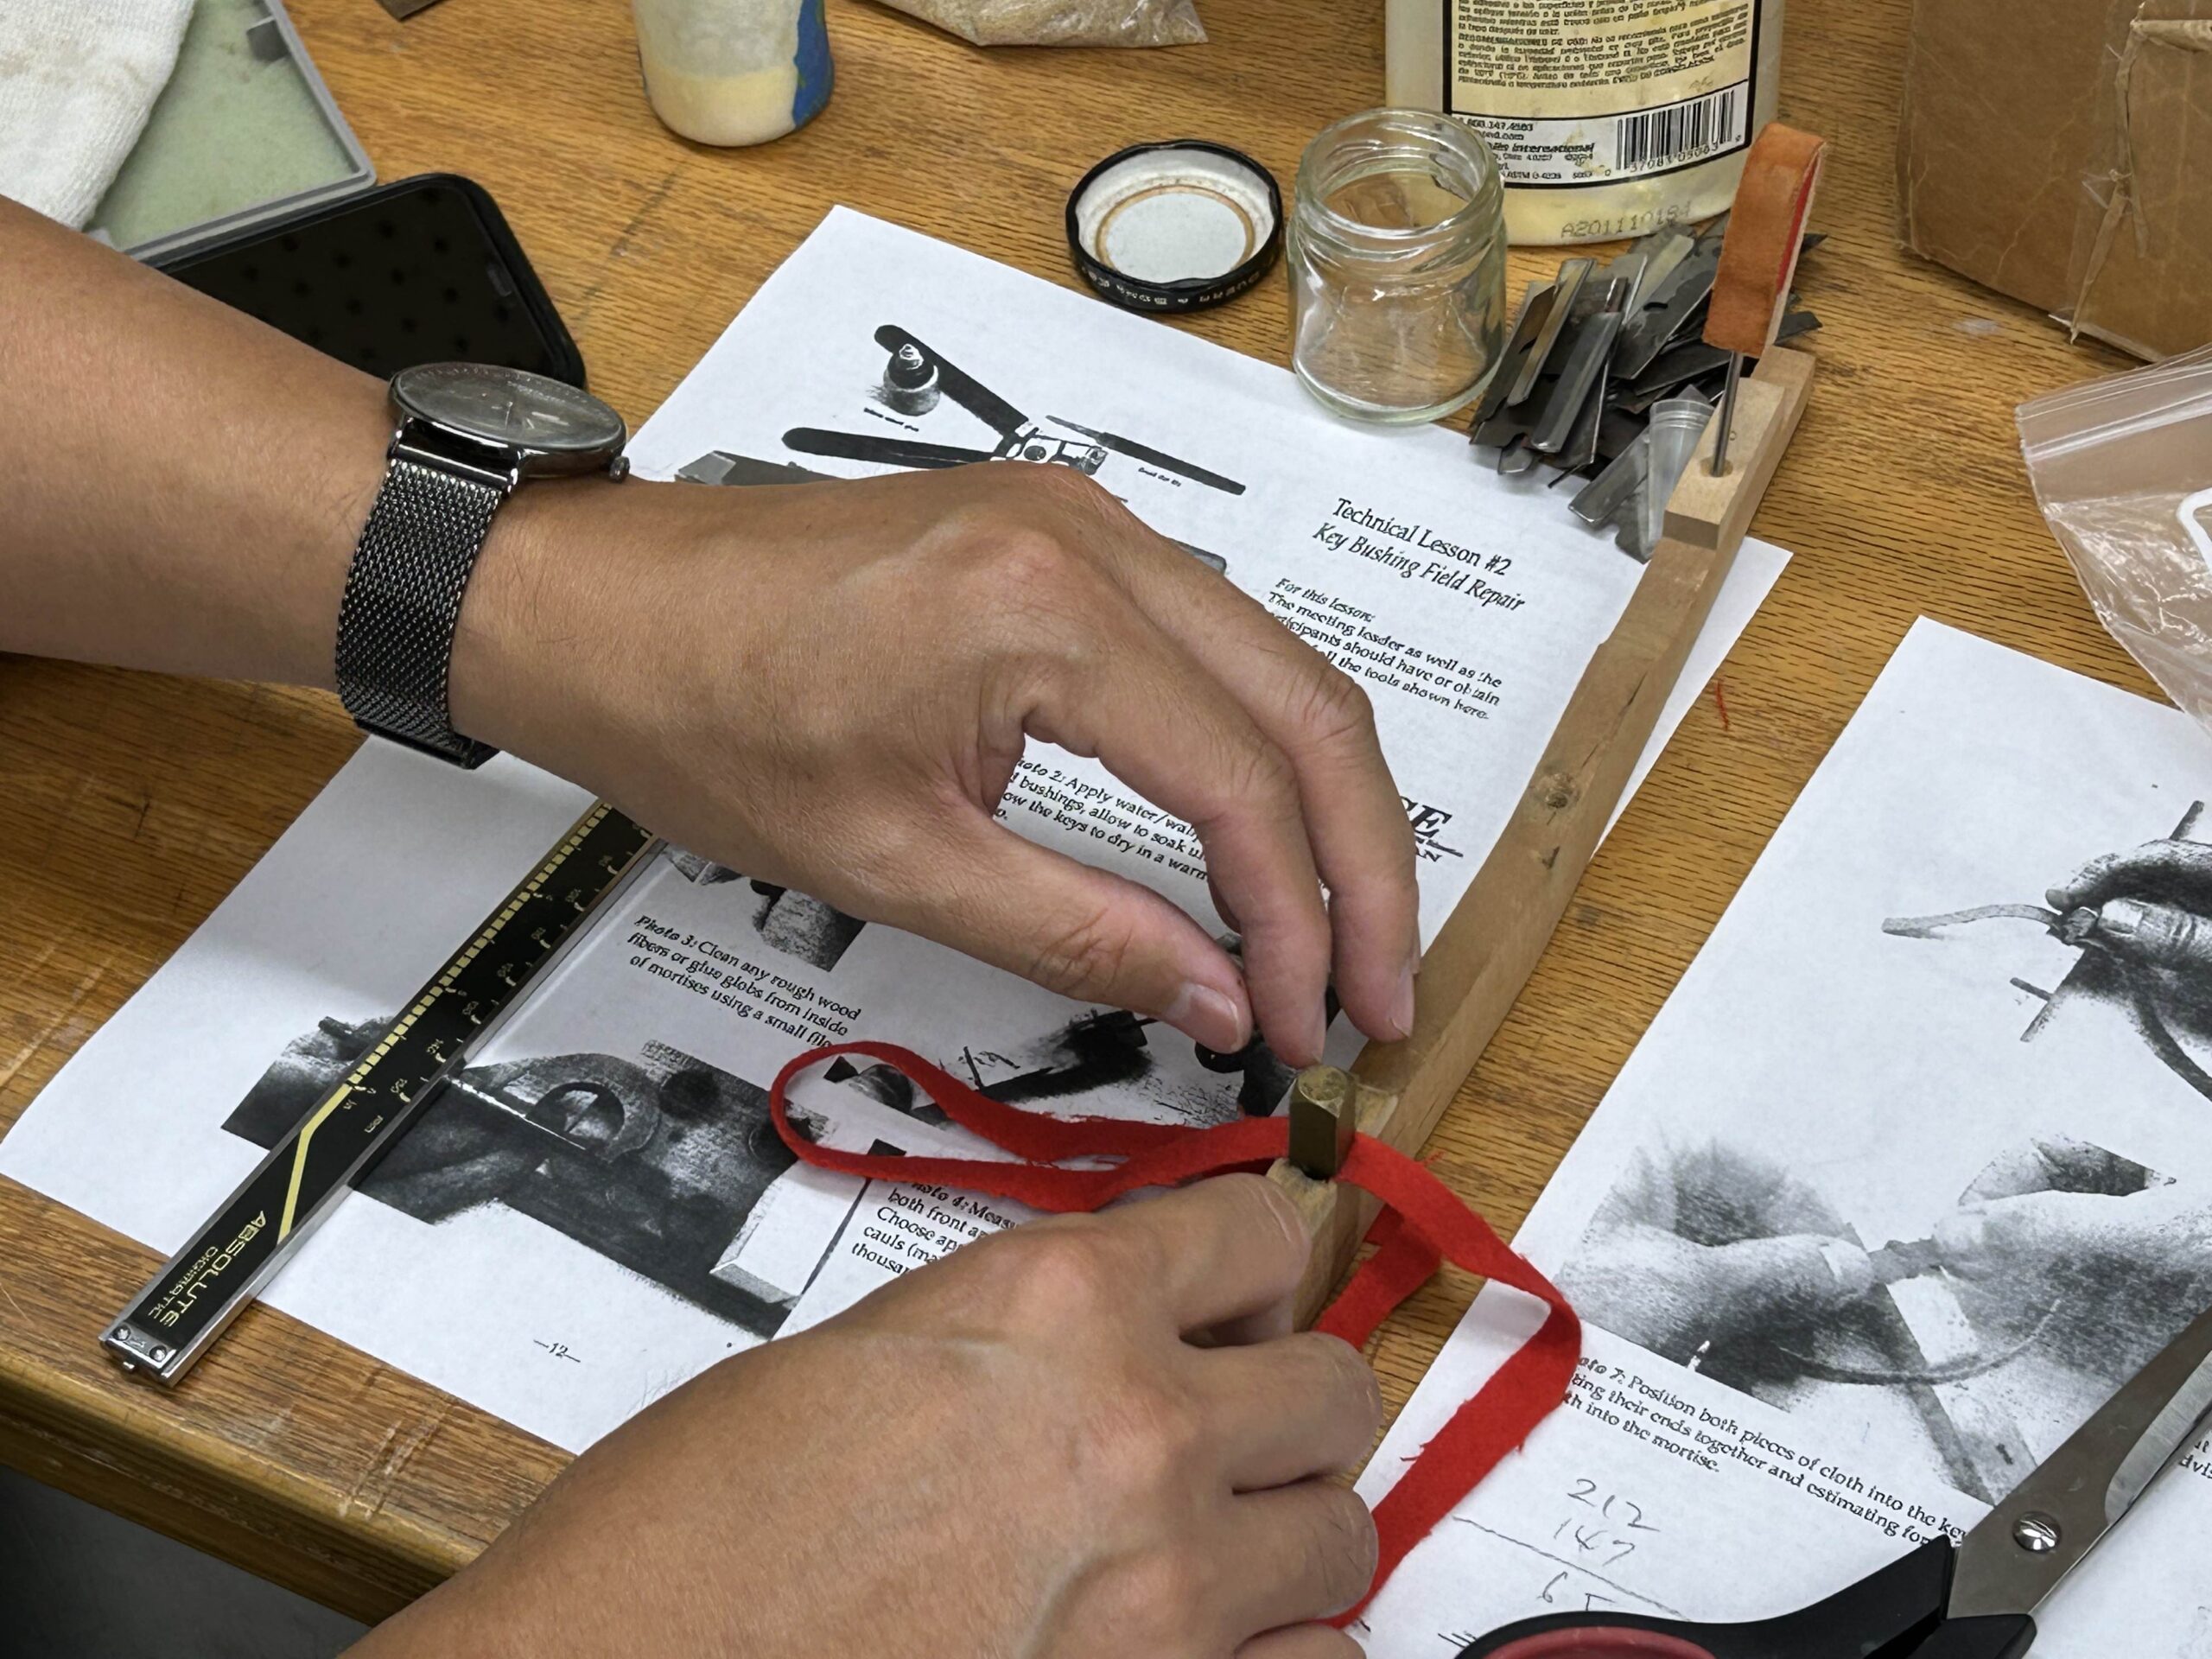
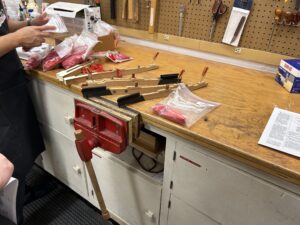
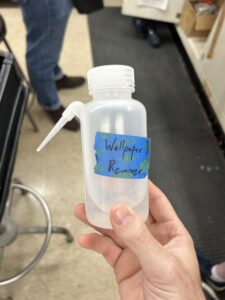
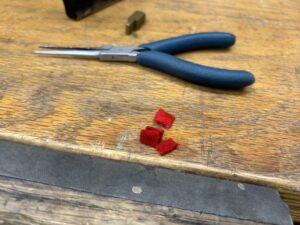
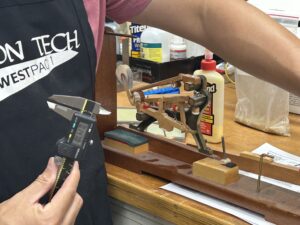
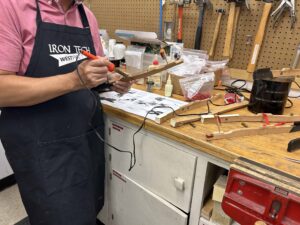
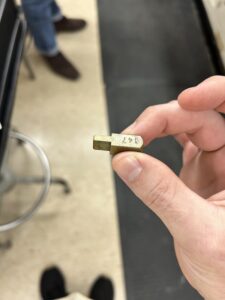
To begin, saturate the old bushing cloth with a solvent to break down the glue holding it in place. For this lesson, we utilized a wallpaper remover solution. Remove the old cloth and thoroughly clean out the old glue using a special tip for a soldering iron or light filing. If filing is the method of choice, be sure to avoid removing any wood – only remove excess glue. Determine the correct size of cloth by measuring the opening with calipers. Cloth size (times two – one for each side) plus balance pin should fill the entire opening. The small brass wedges, or cauls, are used to mimic the pressure of the balance pin and thus are selected based on the size of the keyframe’s pins, in our case .147.

It’s a Sticky Situation
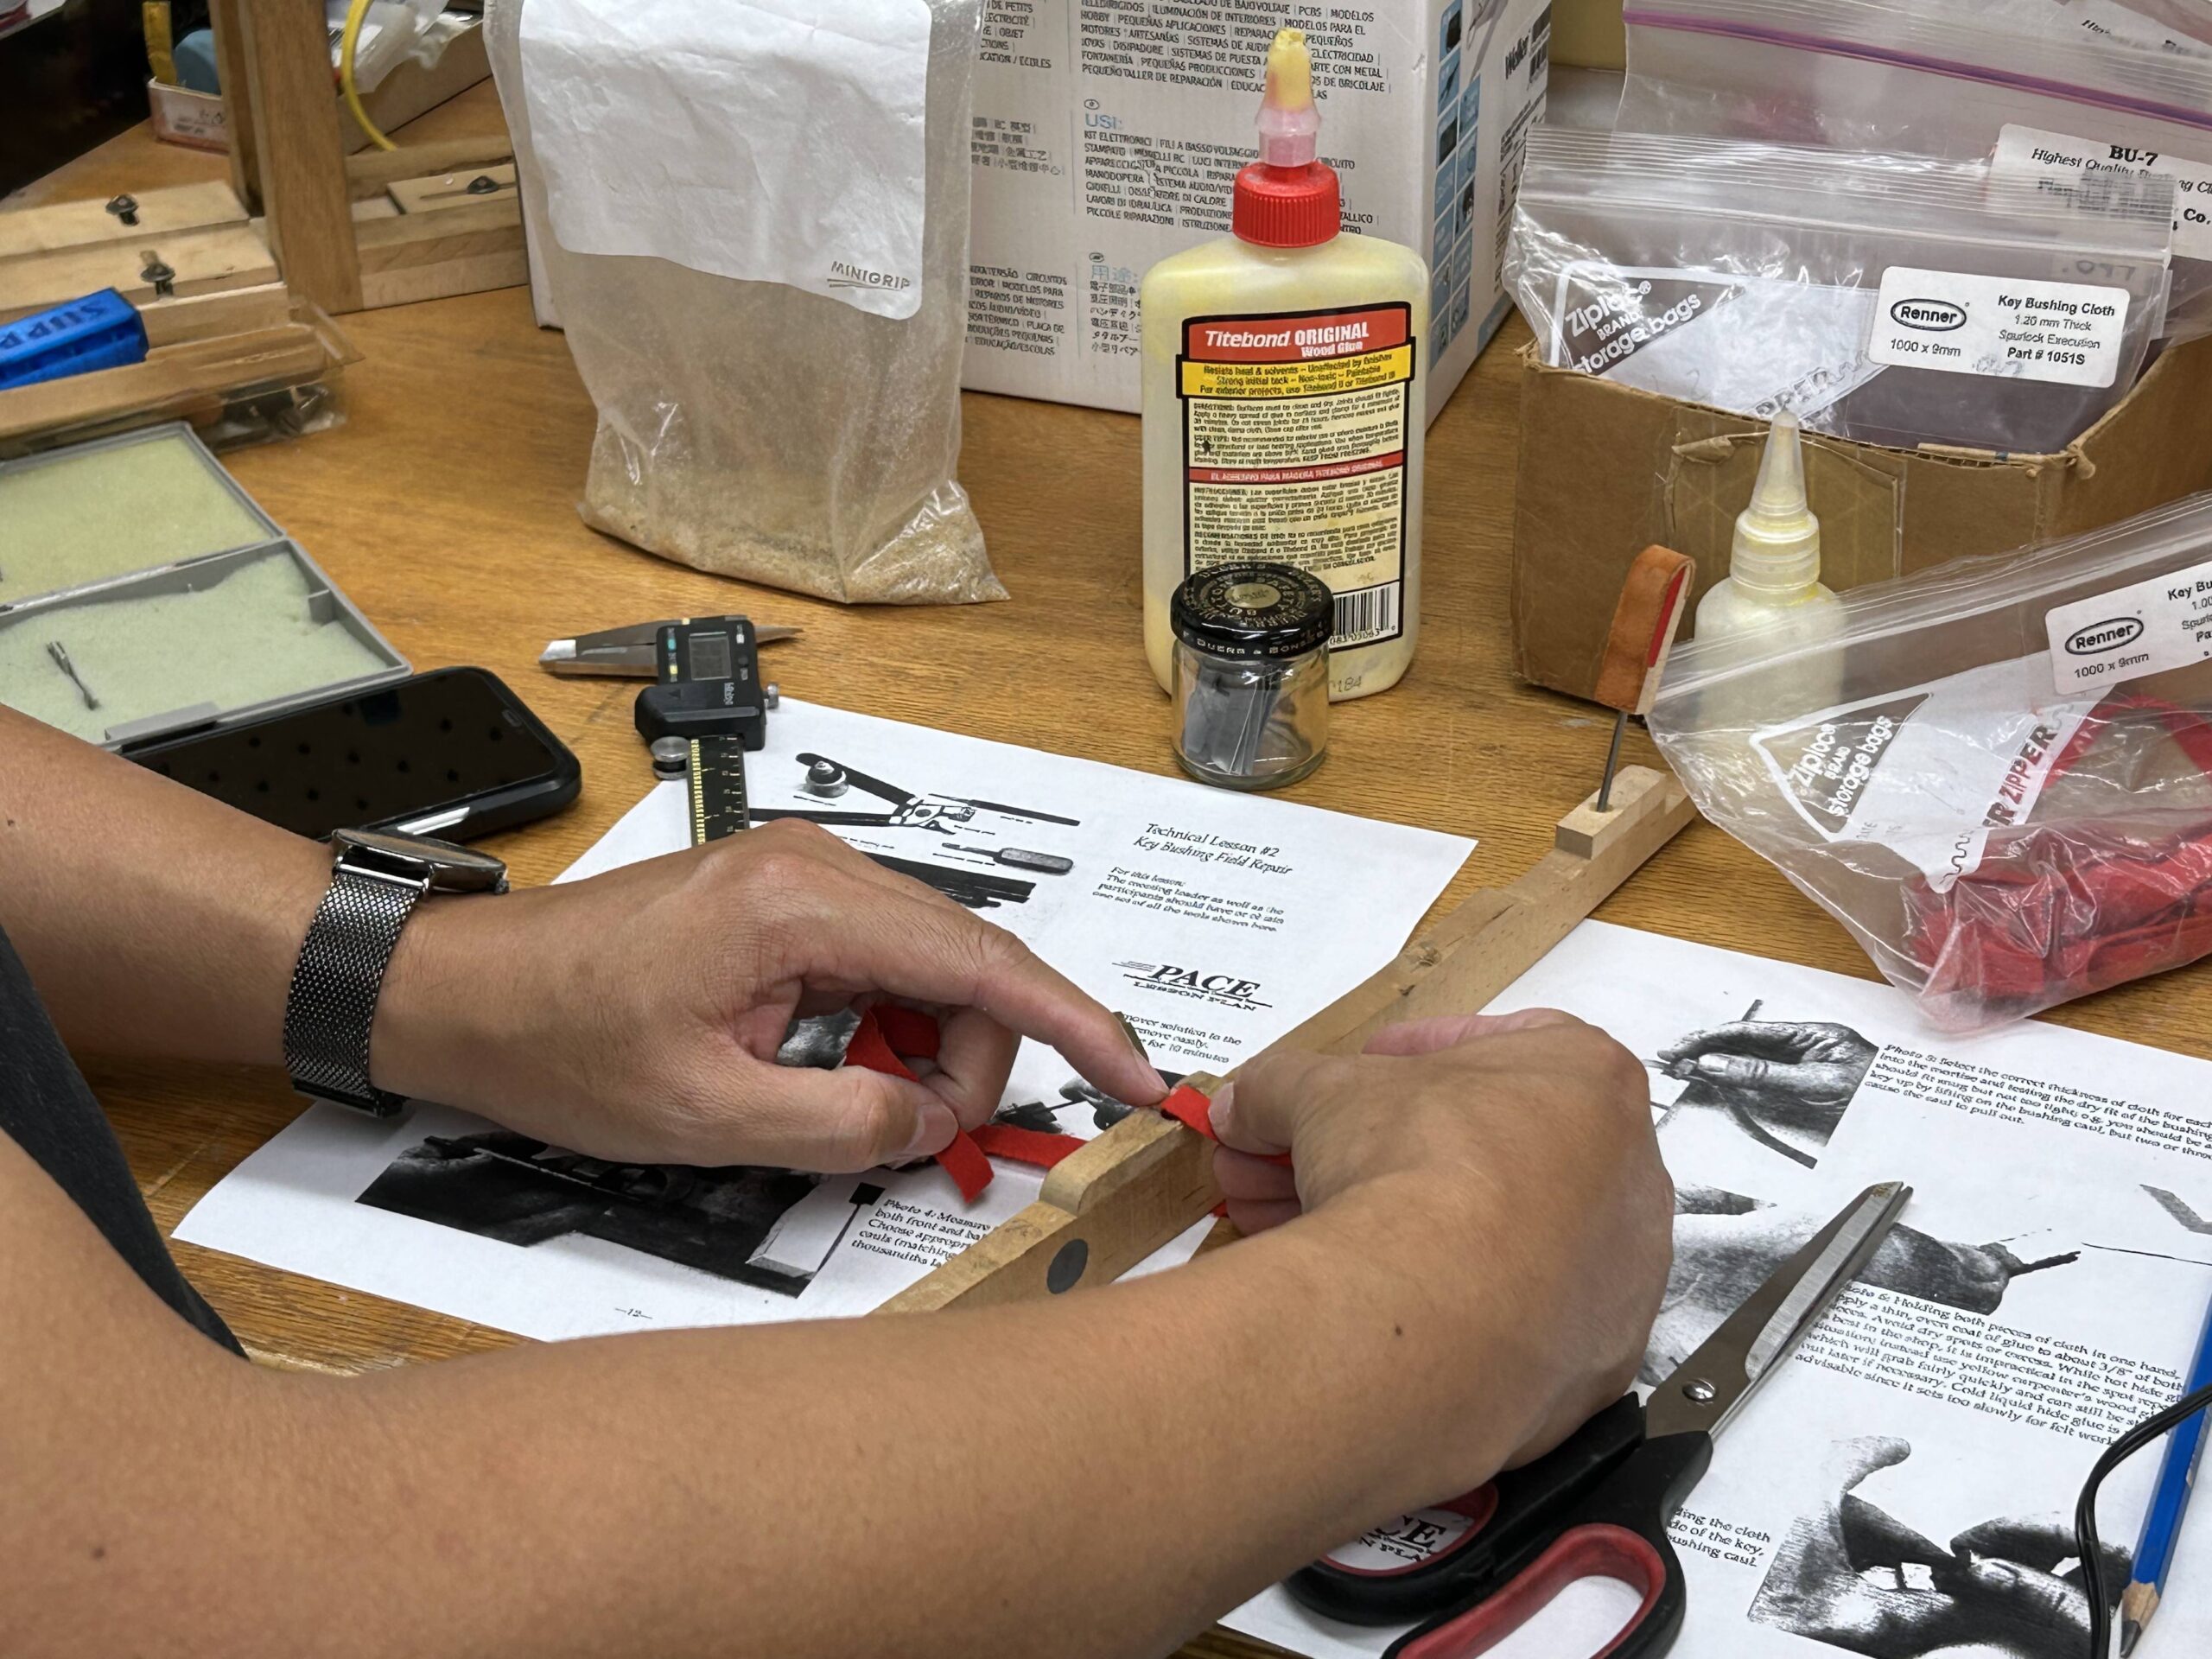
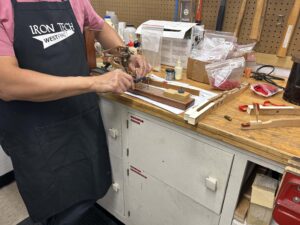
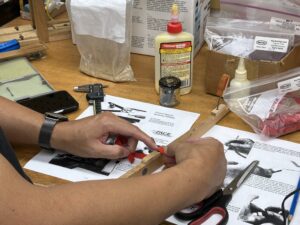
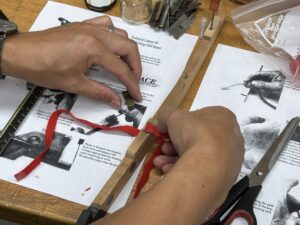
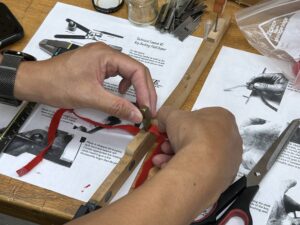
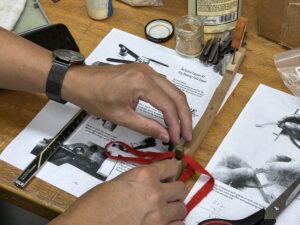
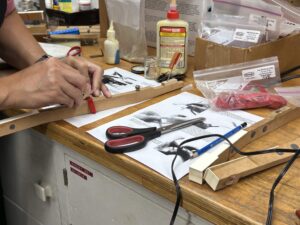
Position the bushing cloth on the workspace and lay the key in the middle of the cloth. Grab one end of the cloth and put a measure of glue only on the 1/4 inch or so that will be used. Place the glued cloth in position and use the brass caul to firmly seat the cloth. Repeat these steps for the other end of the cloth to complete both sides. This allows for less excess material loss since one is trimming from both ends of the cloth, although there are other methods that will be discussed in the future. Once the glue is set but not dry, use a razor to trim the excess cloth according to the key button shape. Some key buttons will terminate the cloth flush with the top of the hole, others will have it drape over the top. Trim your cloth to match and repeat.
